Links
Tags
Build a SQL Server Instance in a Hurry (aka SQL Server on Docker)
If you're a developer working in the .NET stack, you no doubt have had to install SQL Server - a royal pain if you don't have the installation media handy, or have memorised which options to select just to get something ready to restore a database to. Once it's installed, you also have to dedicate a port and part of your every-day memory to running it. It can be quite the hog if you have a couple of reasonable sized databases running. In the last 5 or so years, I've liked to keep a small footprint on my devices. As it stands, my muck-about laptop is a Lenovo ThinkPad T440s - rocking an i7 4600u with 12GB of RAM (4GB built in + 8GB Module). A good sturdy machine with good battery life. Unfortunately, the memory is max'd out and that doesn't leave much room for running things like SQL Server to run in the background.
If you haven't heard, SQL Server is available as a docker container and has been since ~2018. As such, I was happy to remove SQL Server from my laptop and just spin up SQL Server when needed. There's not a whole lot to it - you specify the image and a few environment variables and volumes, and you in effect have a portable version of SQL Server. Indeed - SQL Server on Docker is currently powering this website.
Per below, create the following docker-compose.yaml file in a directory. I'd recommend you creating a directory for each instance, as the script creates a directory structure relative to where the docker-compose.yaml file is run from.
version: "3"

services:

  mssql:

    image: mcr.microsoft.com/mssql/server:2019-latest

    ports:
      - 6000:1433

    user: root

    volumes:
      - ./_db/data:/var/opt/mssql/data:rw
      - ./_db/log:/var/opt/mssql/log:rw
      - ./_db/secrets:/var/opt/mssql/secrets:rw
      - ./_db/backups:/var/opt/mssql/backups:rw

    restart: always

    environment:
      ACCEPT_EULA: Y
      SA_PASSWORD: Password1234
      MSSQL_PID: Developer # change this to Express if you're not licensed, Standard and Enterprise are also available here
Because we're providing our own volumes such that we can keep this setup portable, the user: root line is (or at least was) a cheat way to allow all write access to /var/opt/mssql otherwise you'd need to run your chown / chmod scripts to set the directory permissions. For volumes, I like to separate my data and log DBs, so those are listed separately. Maintaining your secrets directory will enable portability and you'll probably want somewhere to store your backups. I usually set restart: always as I context-switch by running my docker-compose up / down commands. Finally - the environment variables are specified in the dockerhub link. The three key ones are to accept the EULA automatically (otherwise the startup will hang), set a password and set the product ID to match what you're licensed for.
You'll also note that I override the port. I usually set a particular port range per application I run - such that I can store all my configurations in SSMS under the port. Let's say I have 5 applications, I might do 3000-3999 for application 1, 4000-4999 for application 2 and so-on. This allows me to save a configuration as "localhost,3000" and "localhost,4000" with the SA password already set.
It really is that simple*. Except for one bug when mounting your volumes this way. That is, if you try to restore a backup you'll need to have the file created at your /_db/data directory. You can do this any way you want. The easiest options for me have been:-
- Create the database the normal way in SSMS, then run your Restore script.
- Run "touch /var/opt/mssql/data/file.mdf" and "touch /var/opt/mssql/log/file_log.ldf" so that there's an empty file to write to avoiding the need to create the database in the first place.
- Create the files in /_db/data and /_db/log yourself.
These avoid the: The operating system returned the error '2(The system cannot find the file specified.)' while attempting 'RestoreContainer::ValidateTargetForCreation' on '/var/opt/mssql/data/ error you'll see in your docker outputs.
So... after you've copied and pasted the script above, and saved it in a directory called docker-compose.yaml and you want to run your own instance? Simples. Once you have docker installed (and therefore docker-compose), the next step is to execute the following commands:
- To start: docker-compose up -d (nb - if you omit the -d your command window will be attached to logs)
- To stop: docker-compose down
That's it. A docker-compose file with Docker installed and you've got yourself a SQL Server instance in seconds (as long as you have the image downloaded already otherwise you'll need to wait for those couple of GB's to come down).
Back Plates, Face Plates and Korry Switches for an Airbus A320
With 3D printing comes a lot of trial and error, and those ends of spools you have a few metres left on certainly come in handy for playing about with sizes. I went into printing small components with eyes wide open - you're battling heat, filament width and height, speed and a number of other factors that make printing with plastics quite difficult.
Designing and Printing the Back Plate
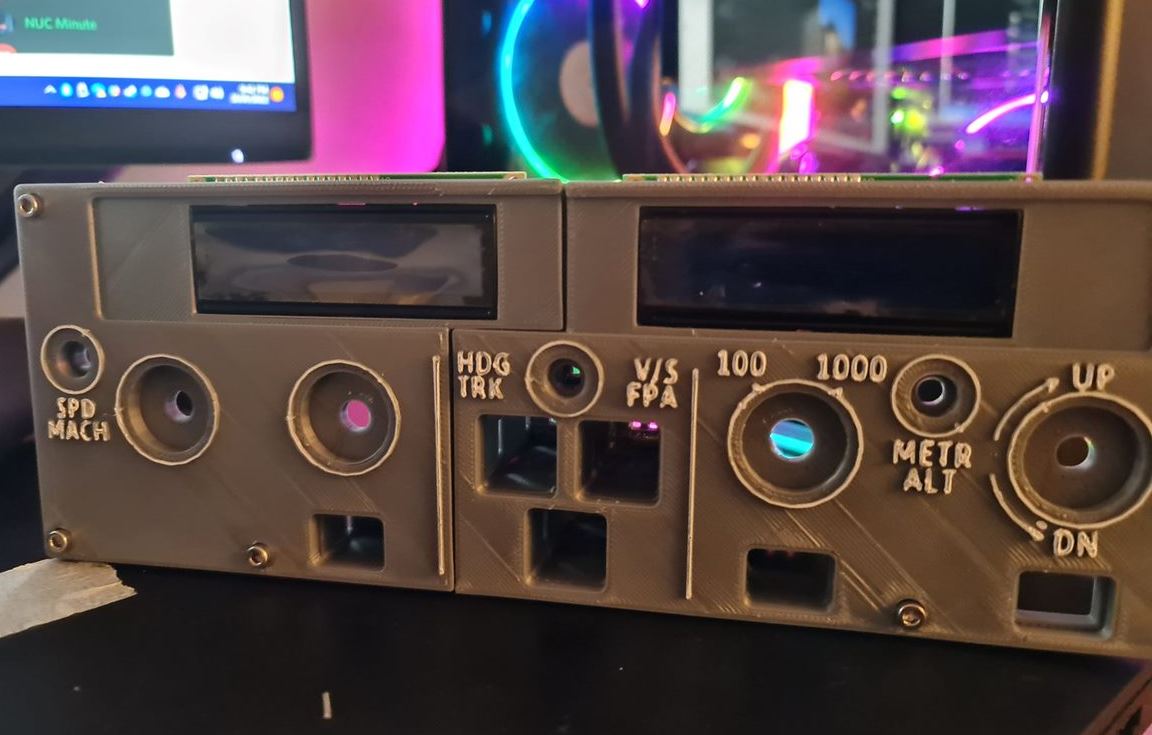
Following on from the front plate last week, I started designing the back plate such that while it'll also need to be split but this time into thirds. This will help with some stability given there's only 6 holes to loosely match the design of the real thing. Similarly, I'd need to ensure the LCD screens would fit in place and Rotary Encoders will have something to grab onto. The holes themselves for holding the Korry switches in would need to be a bit smaller as I had originally planned to have the buttons themselves standalone.
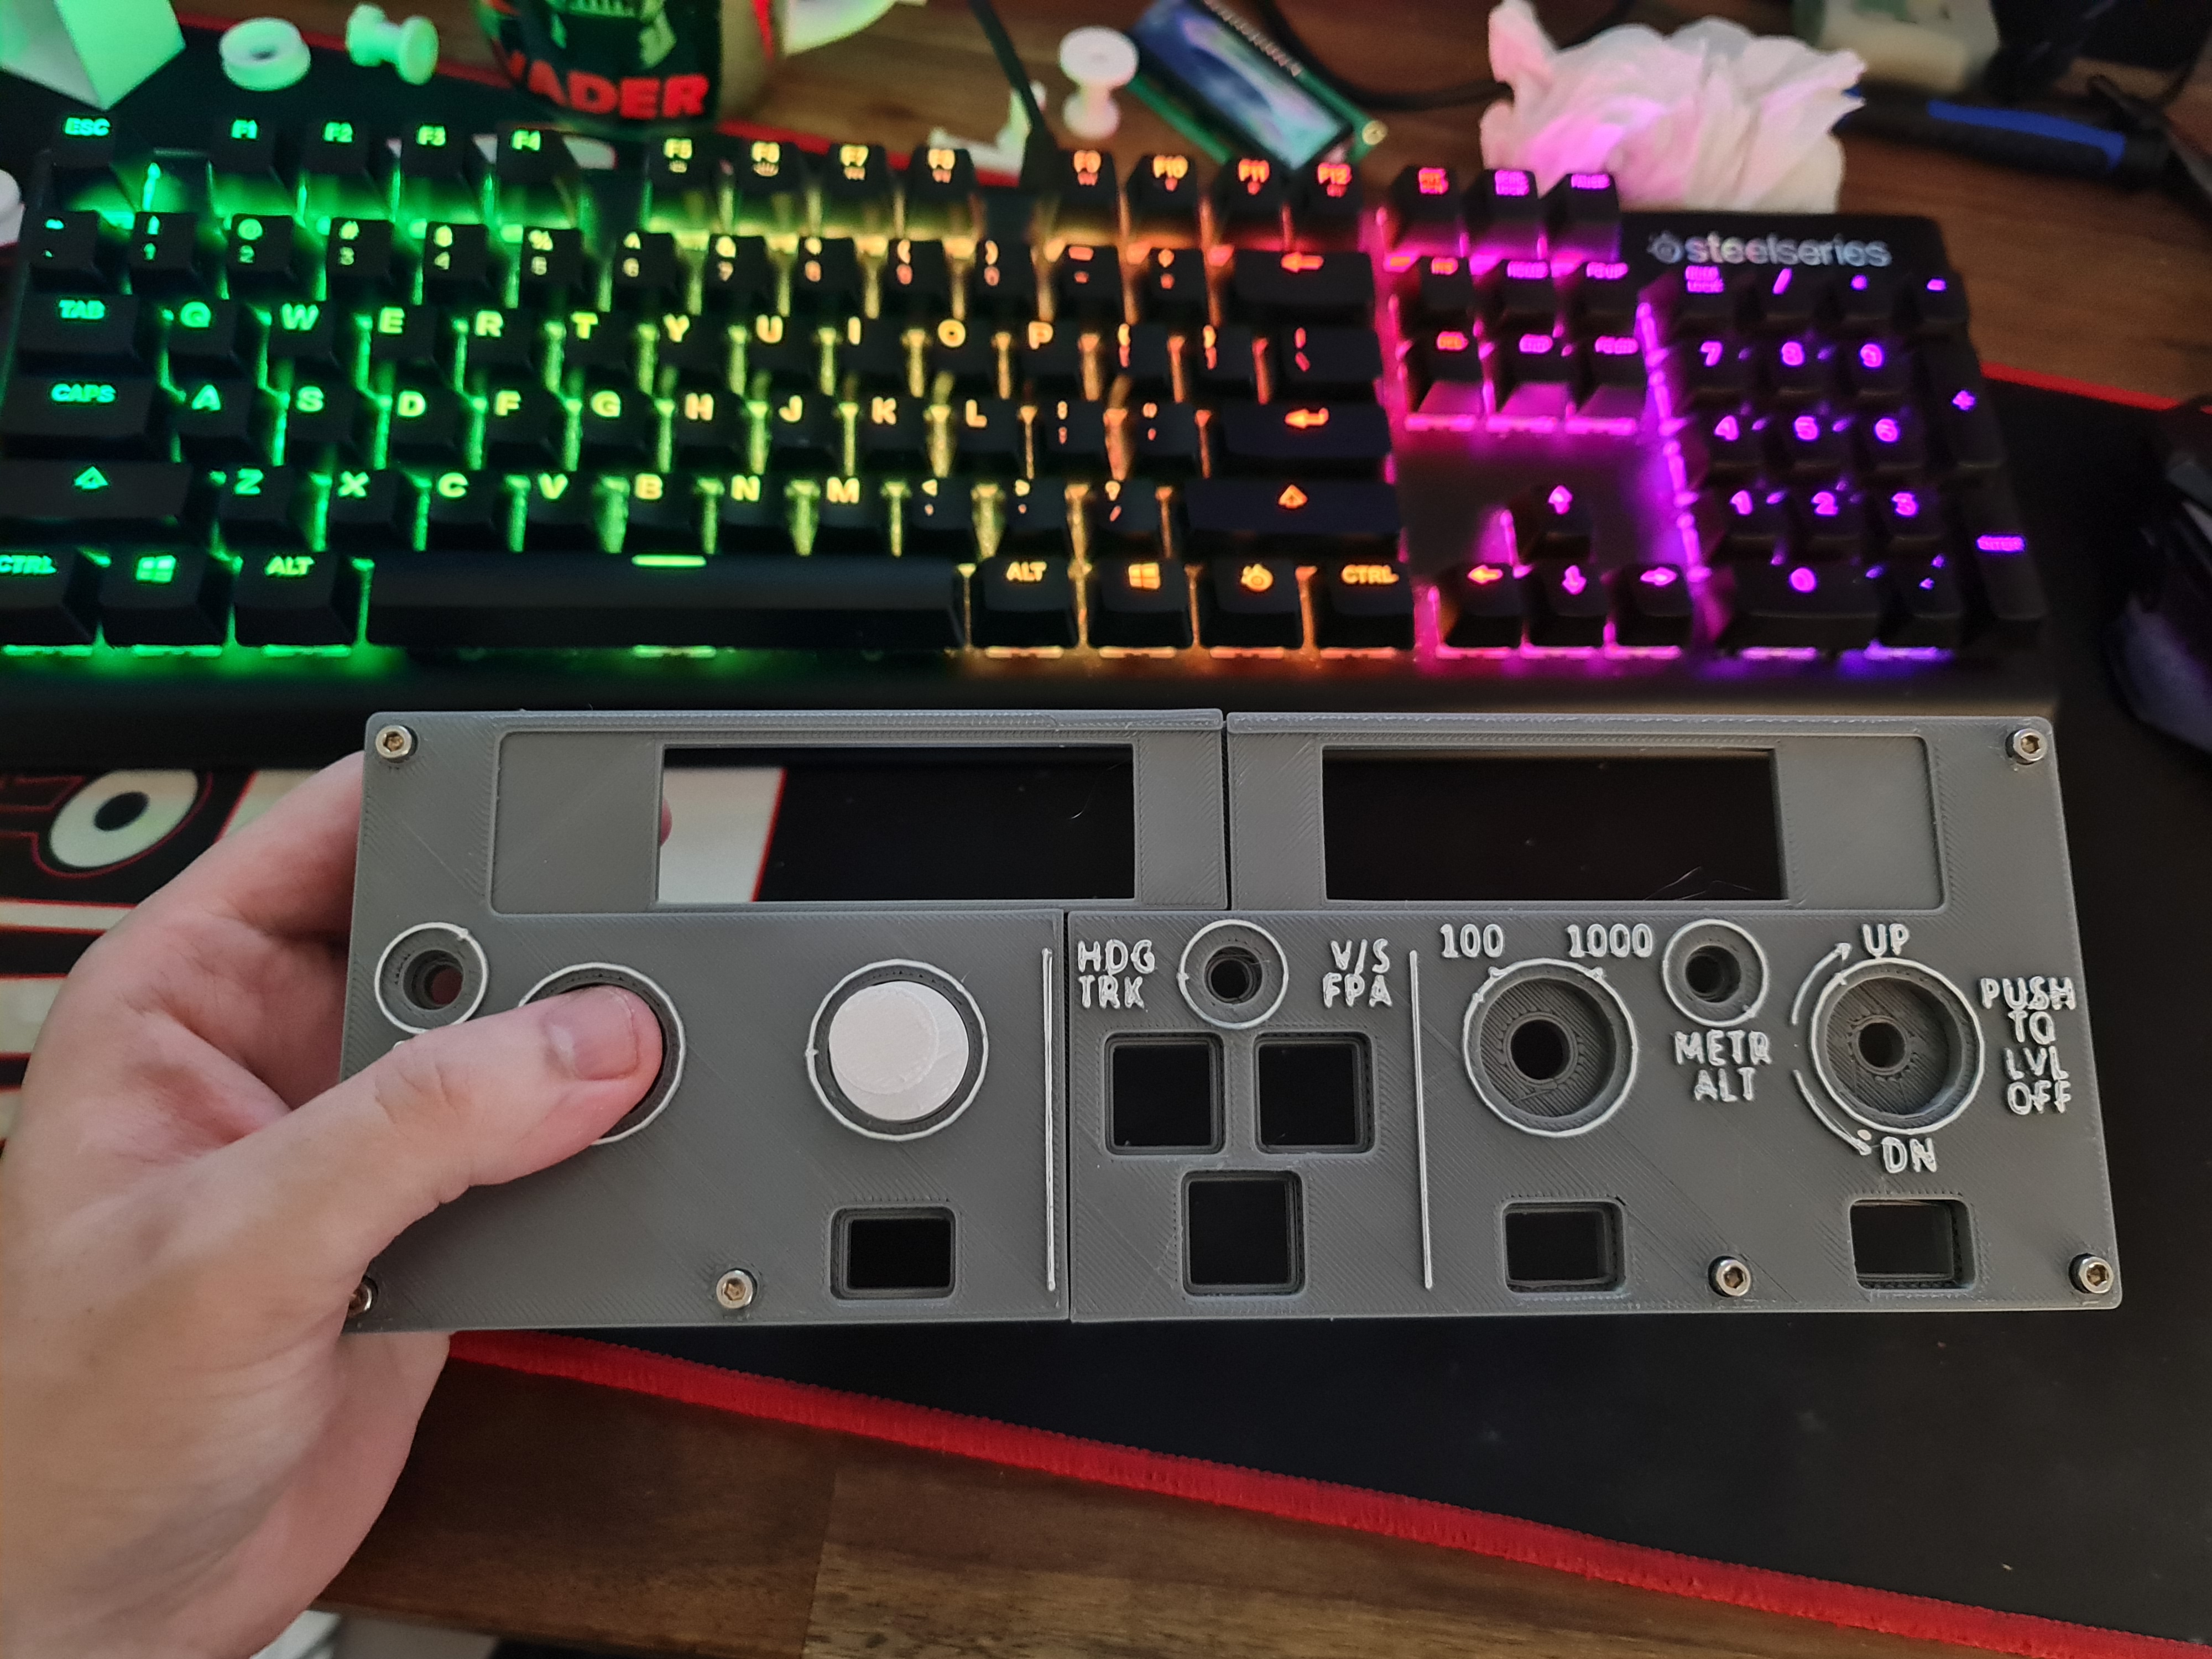
With some printing and brass inserts to hold the faceplate in place, it looks like I'm on the right track.
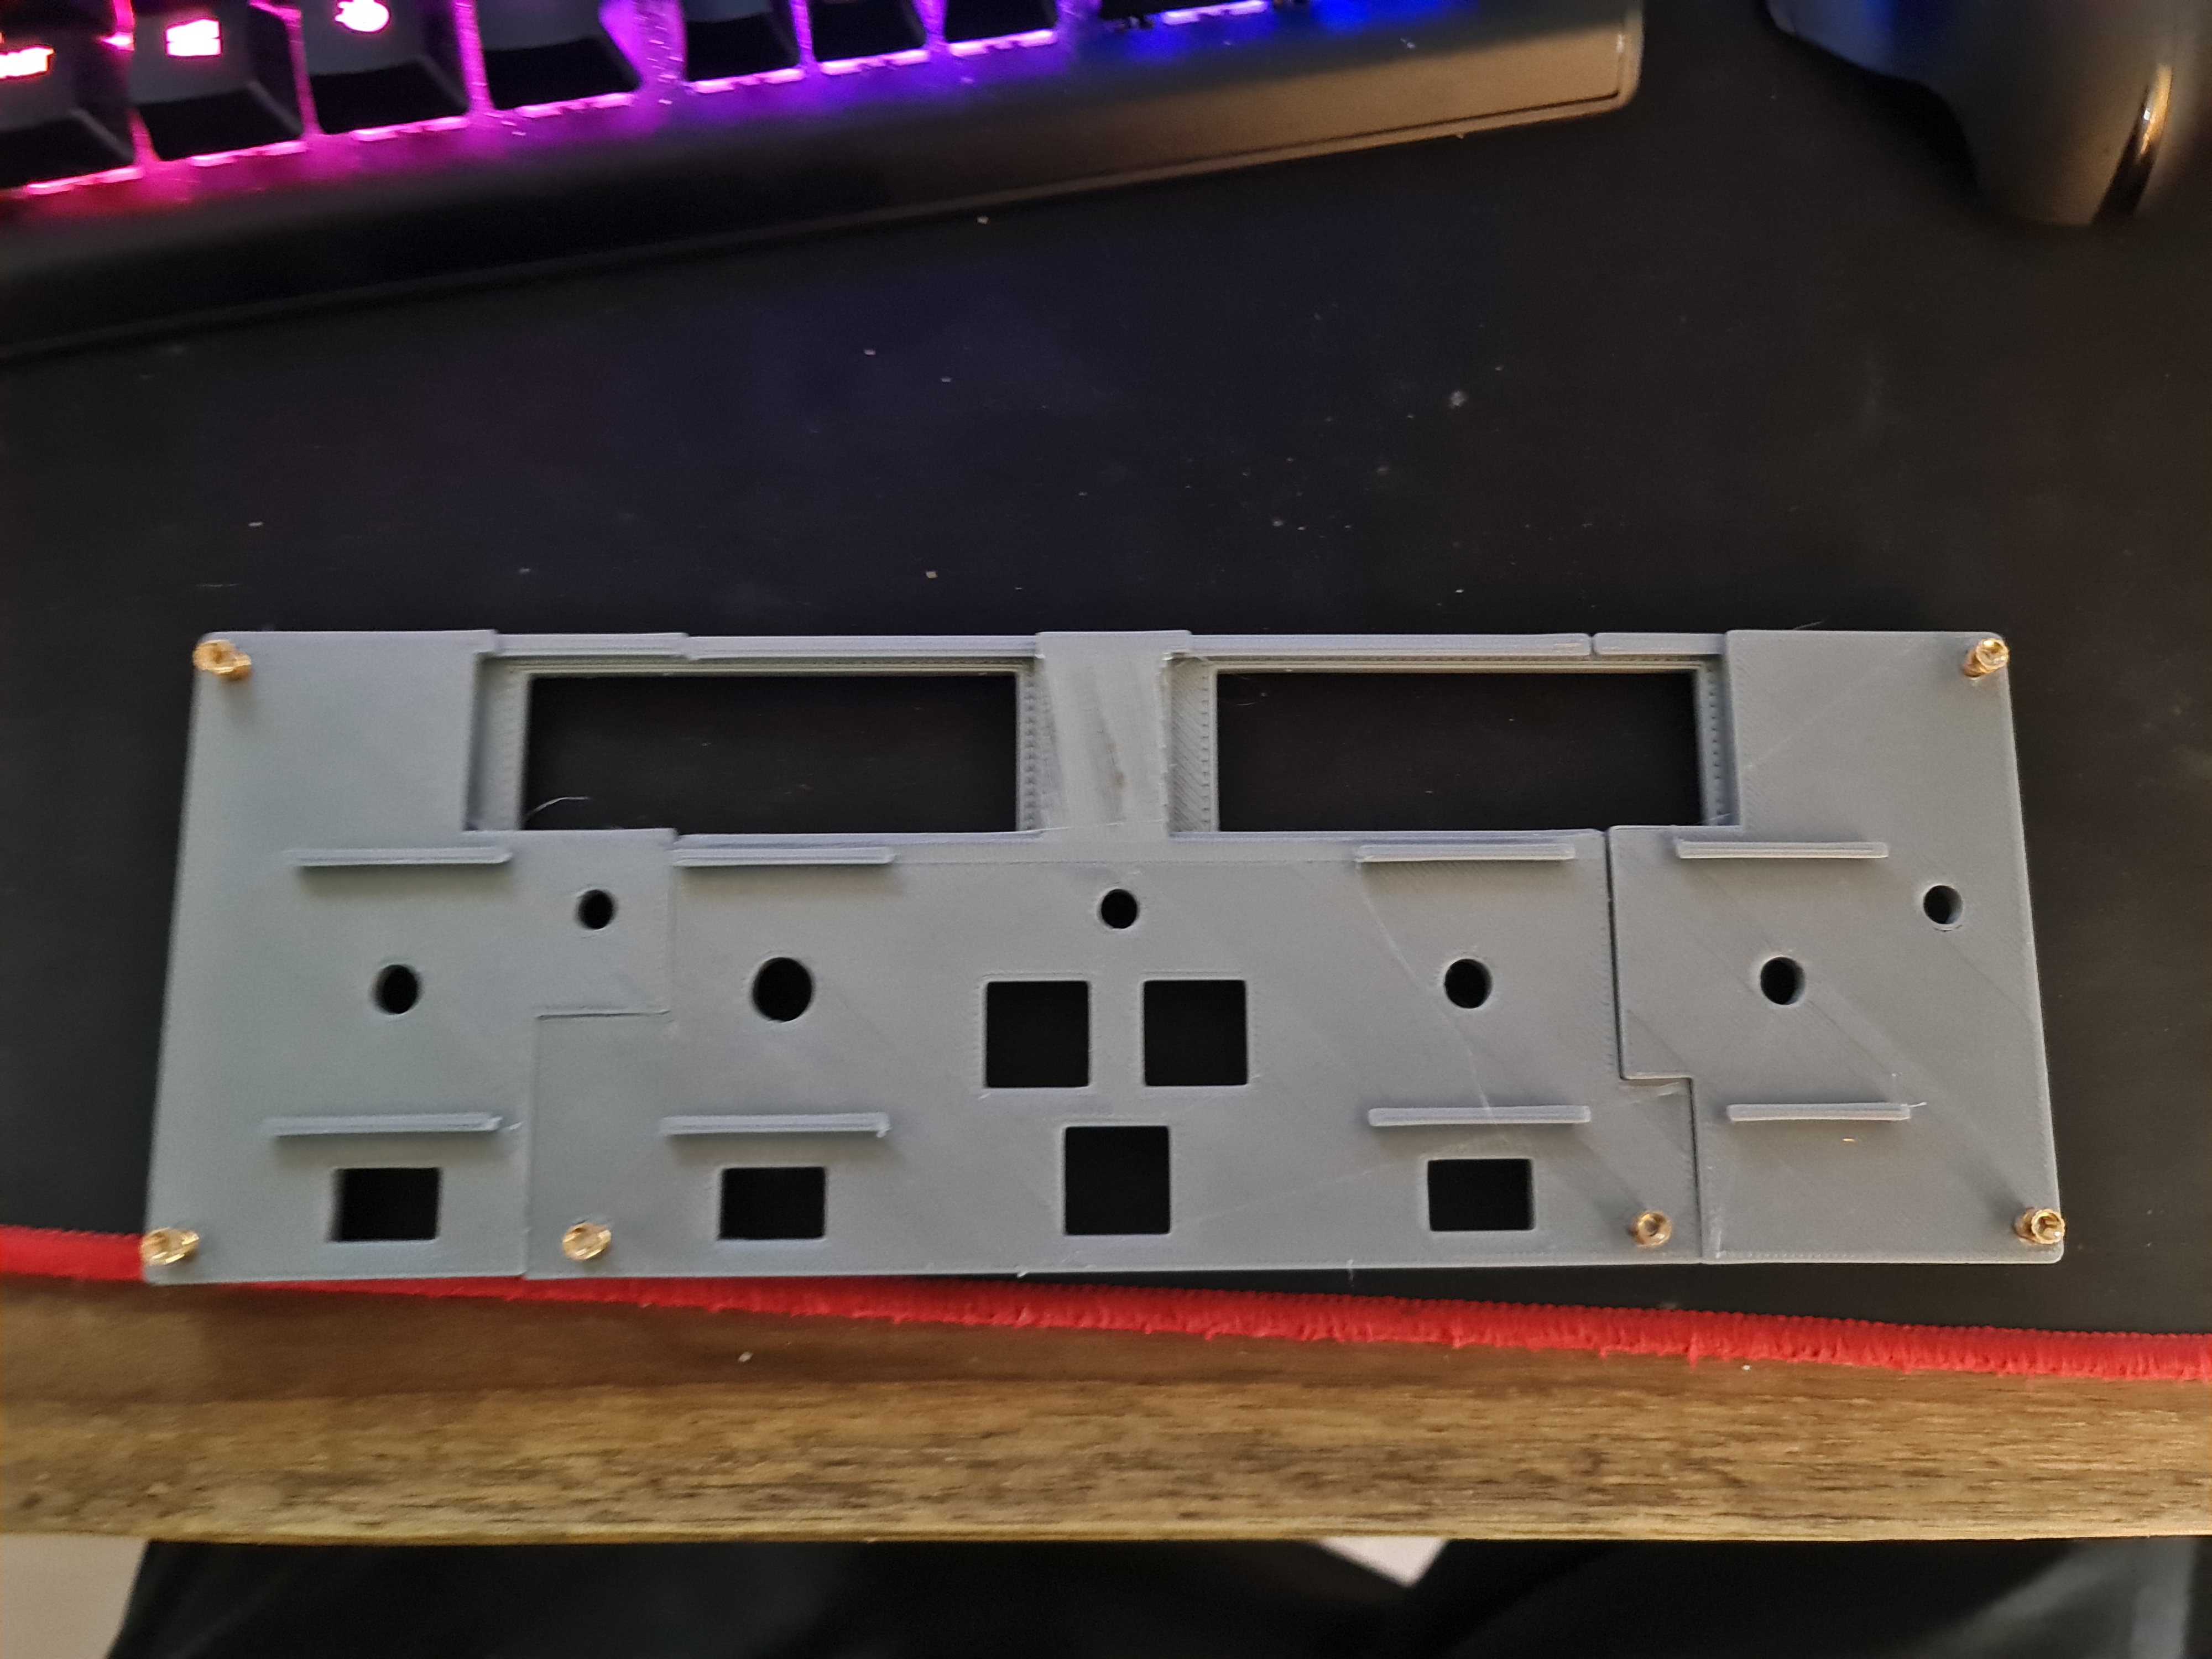
After the initial "awww..." moment, you can start to quickly see some faults. The first is that in this particular design, I'm using 2x 1602 LCD Screens. They have a large(ish) PCB around them. While I had factored in the top, part, I hadn't factored in the bottom part as I was drawing in the Rotary Encoder holds. This is probably where modelling the entire thing upfront would have saved some time...
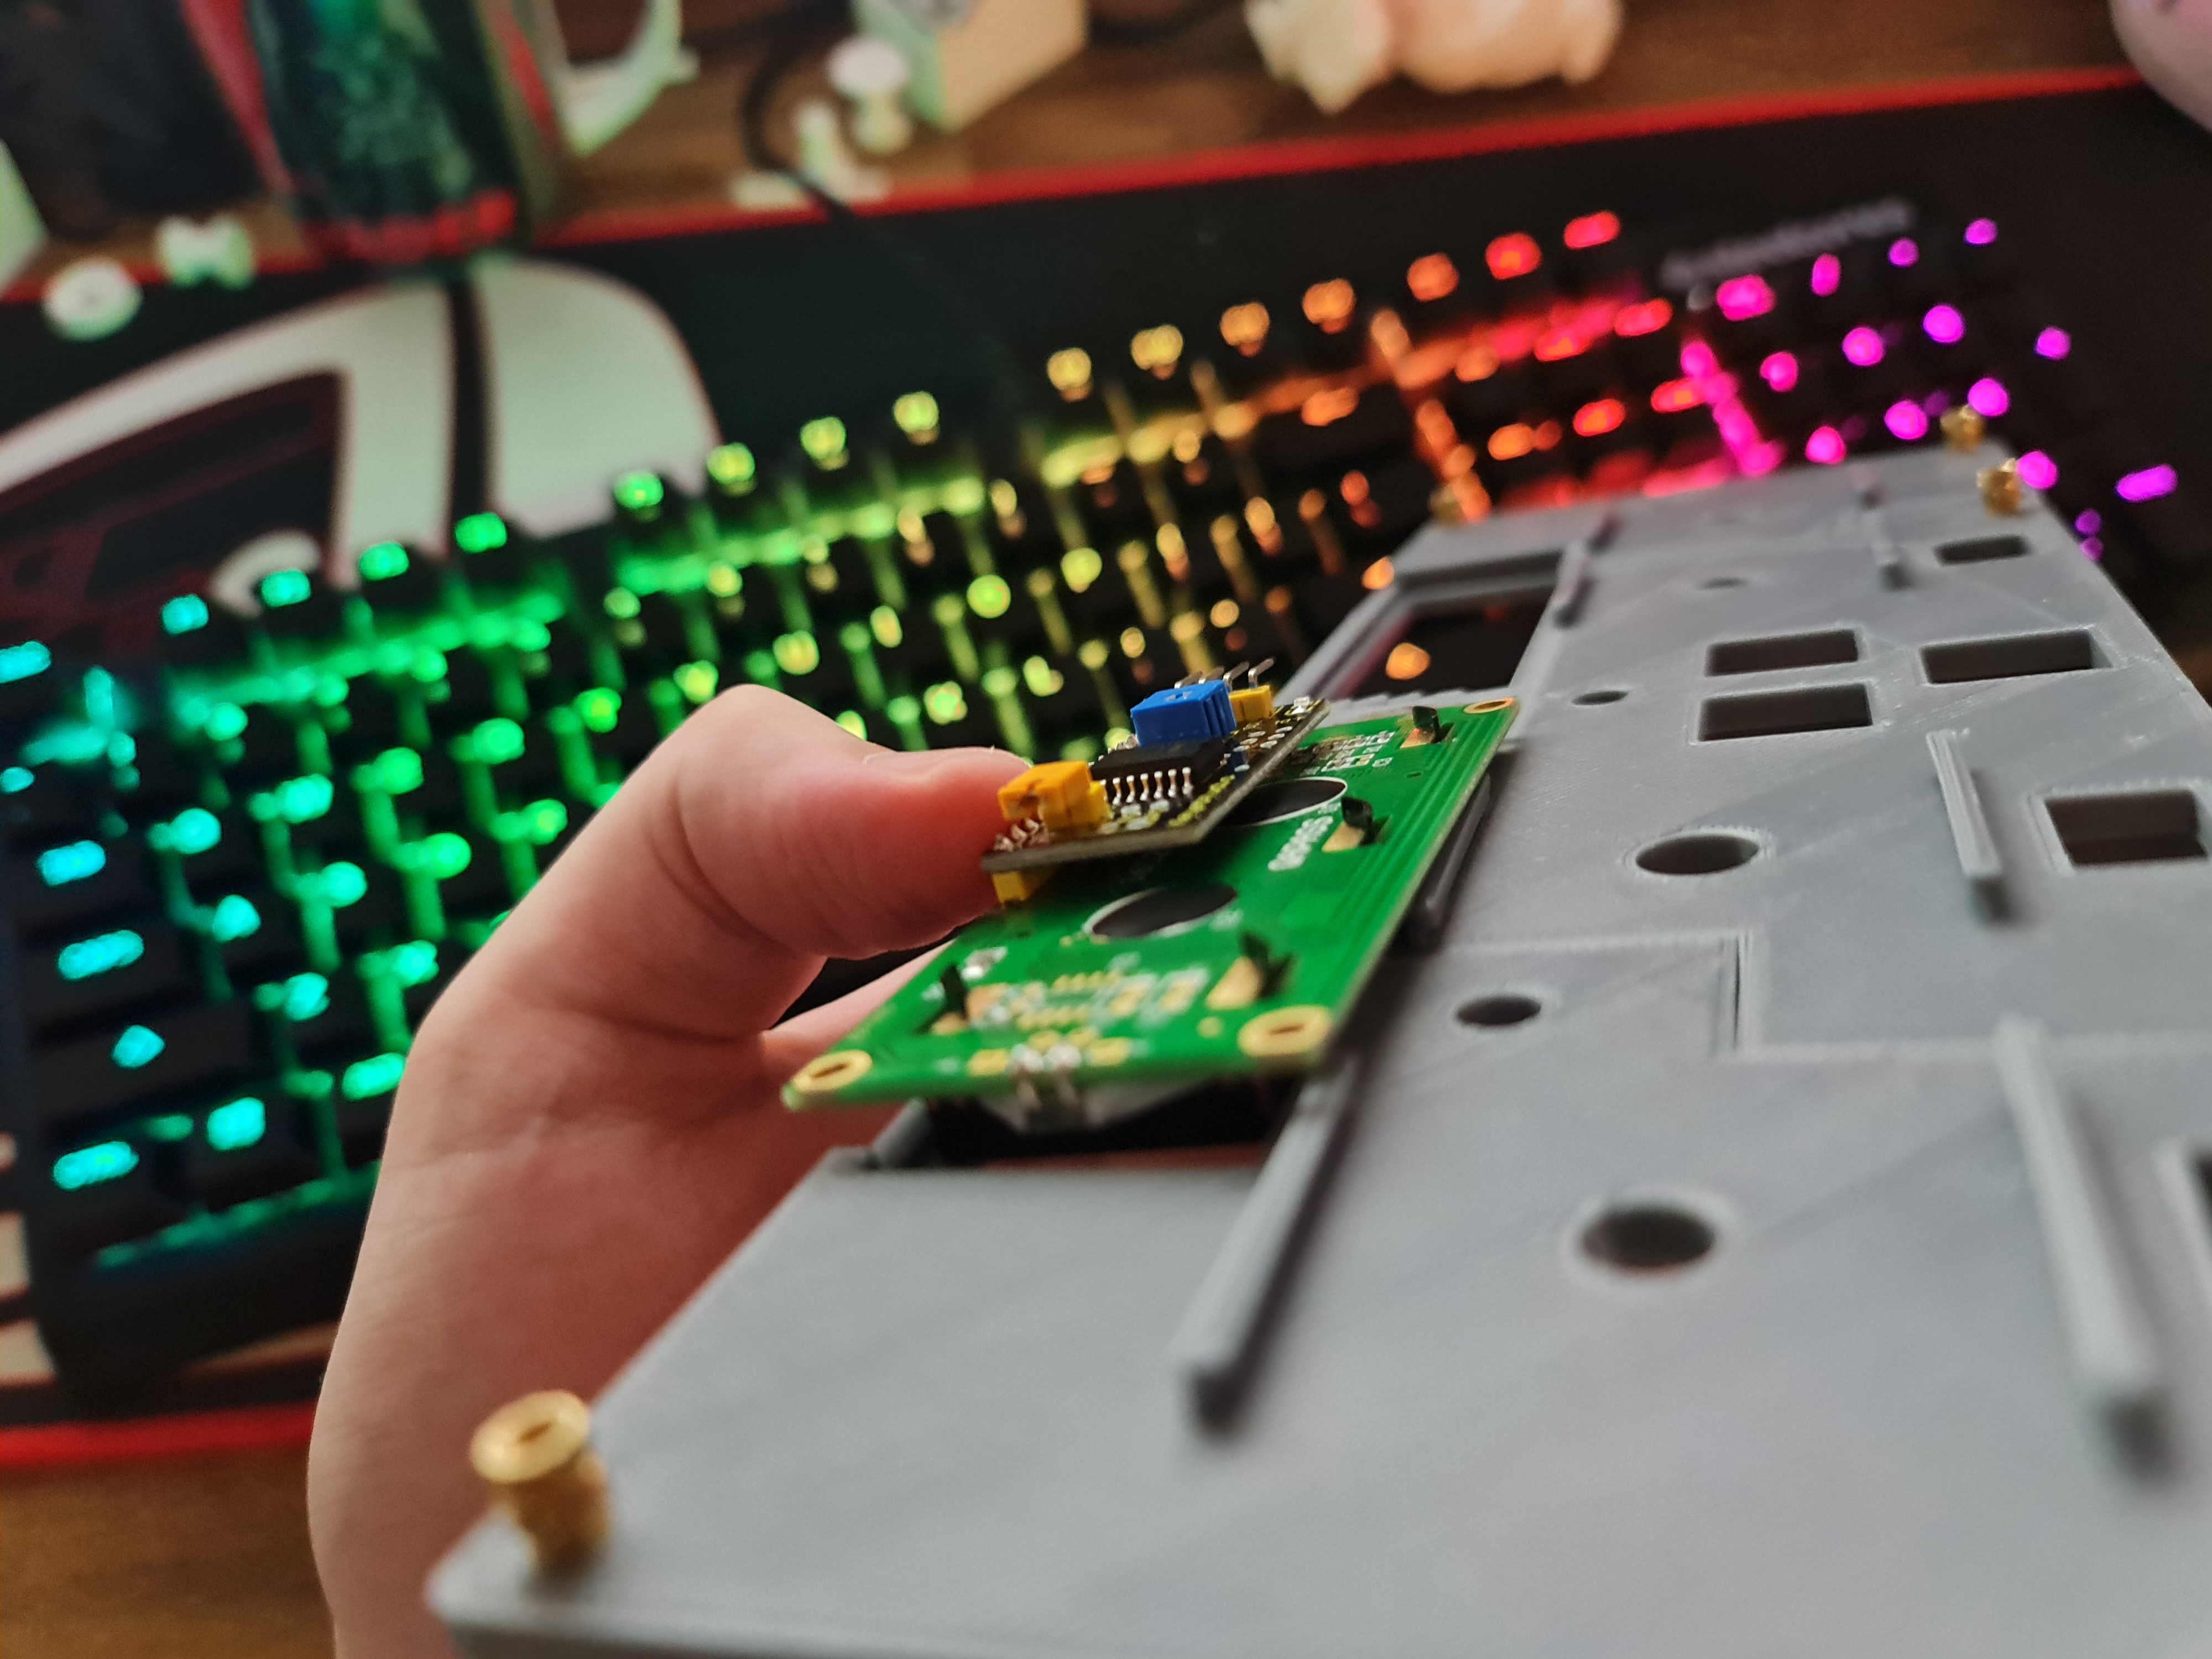
There's also what appears to be a burn mark in between where the LCD screens will fit so I thought I'd better re-level the 3D printer and print again anyway. I don't have any pictures of it, but it largely looked the same and the LCD screens fit flush now. I'd then embark on a journey to build a smaller Korry switch - similar to that tested in the previous post. After several prints, it was clear that the smaller Korry would be too small to fit either a 5050 SMD LED or a 3mm LED bulb so I had to ditch the idea and build the external enclosure as part of the back plate. This process would waste a few days, but we eventually got there. This had to be printed with the button side up, so there was a lot of support material / waste to clear out too.
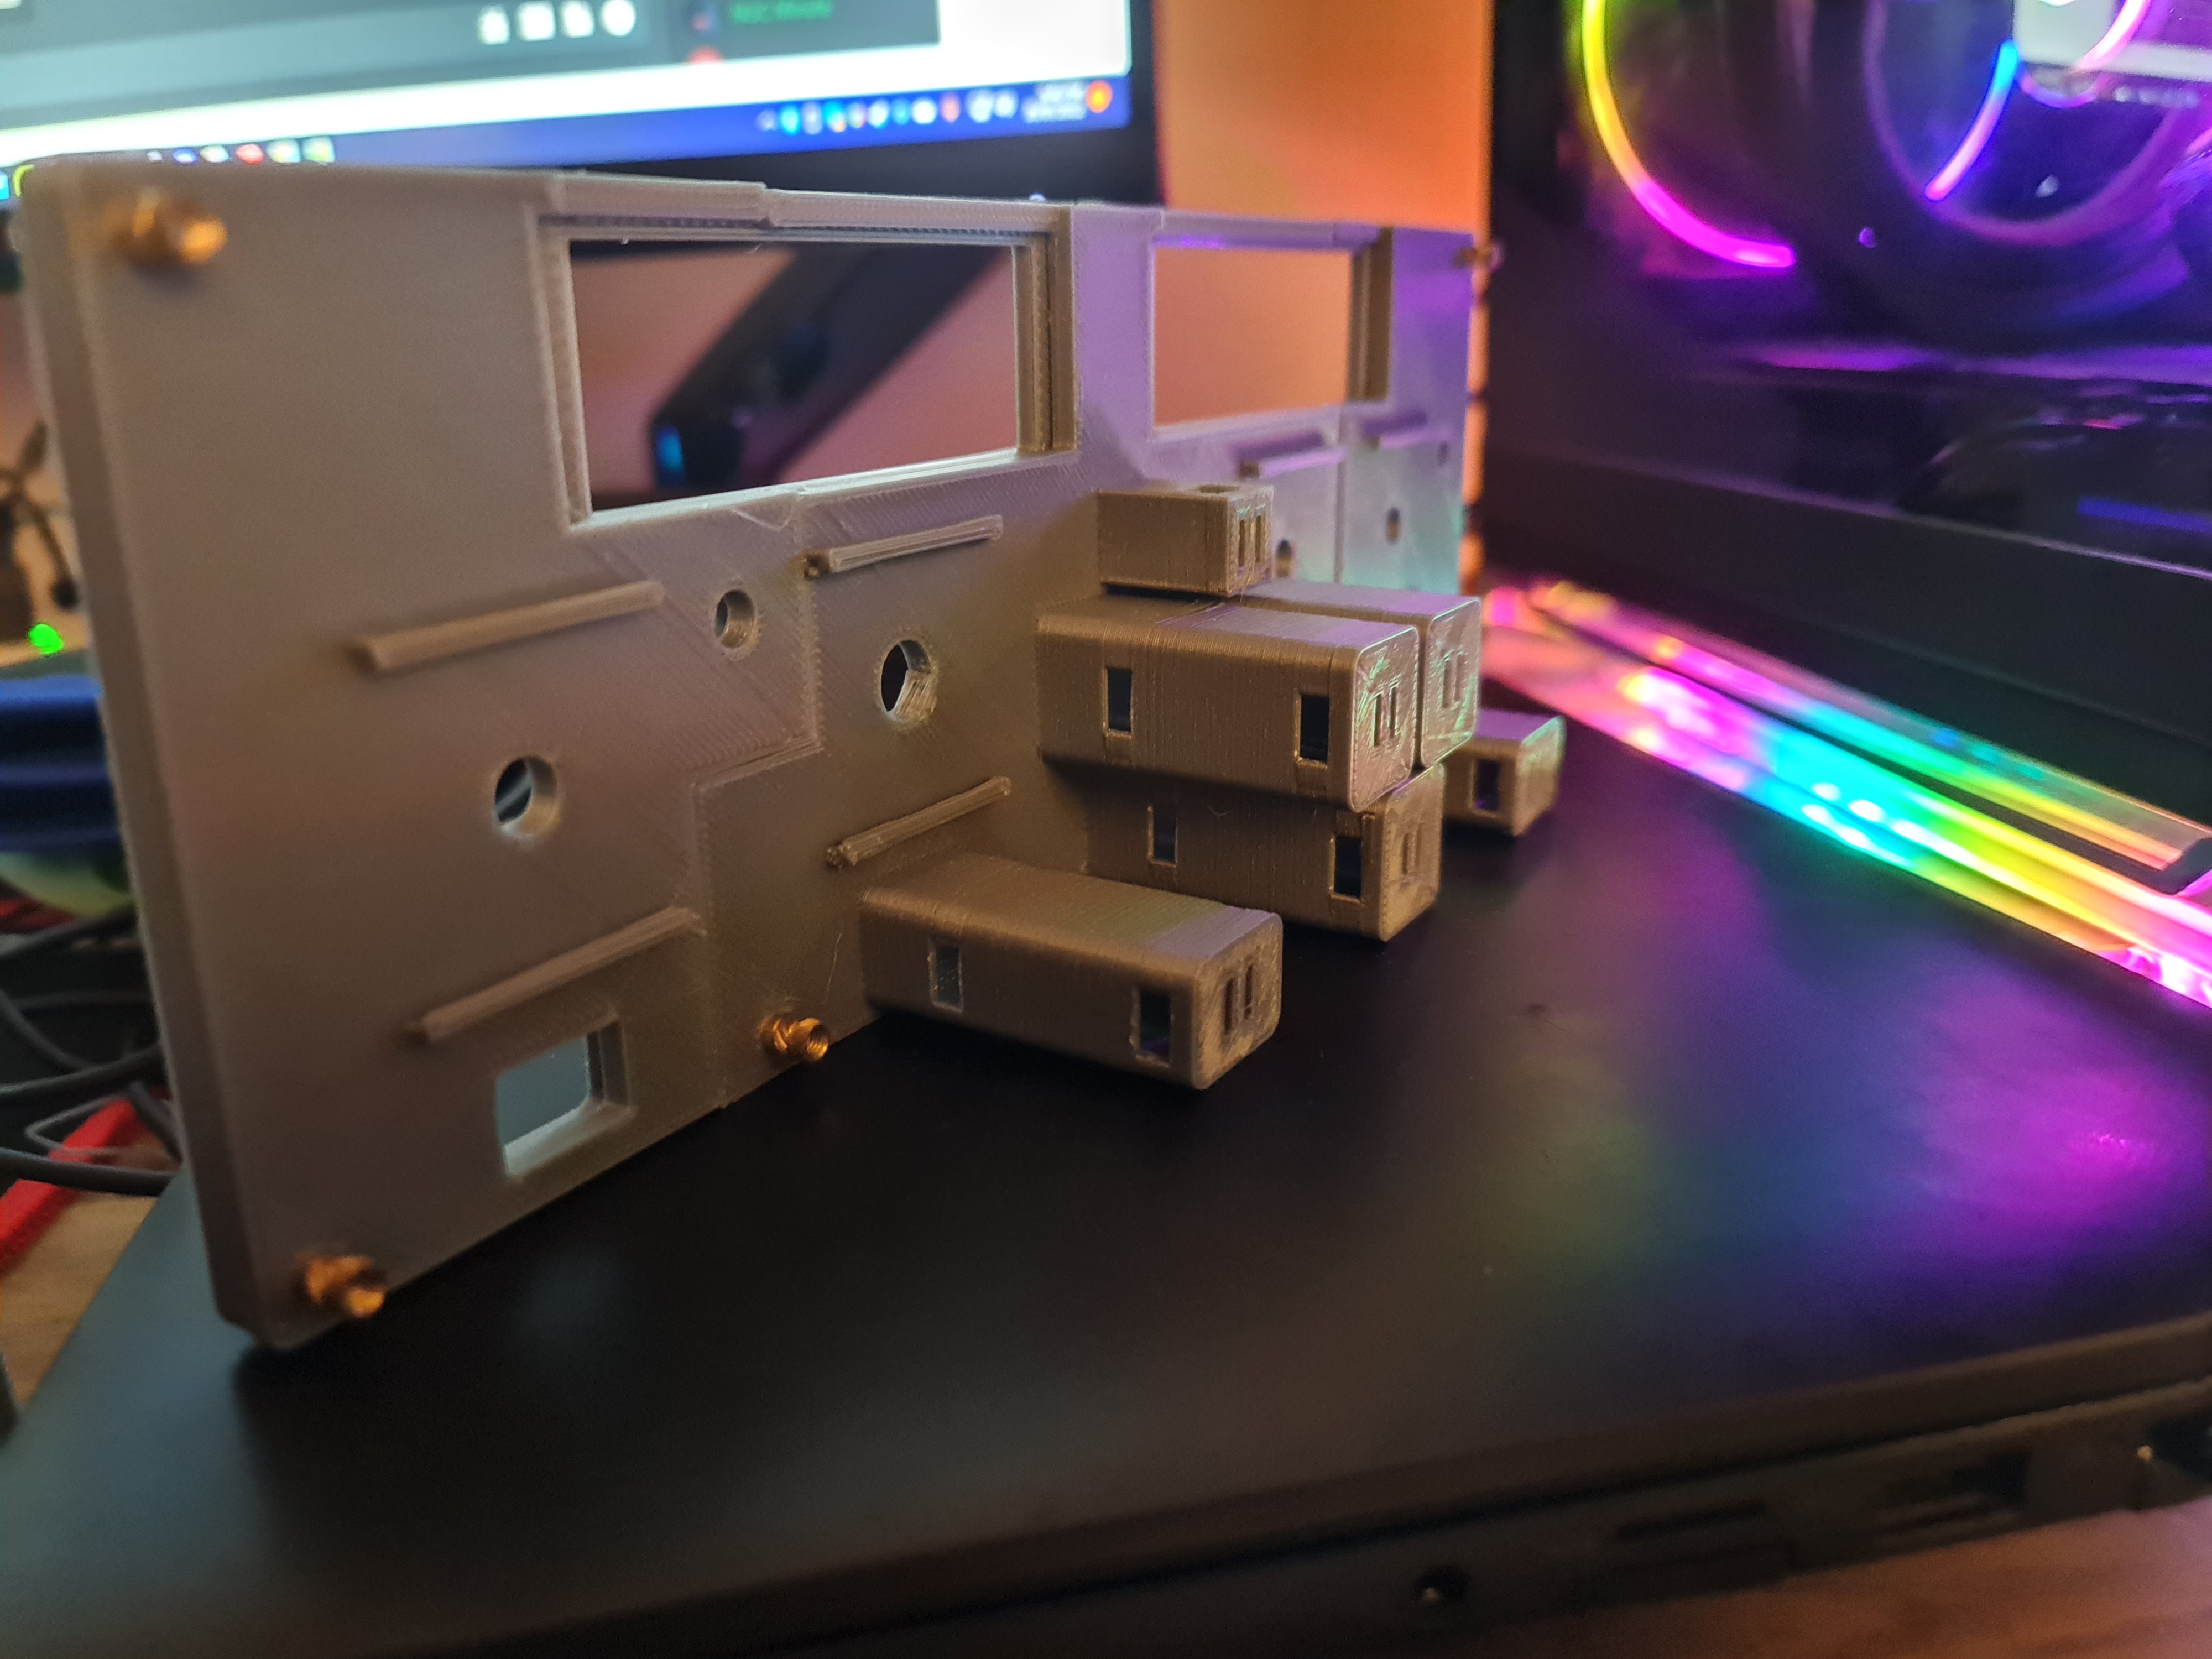
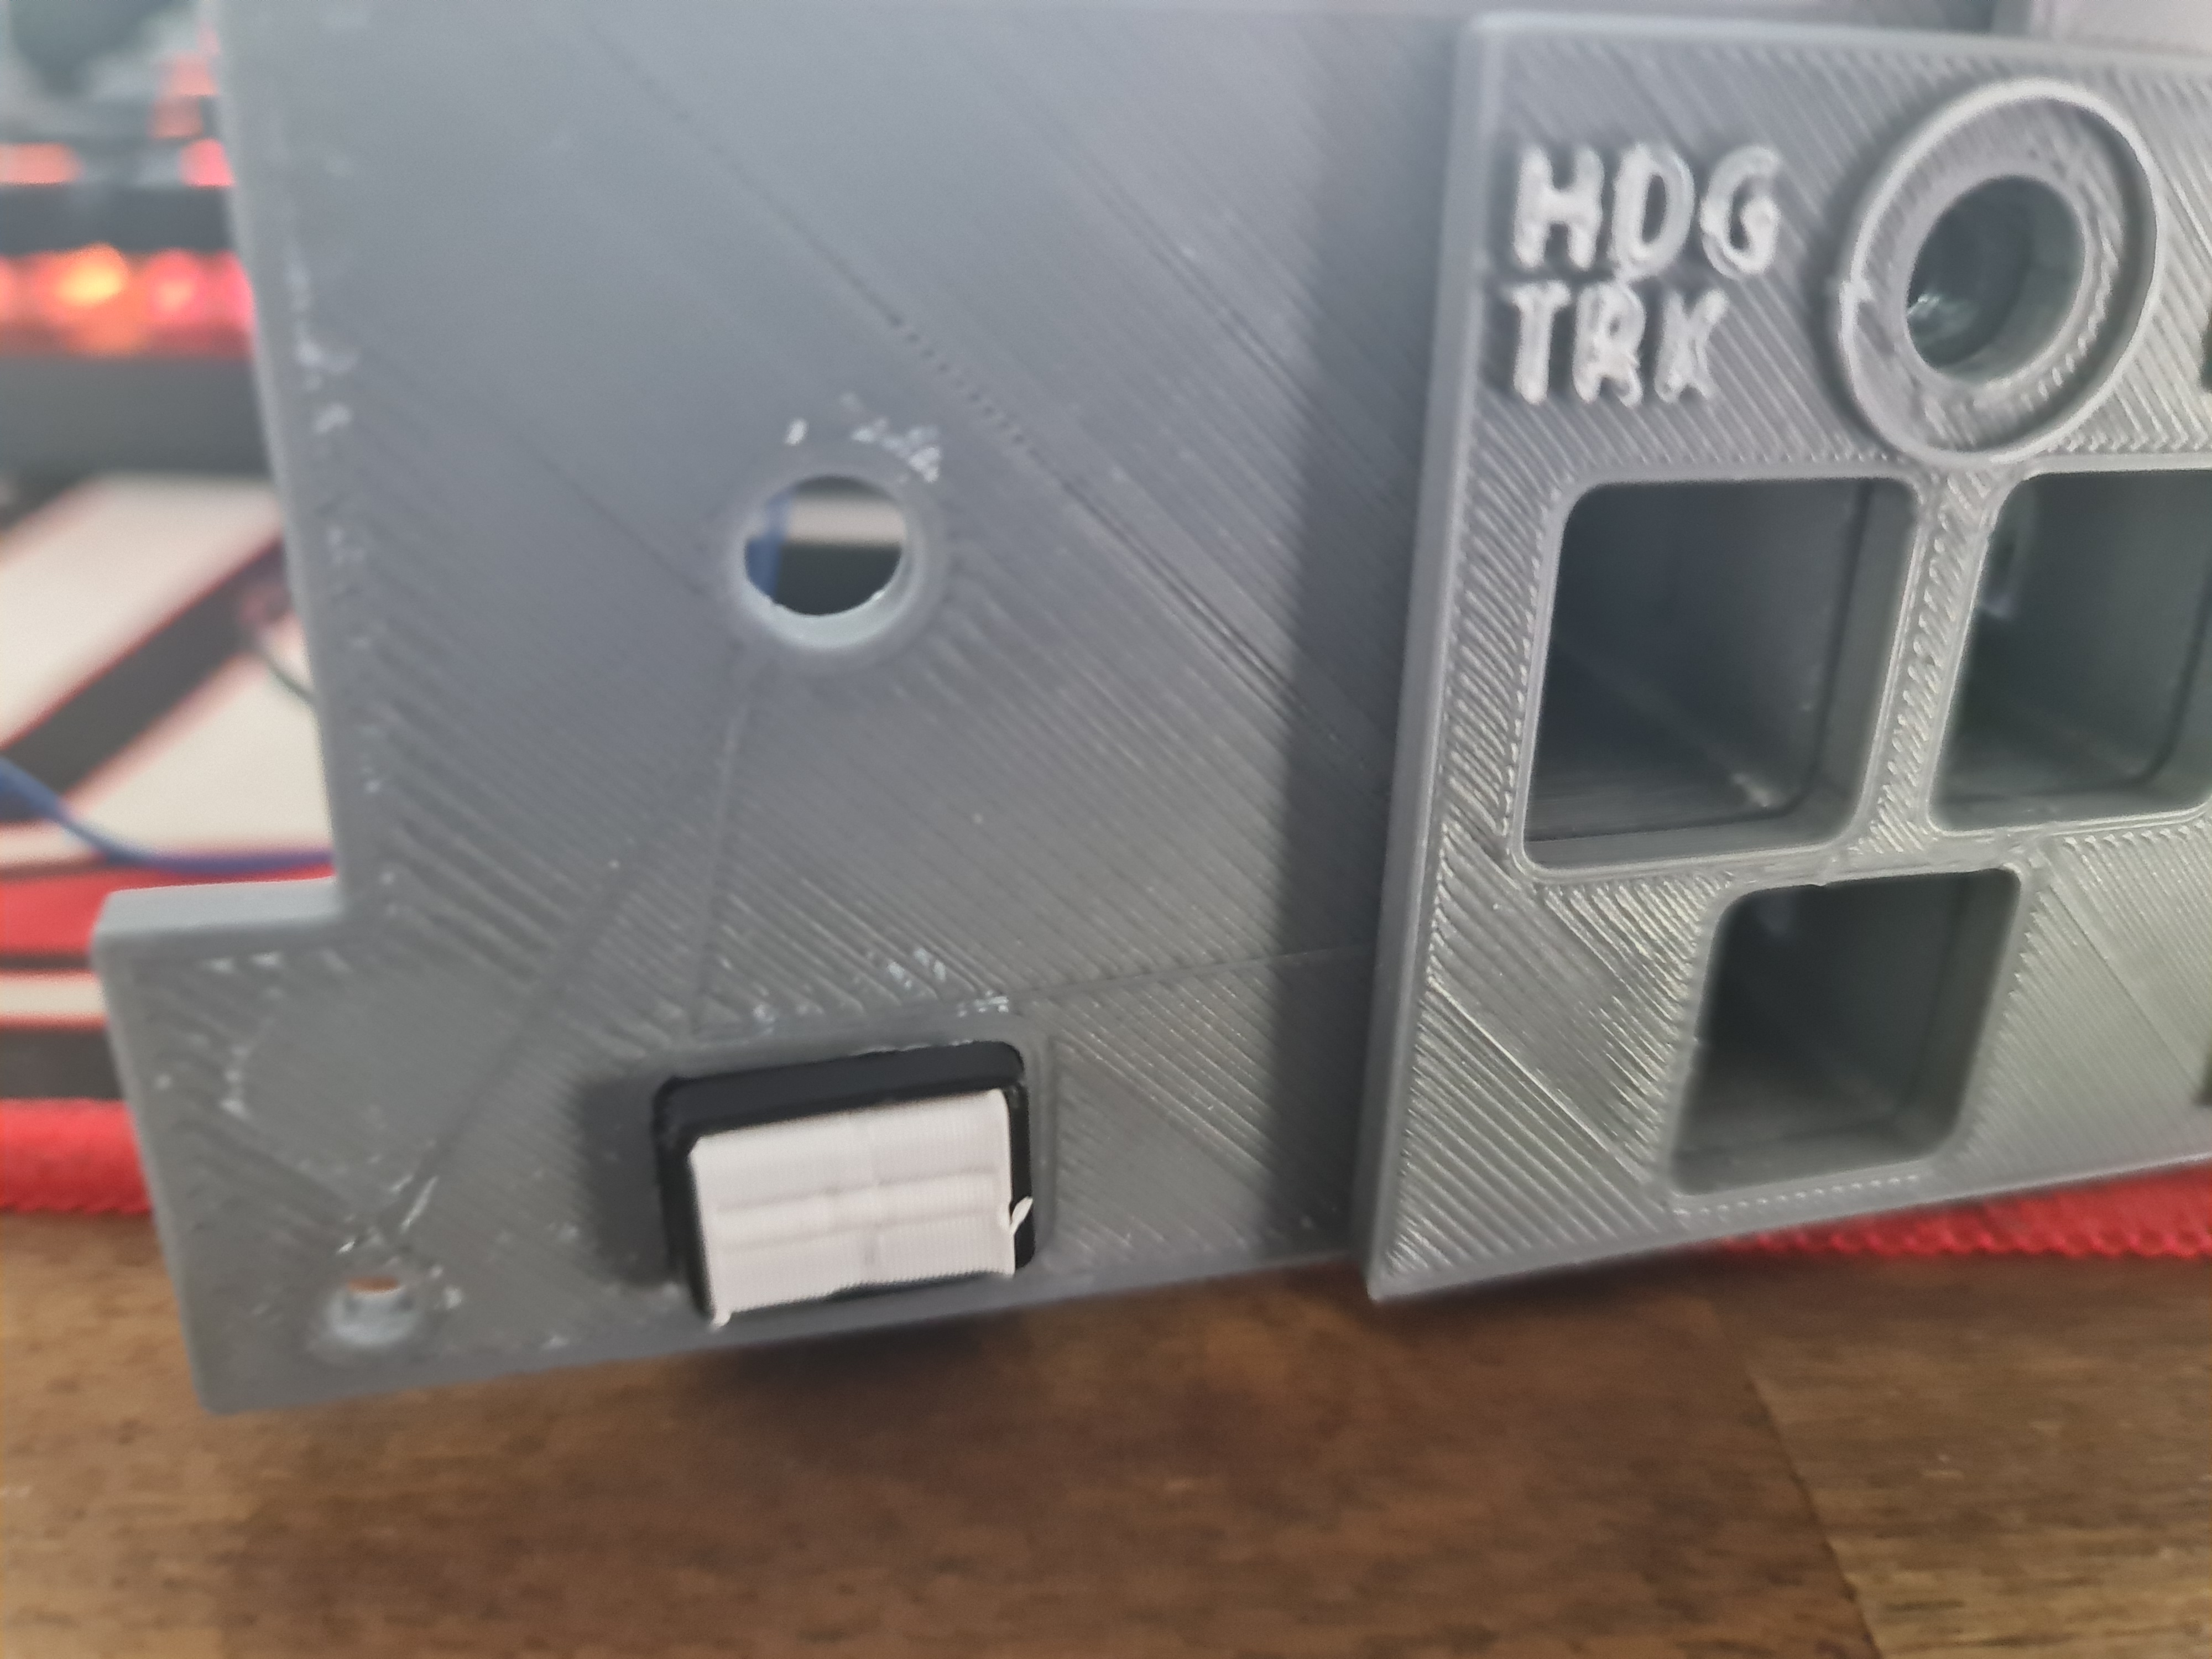
Now that we have an external enclosure for the Korry switches, it's time to test a few possible options.
Finalising the Korry Switch
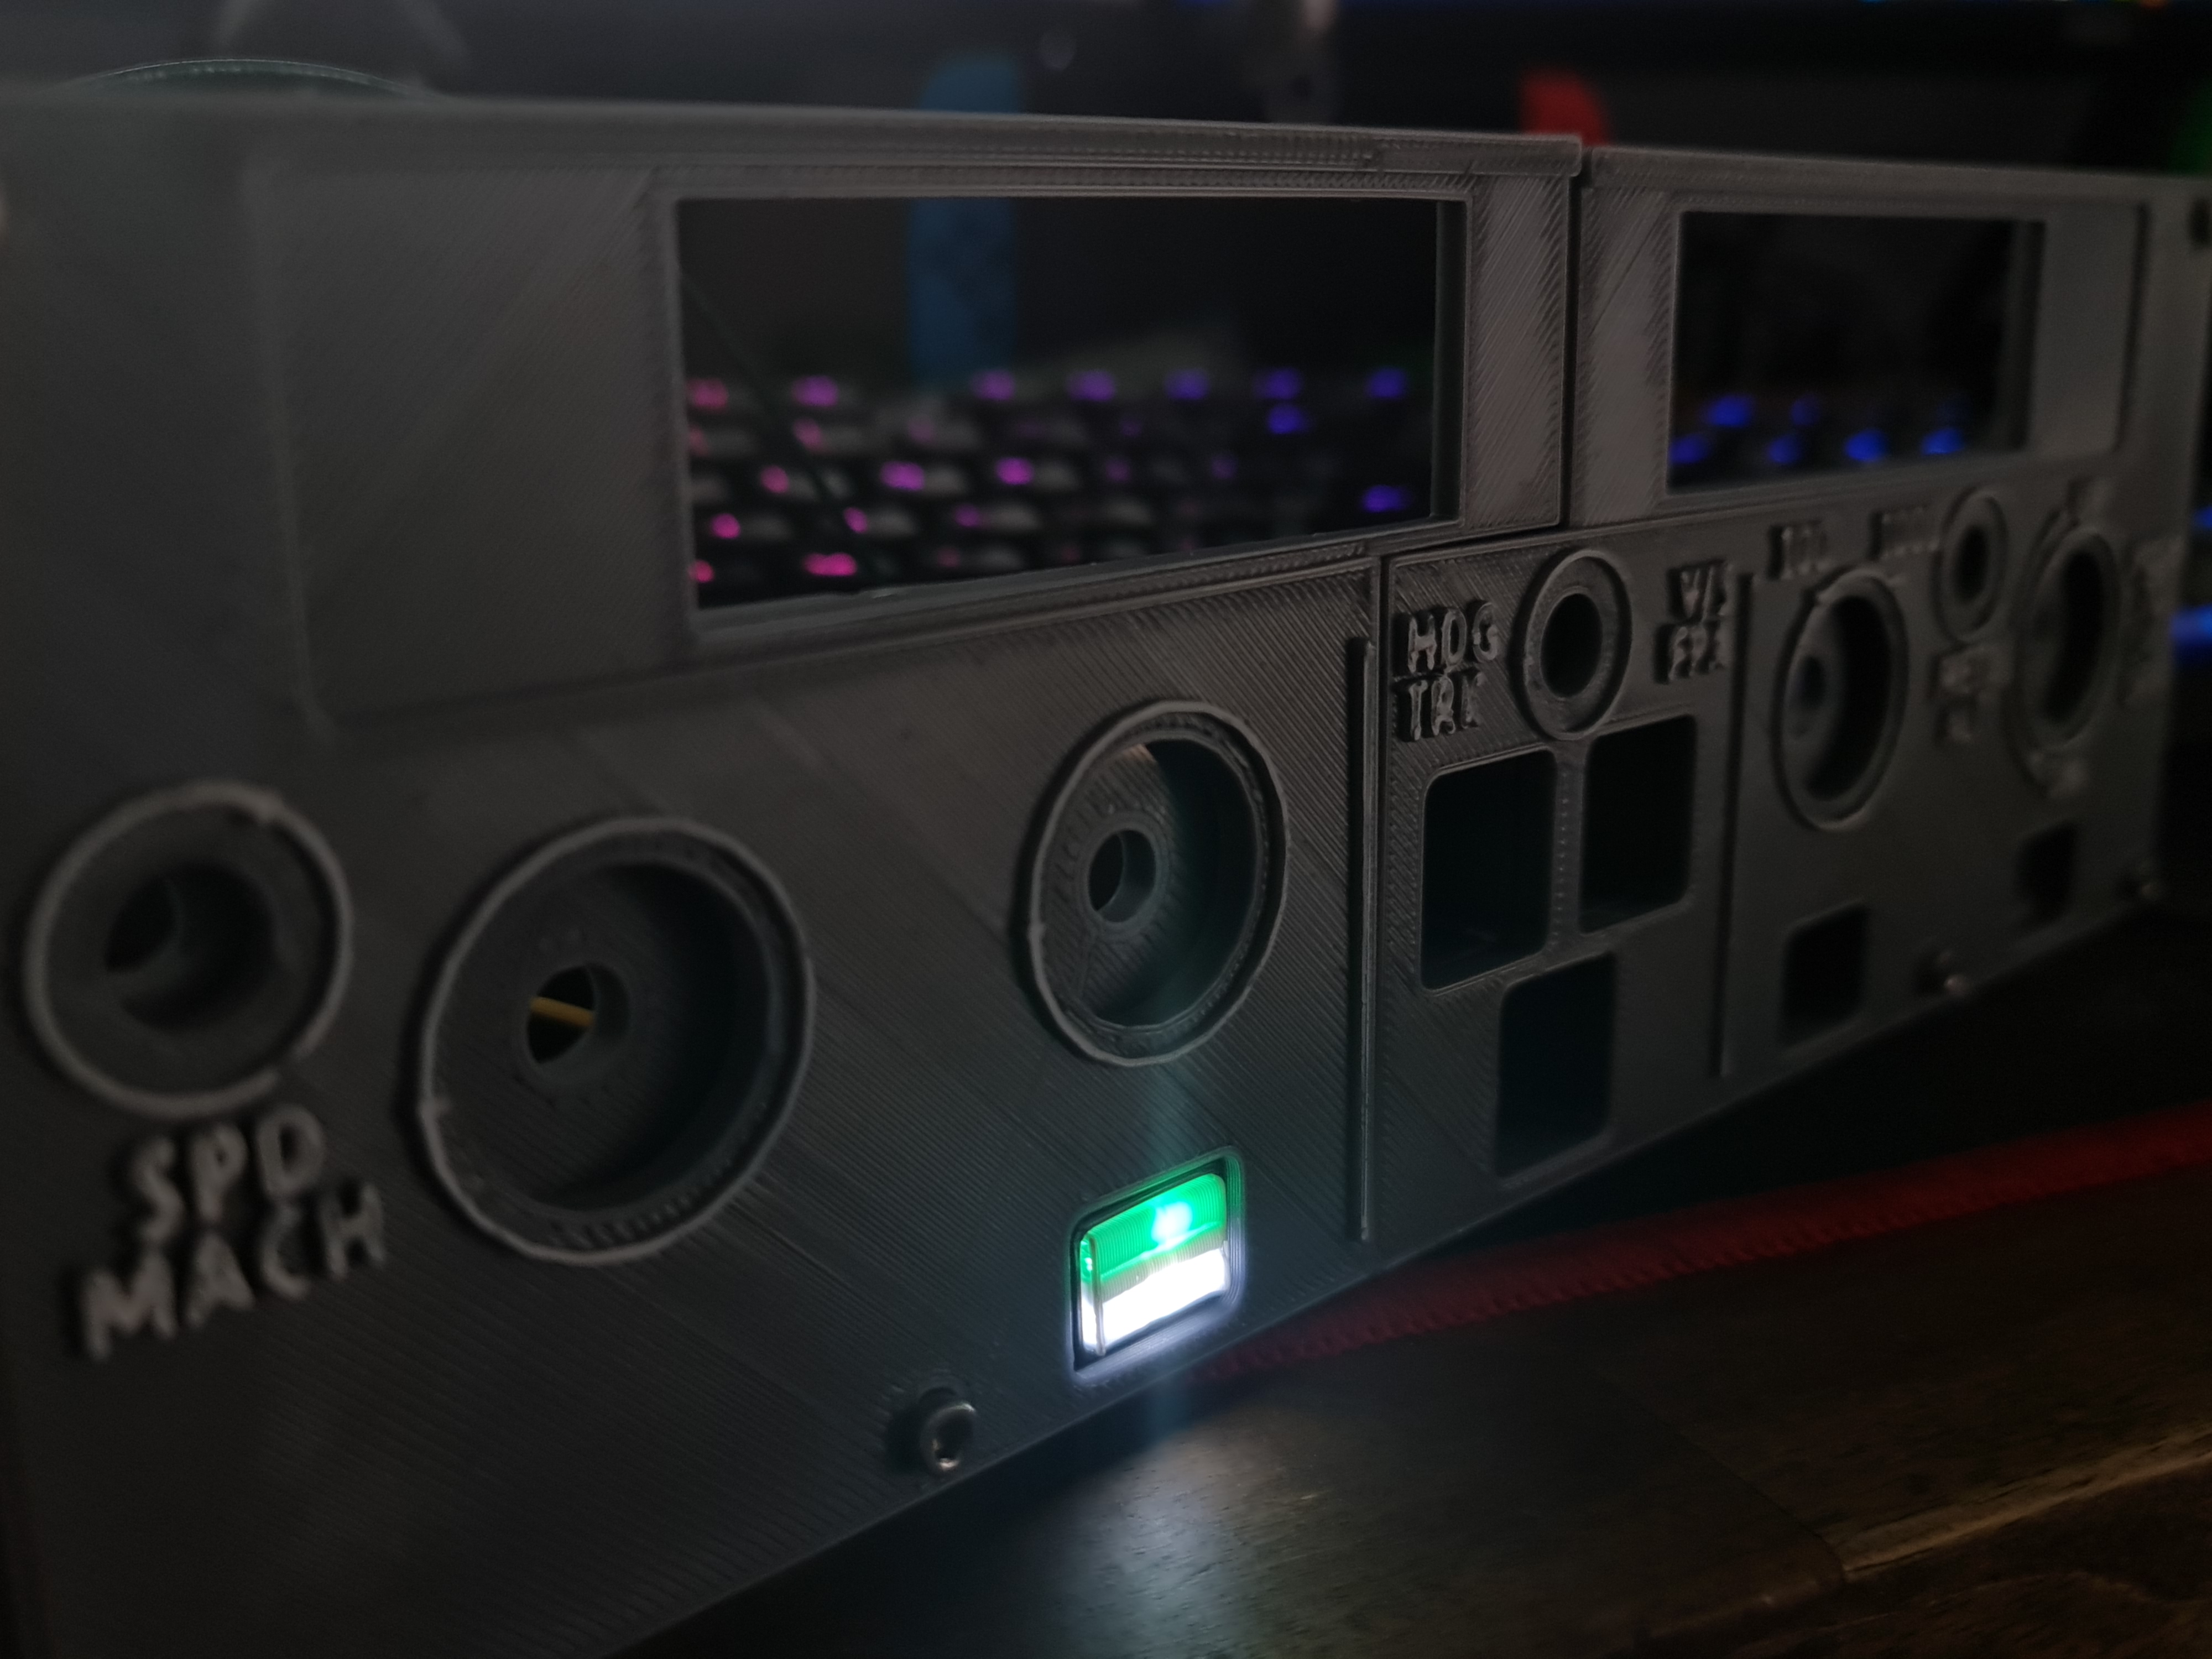
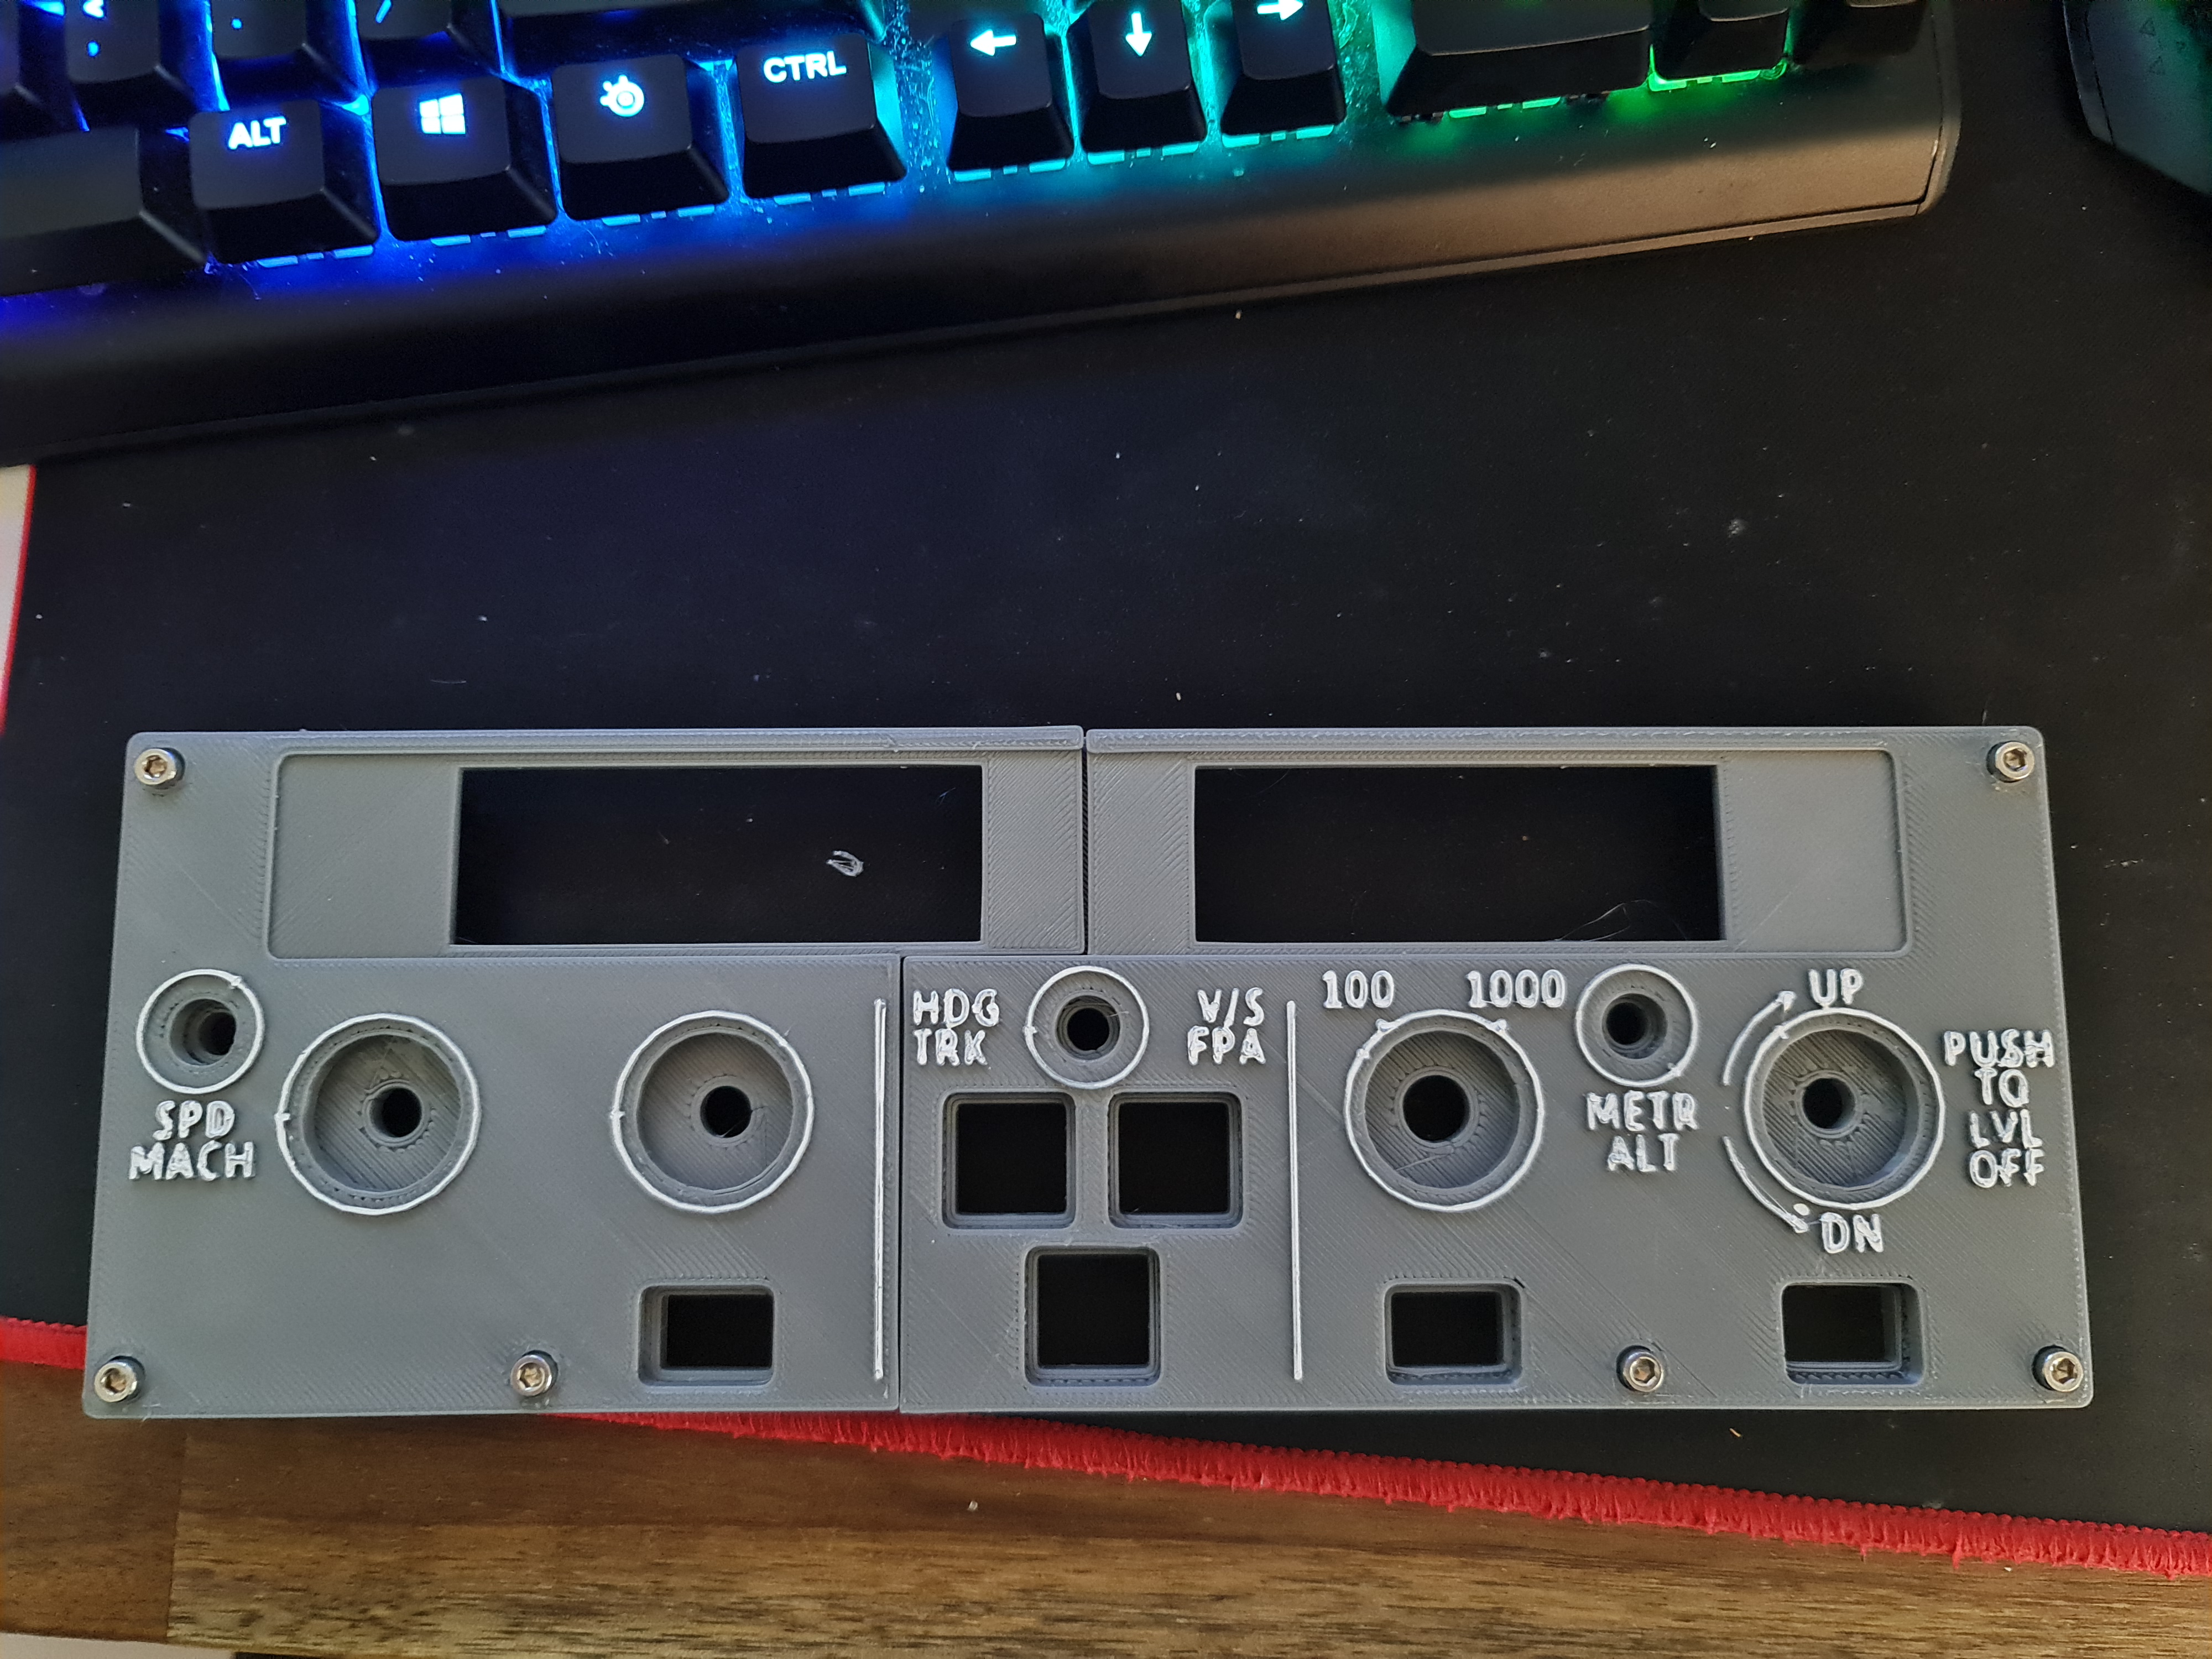
Using the same dimensions as present in the new backplate, it was time to re-do the design. The main challenge and re-do here was getting the right size appropriate for the hole. When working within 1mm tolerances, you tend to fight both the printer and design. After 3-4 goes, we've got a good fit and button action (albeit the buttons themselves are kind of garbage).
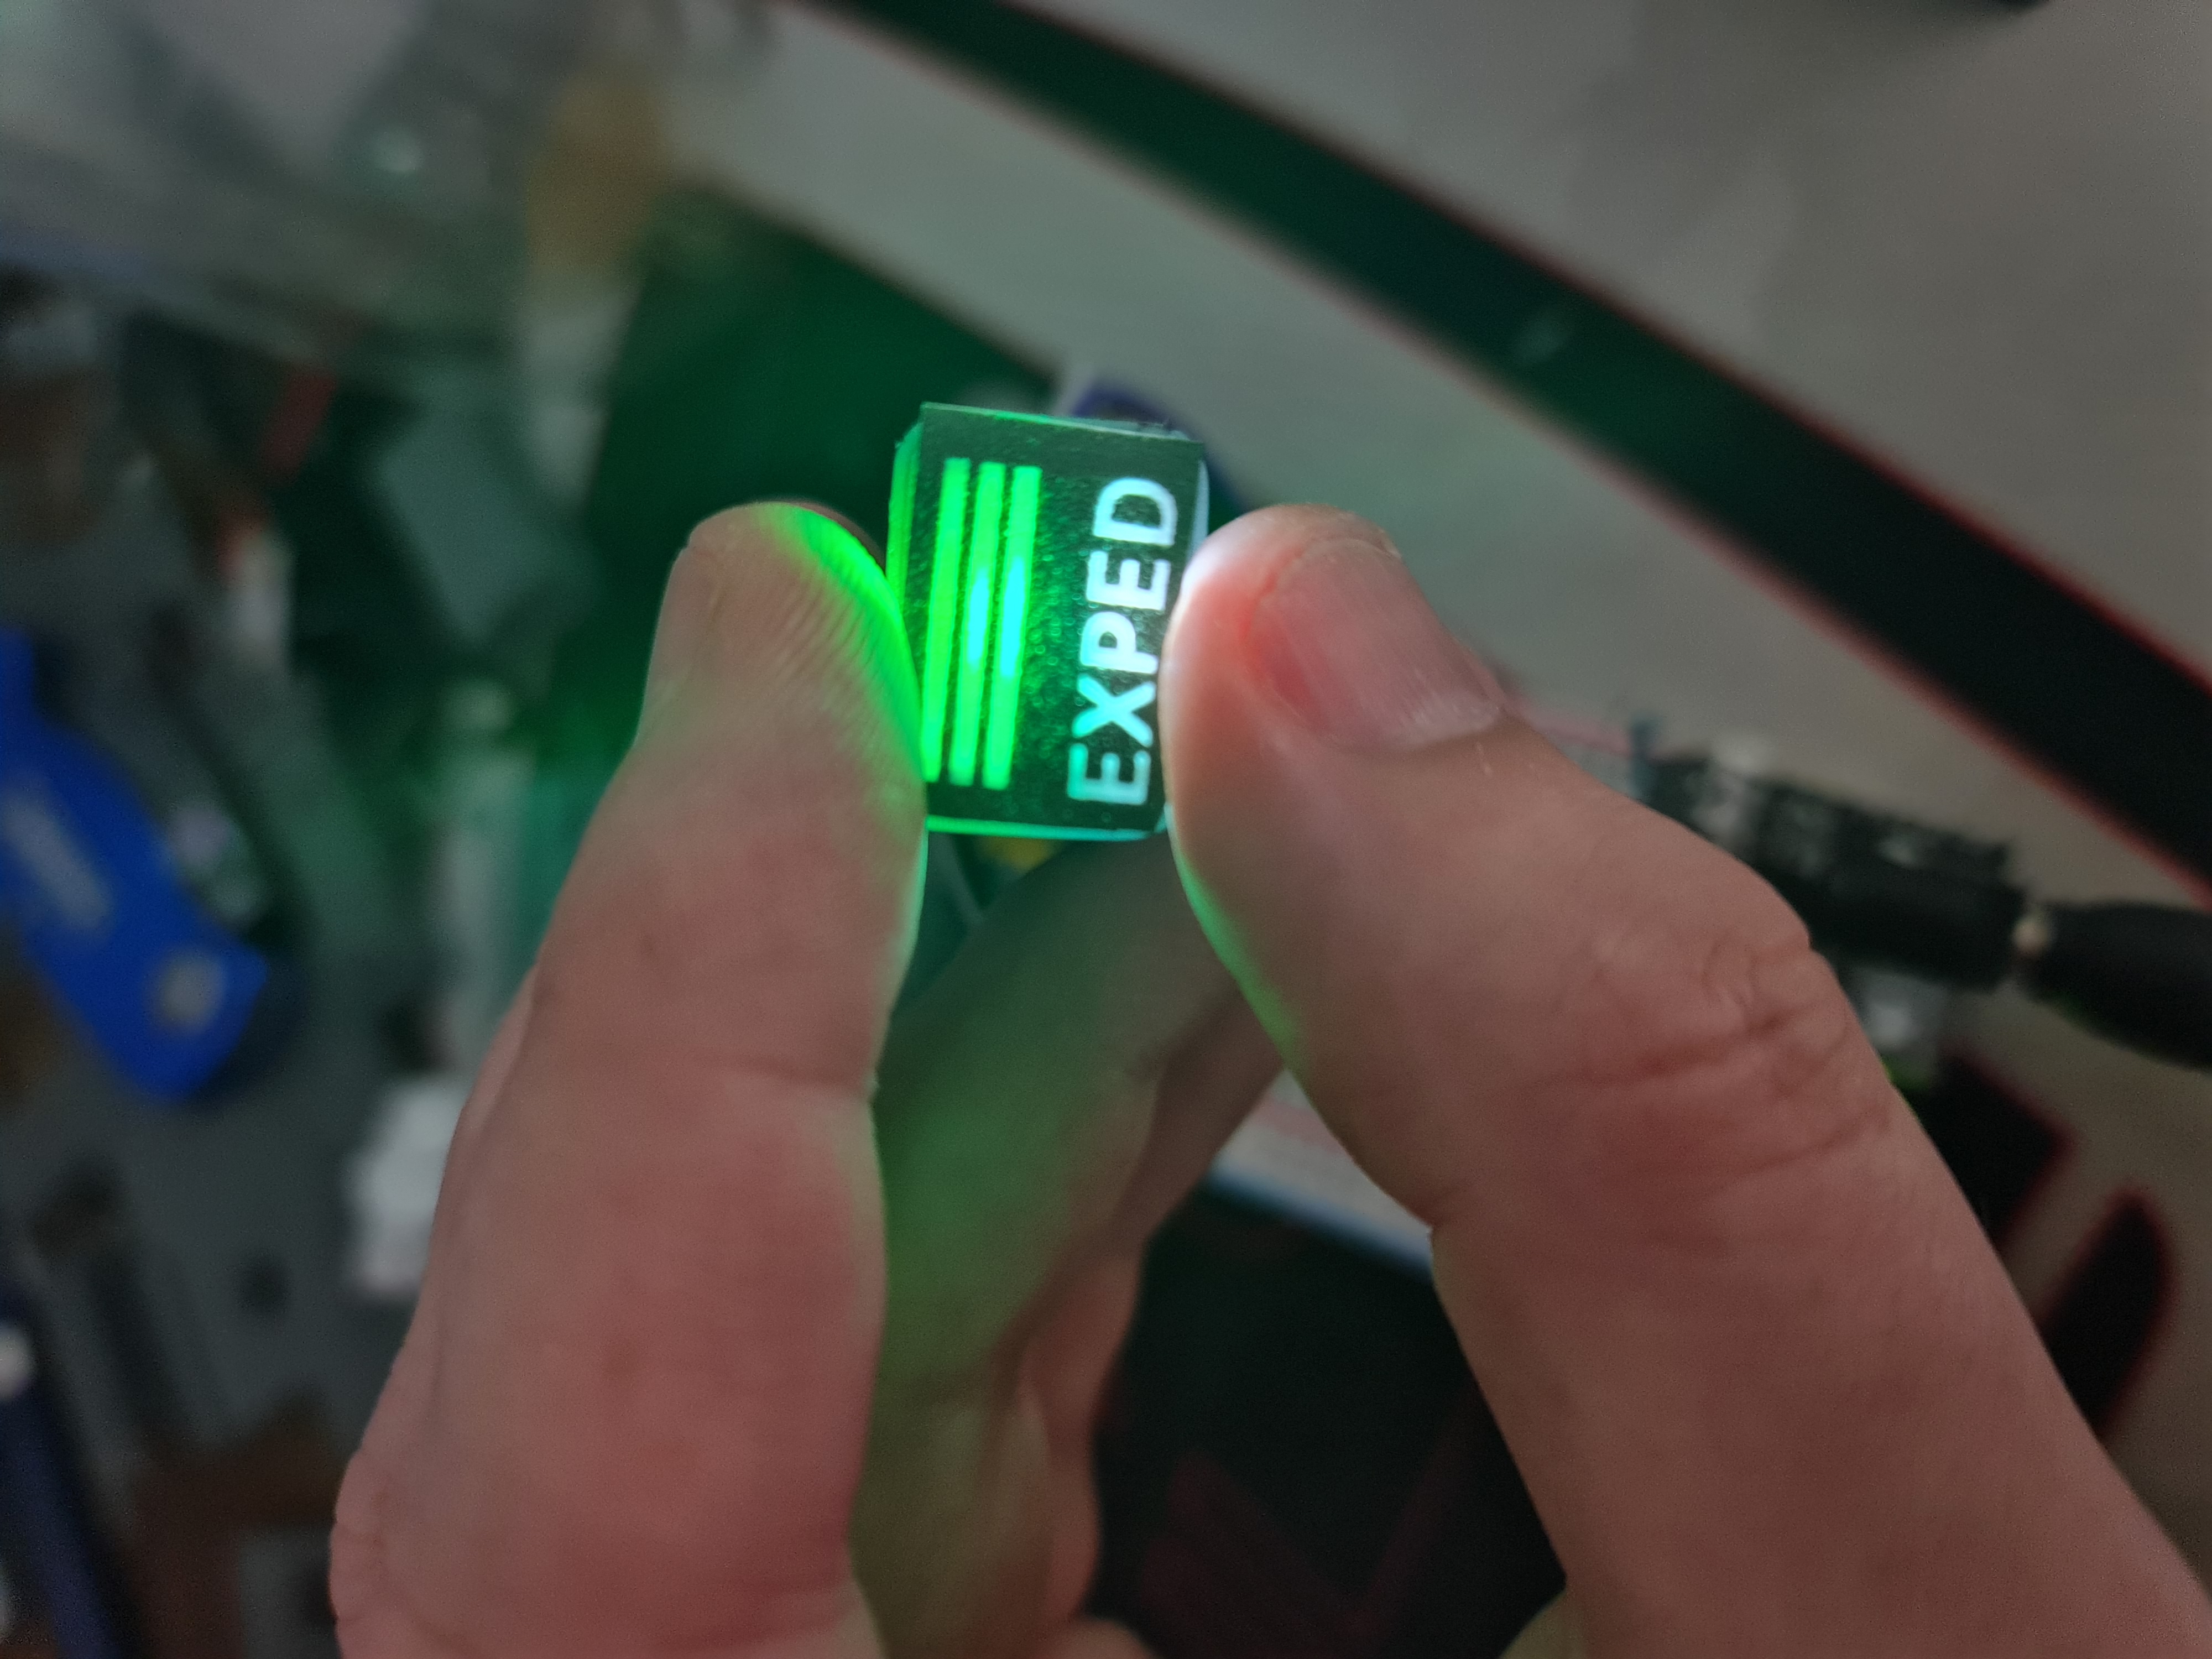
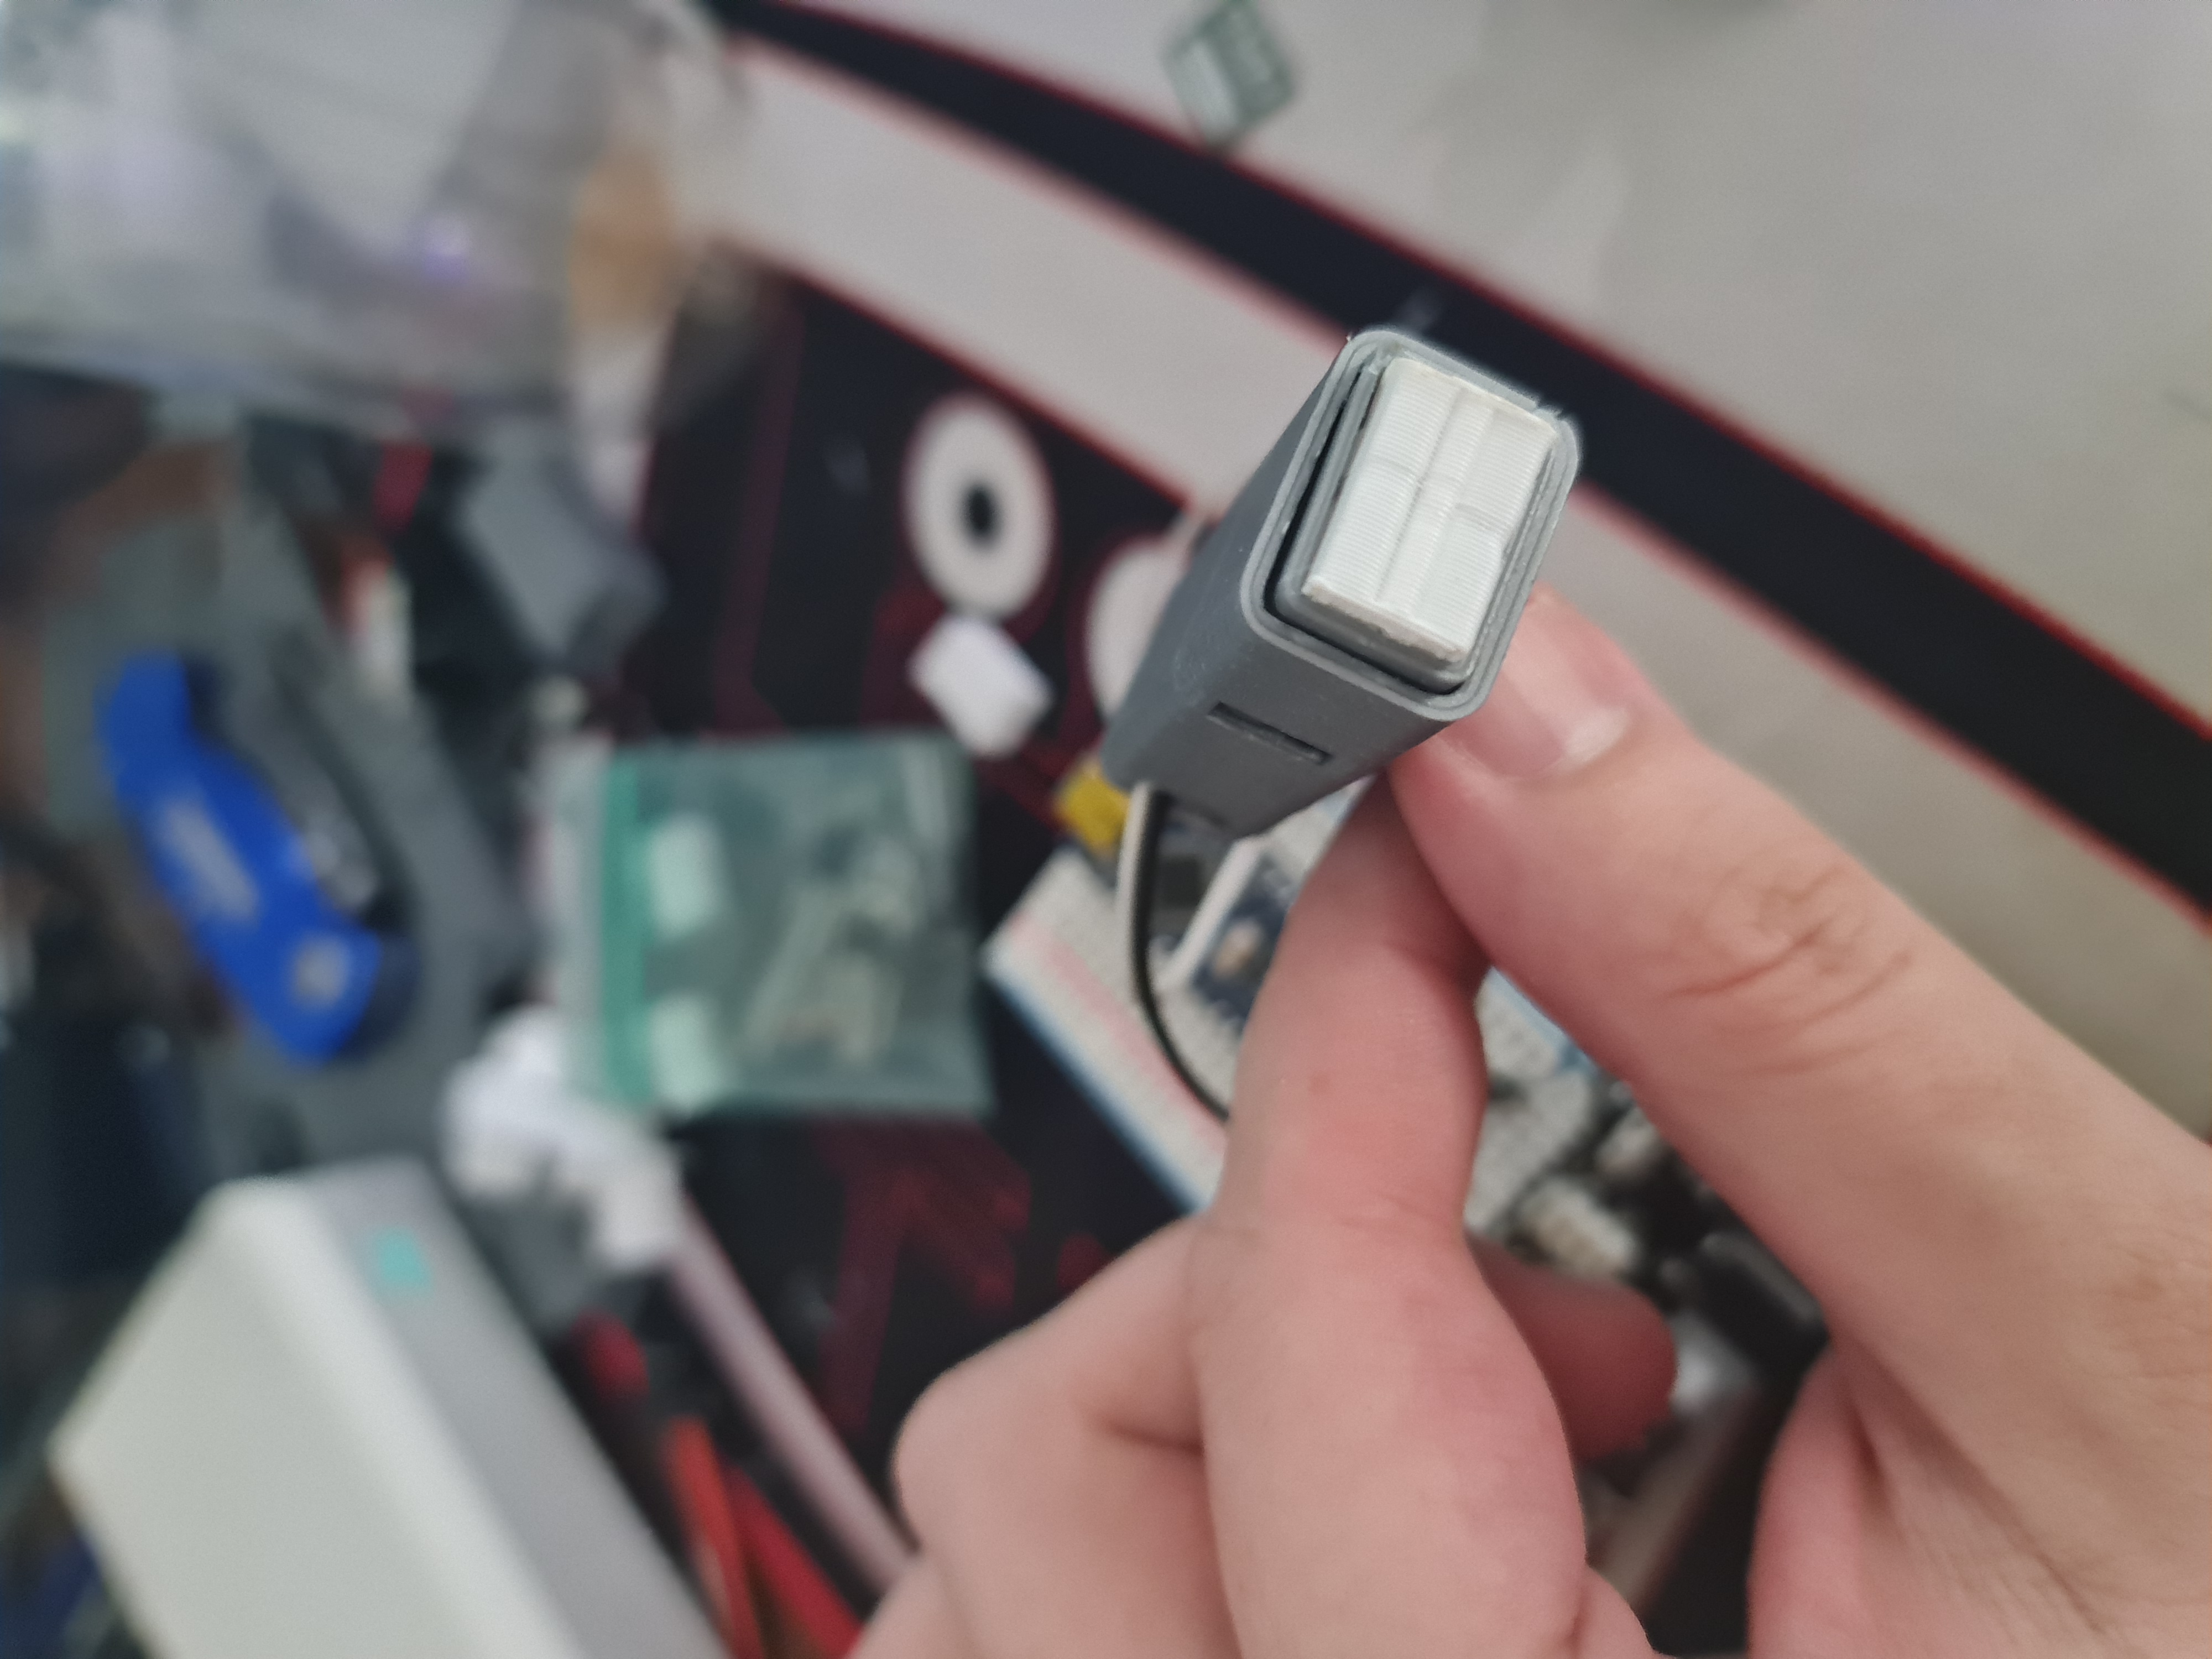
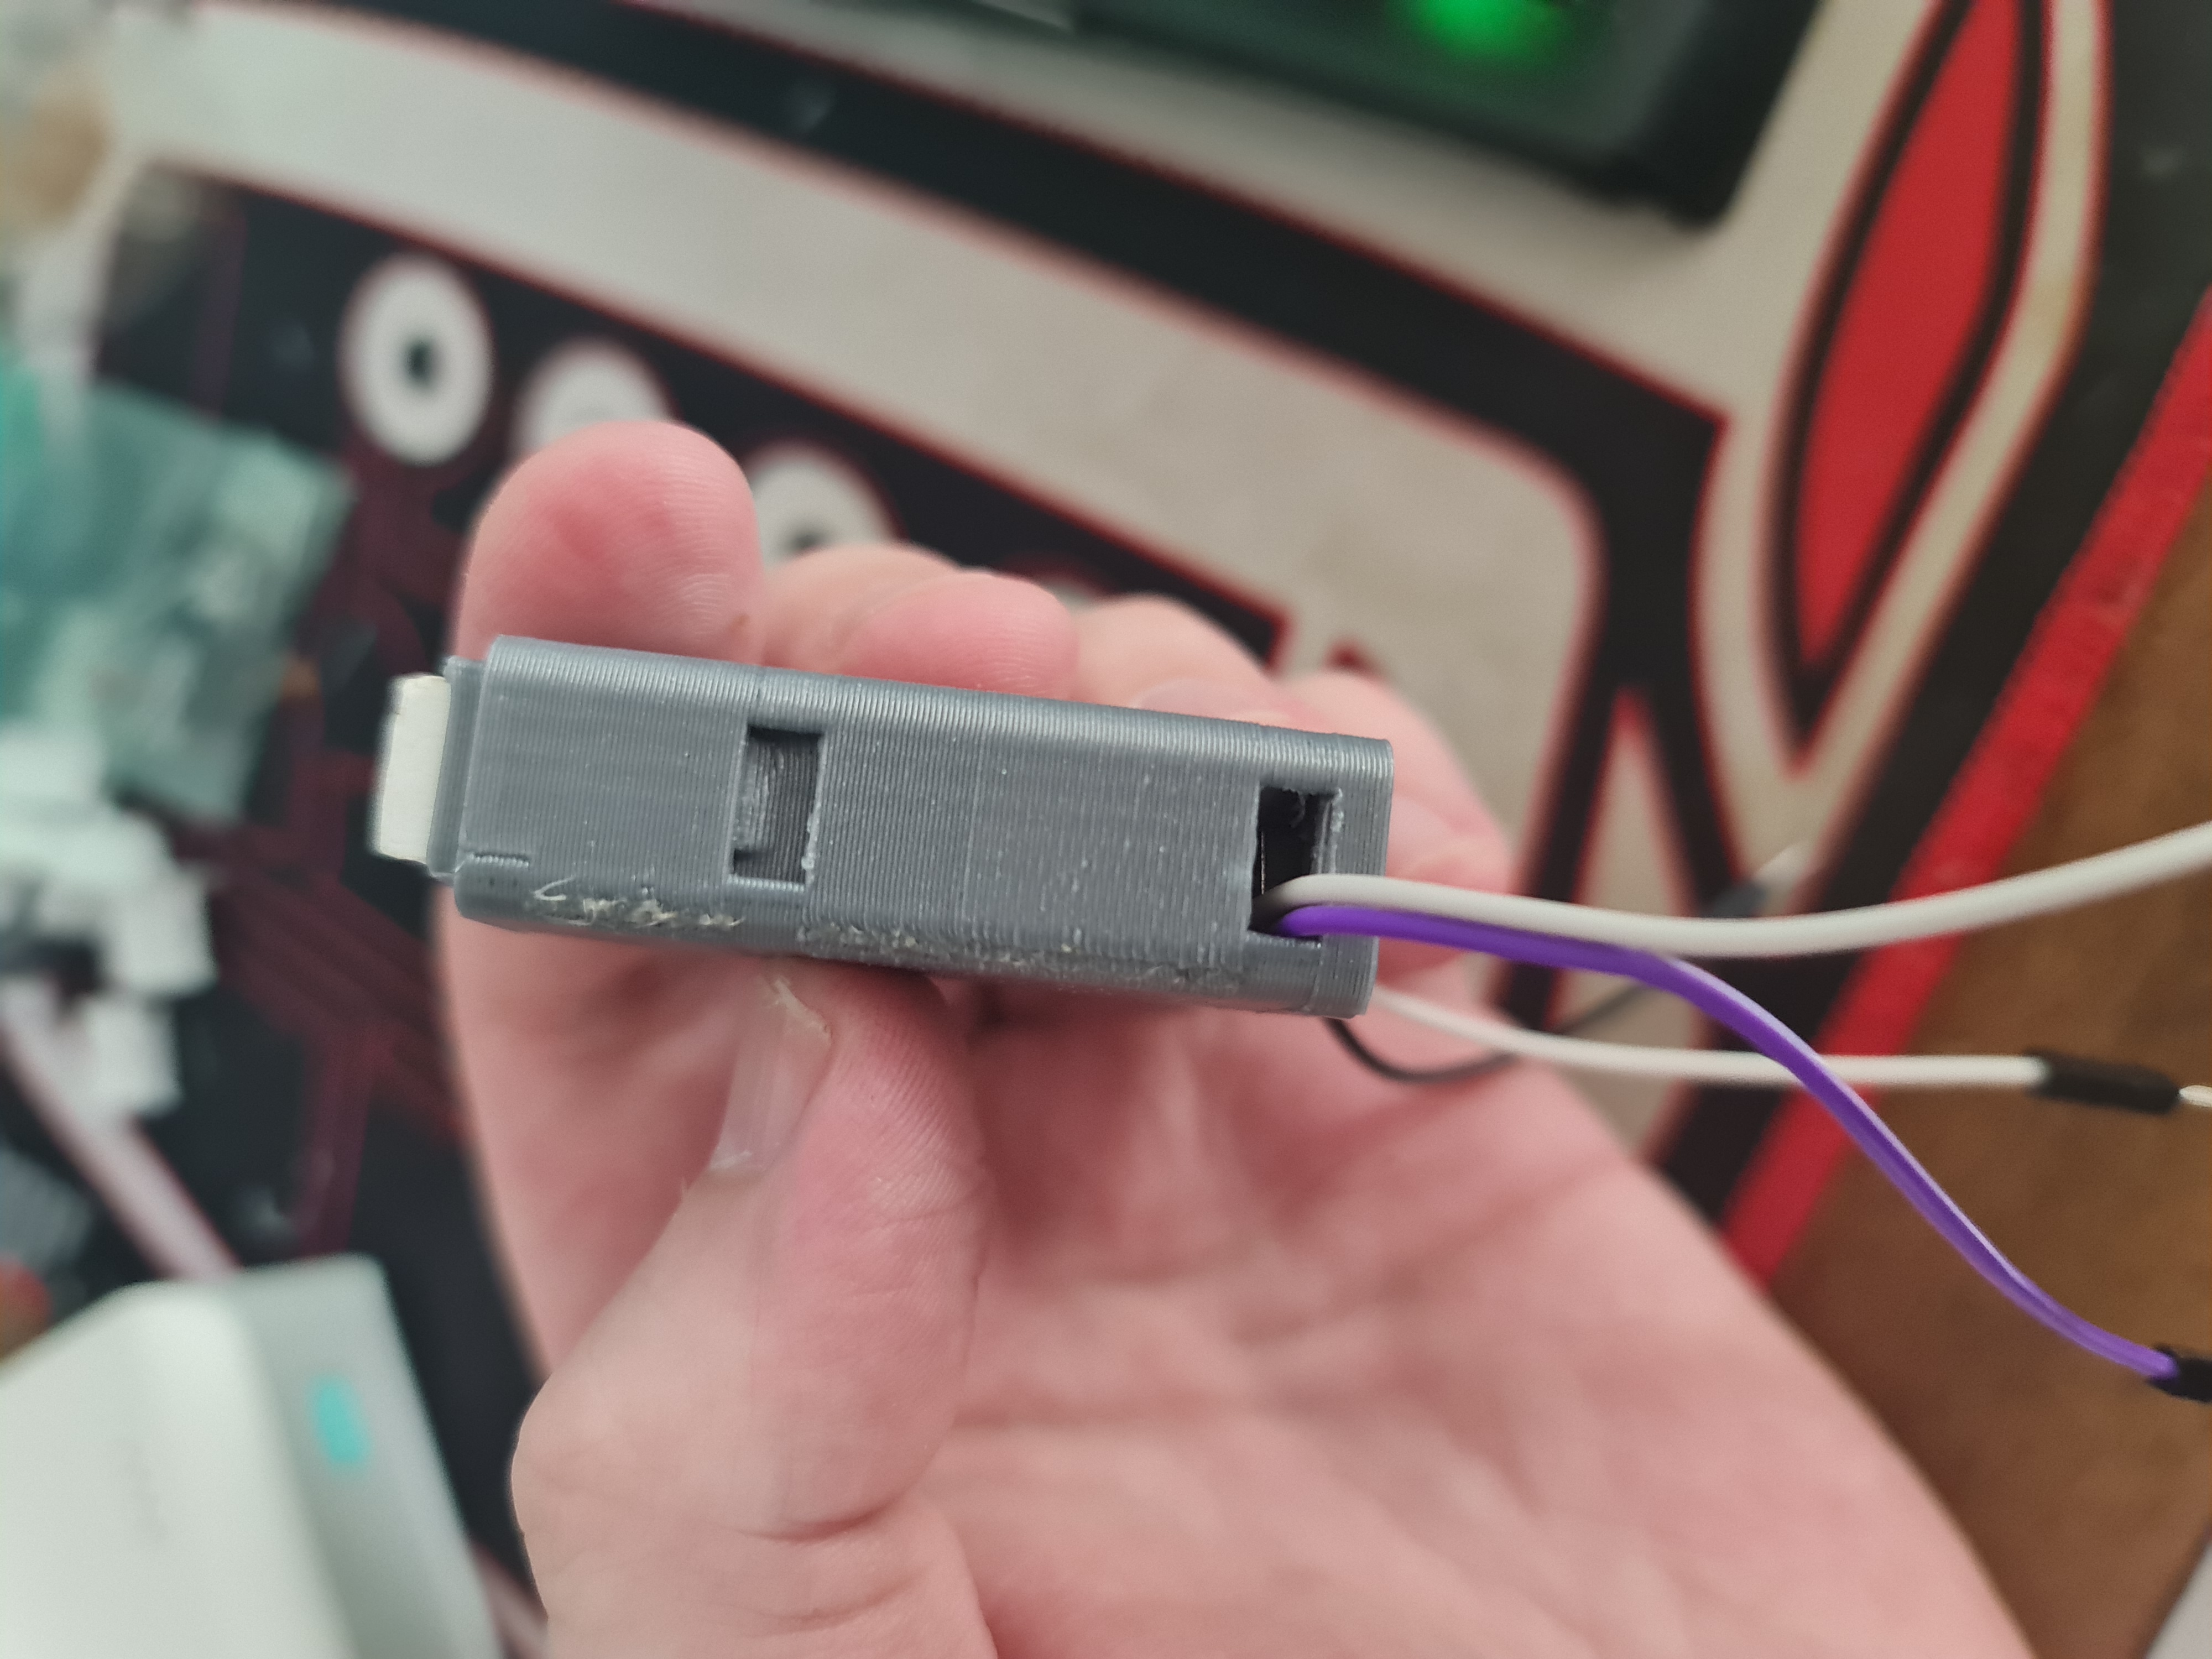
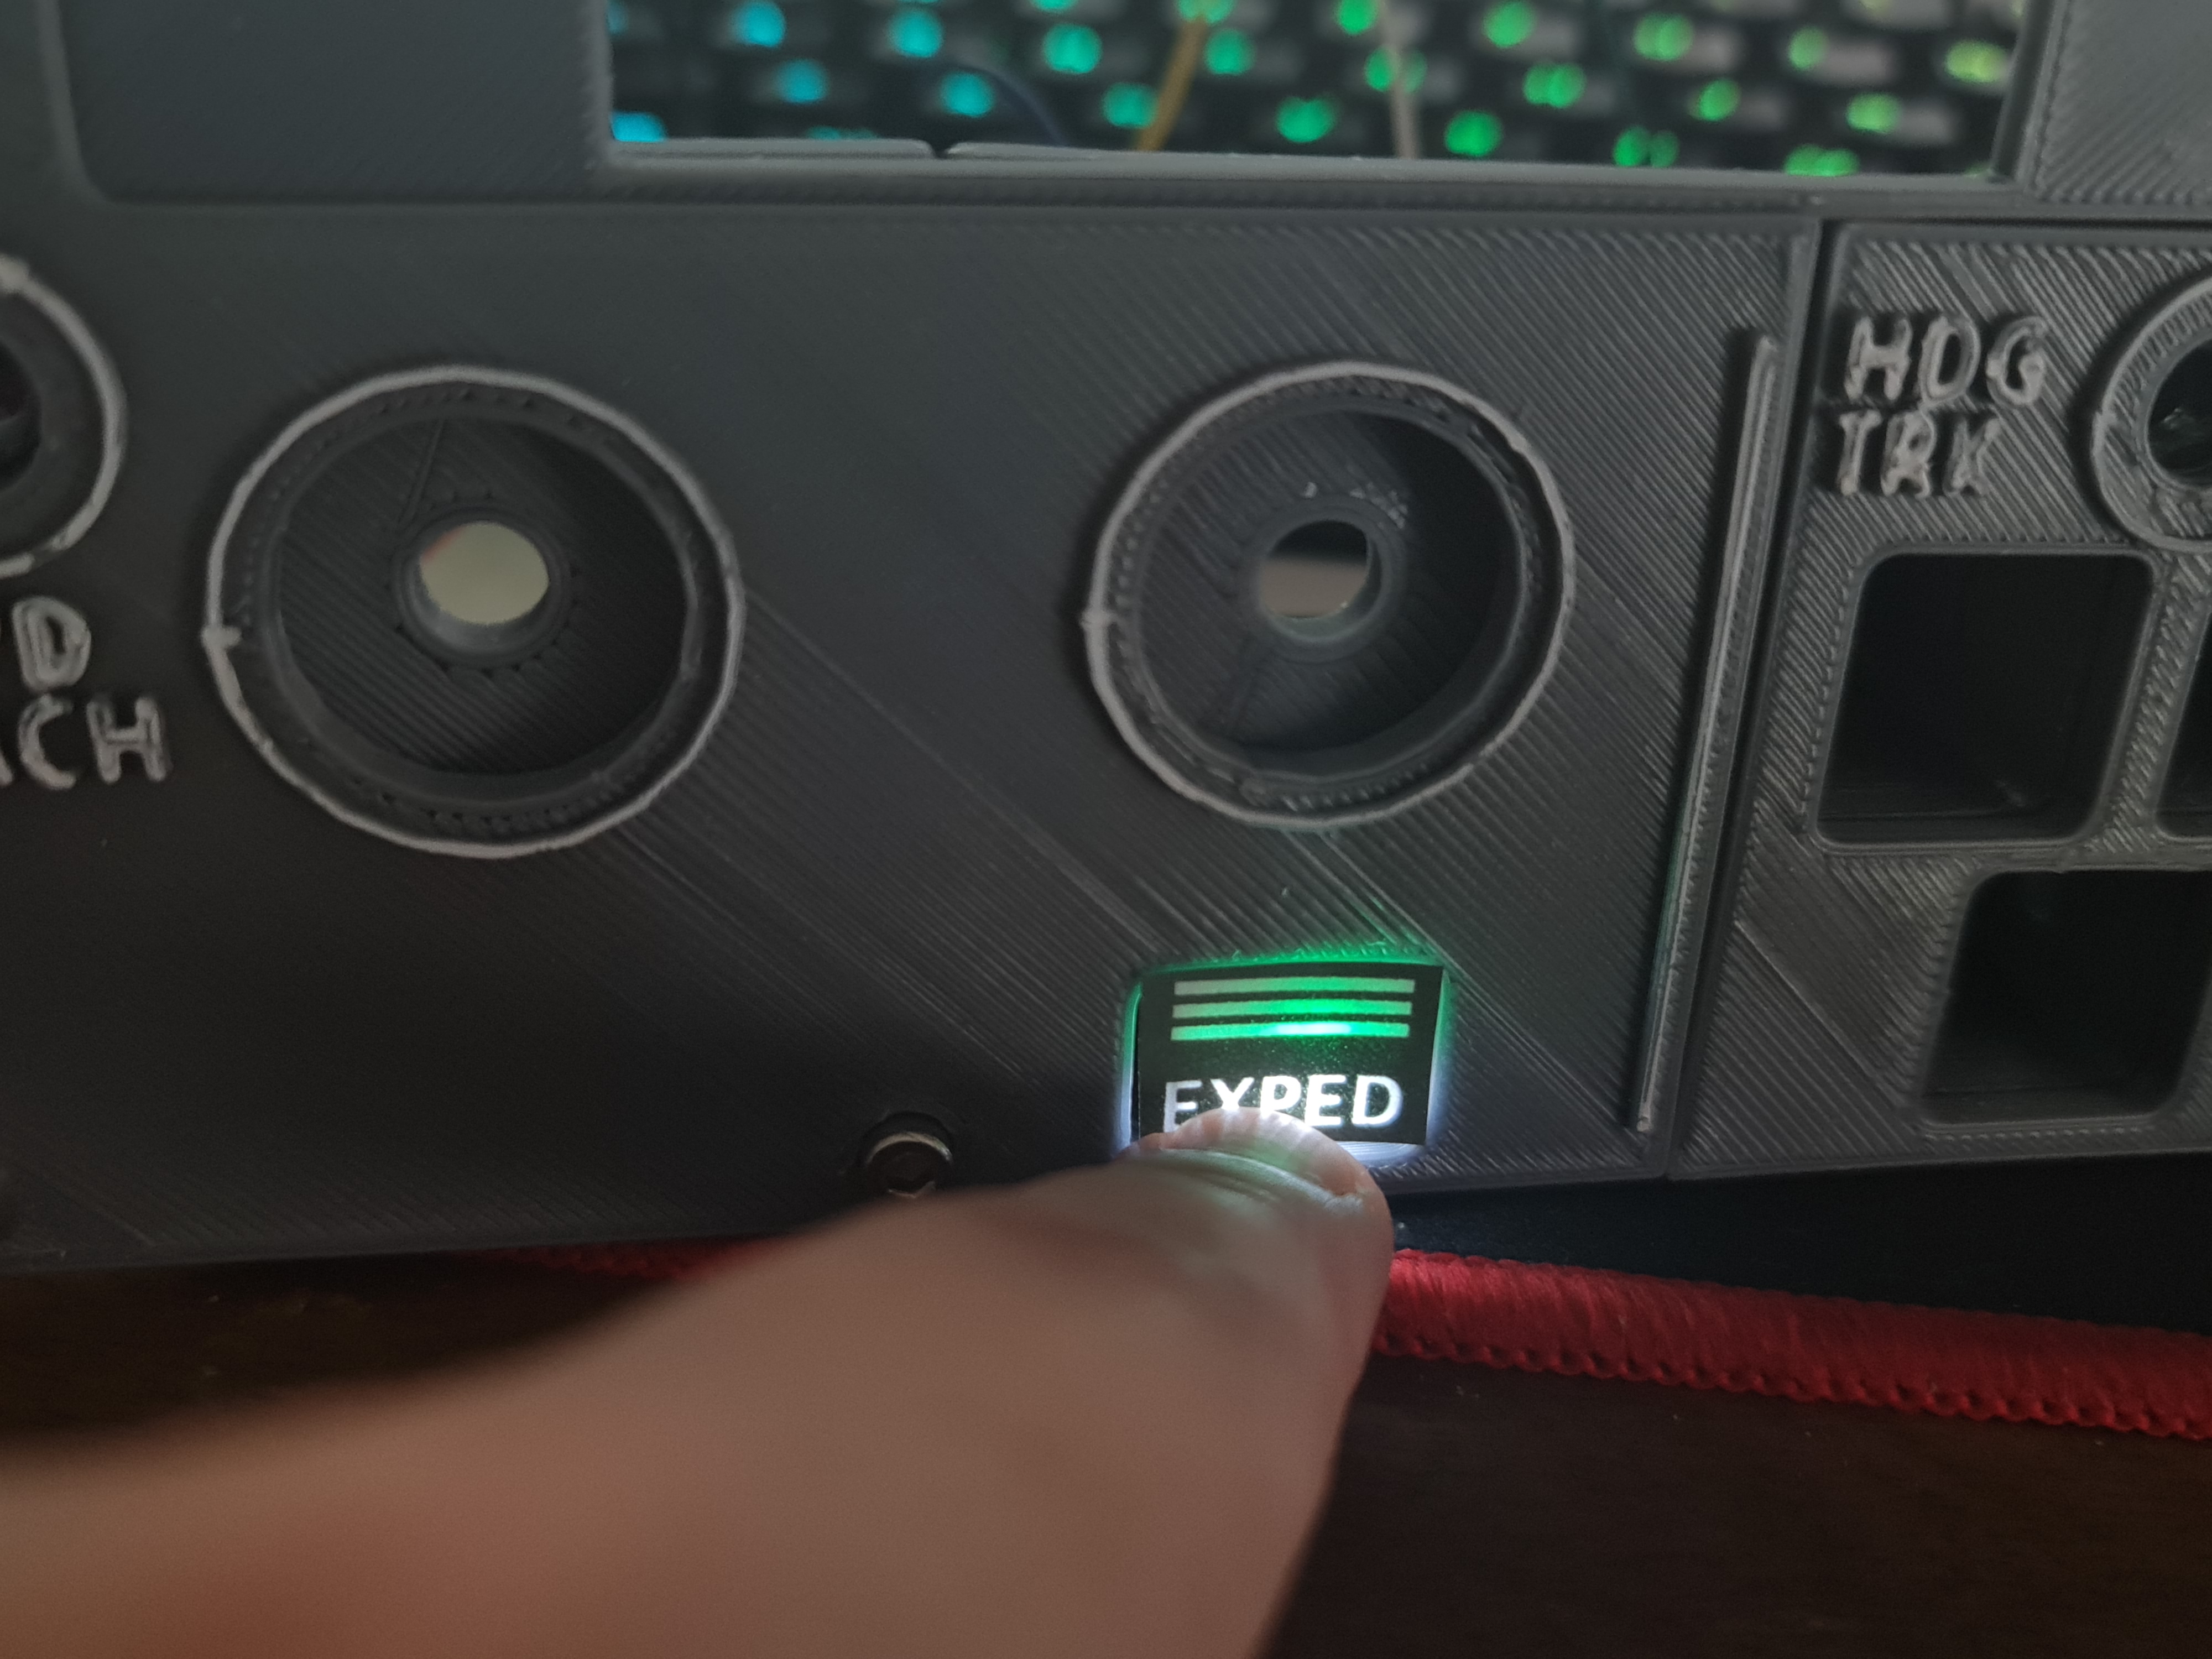
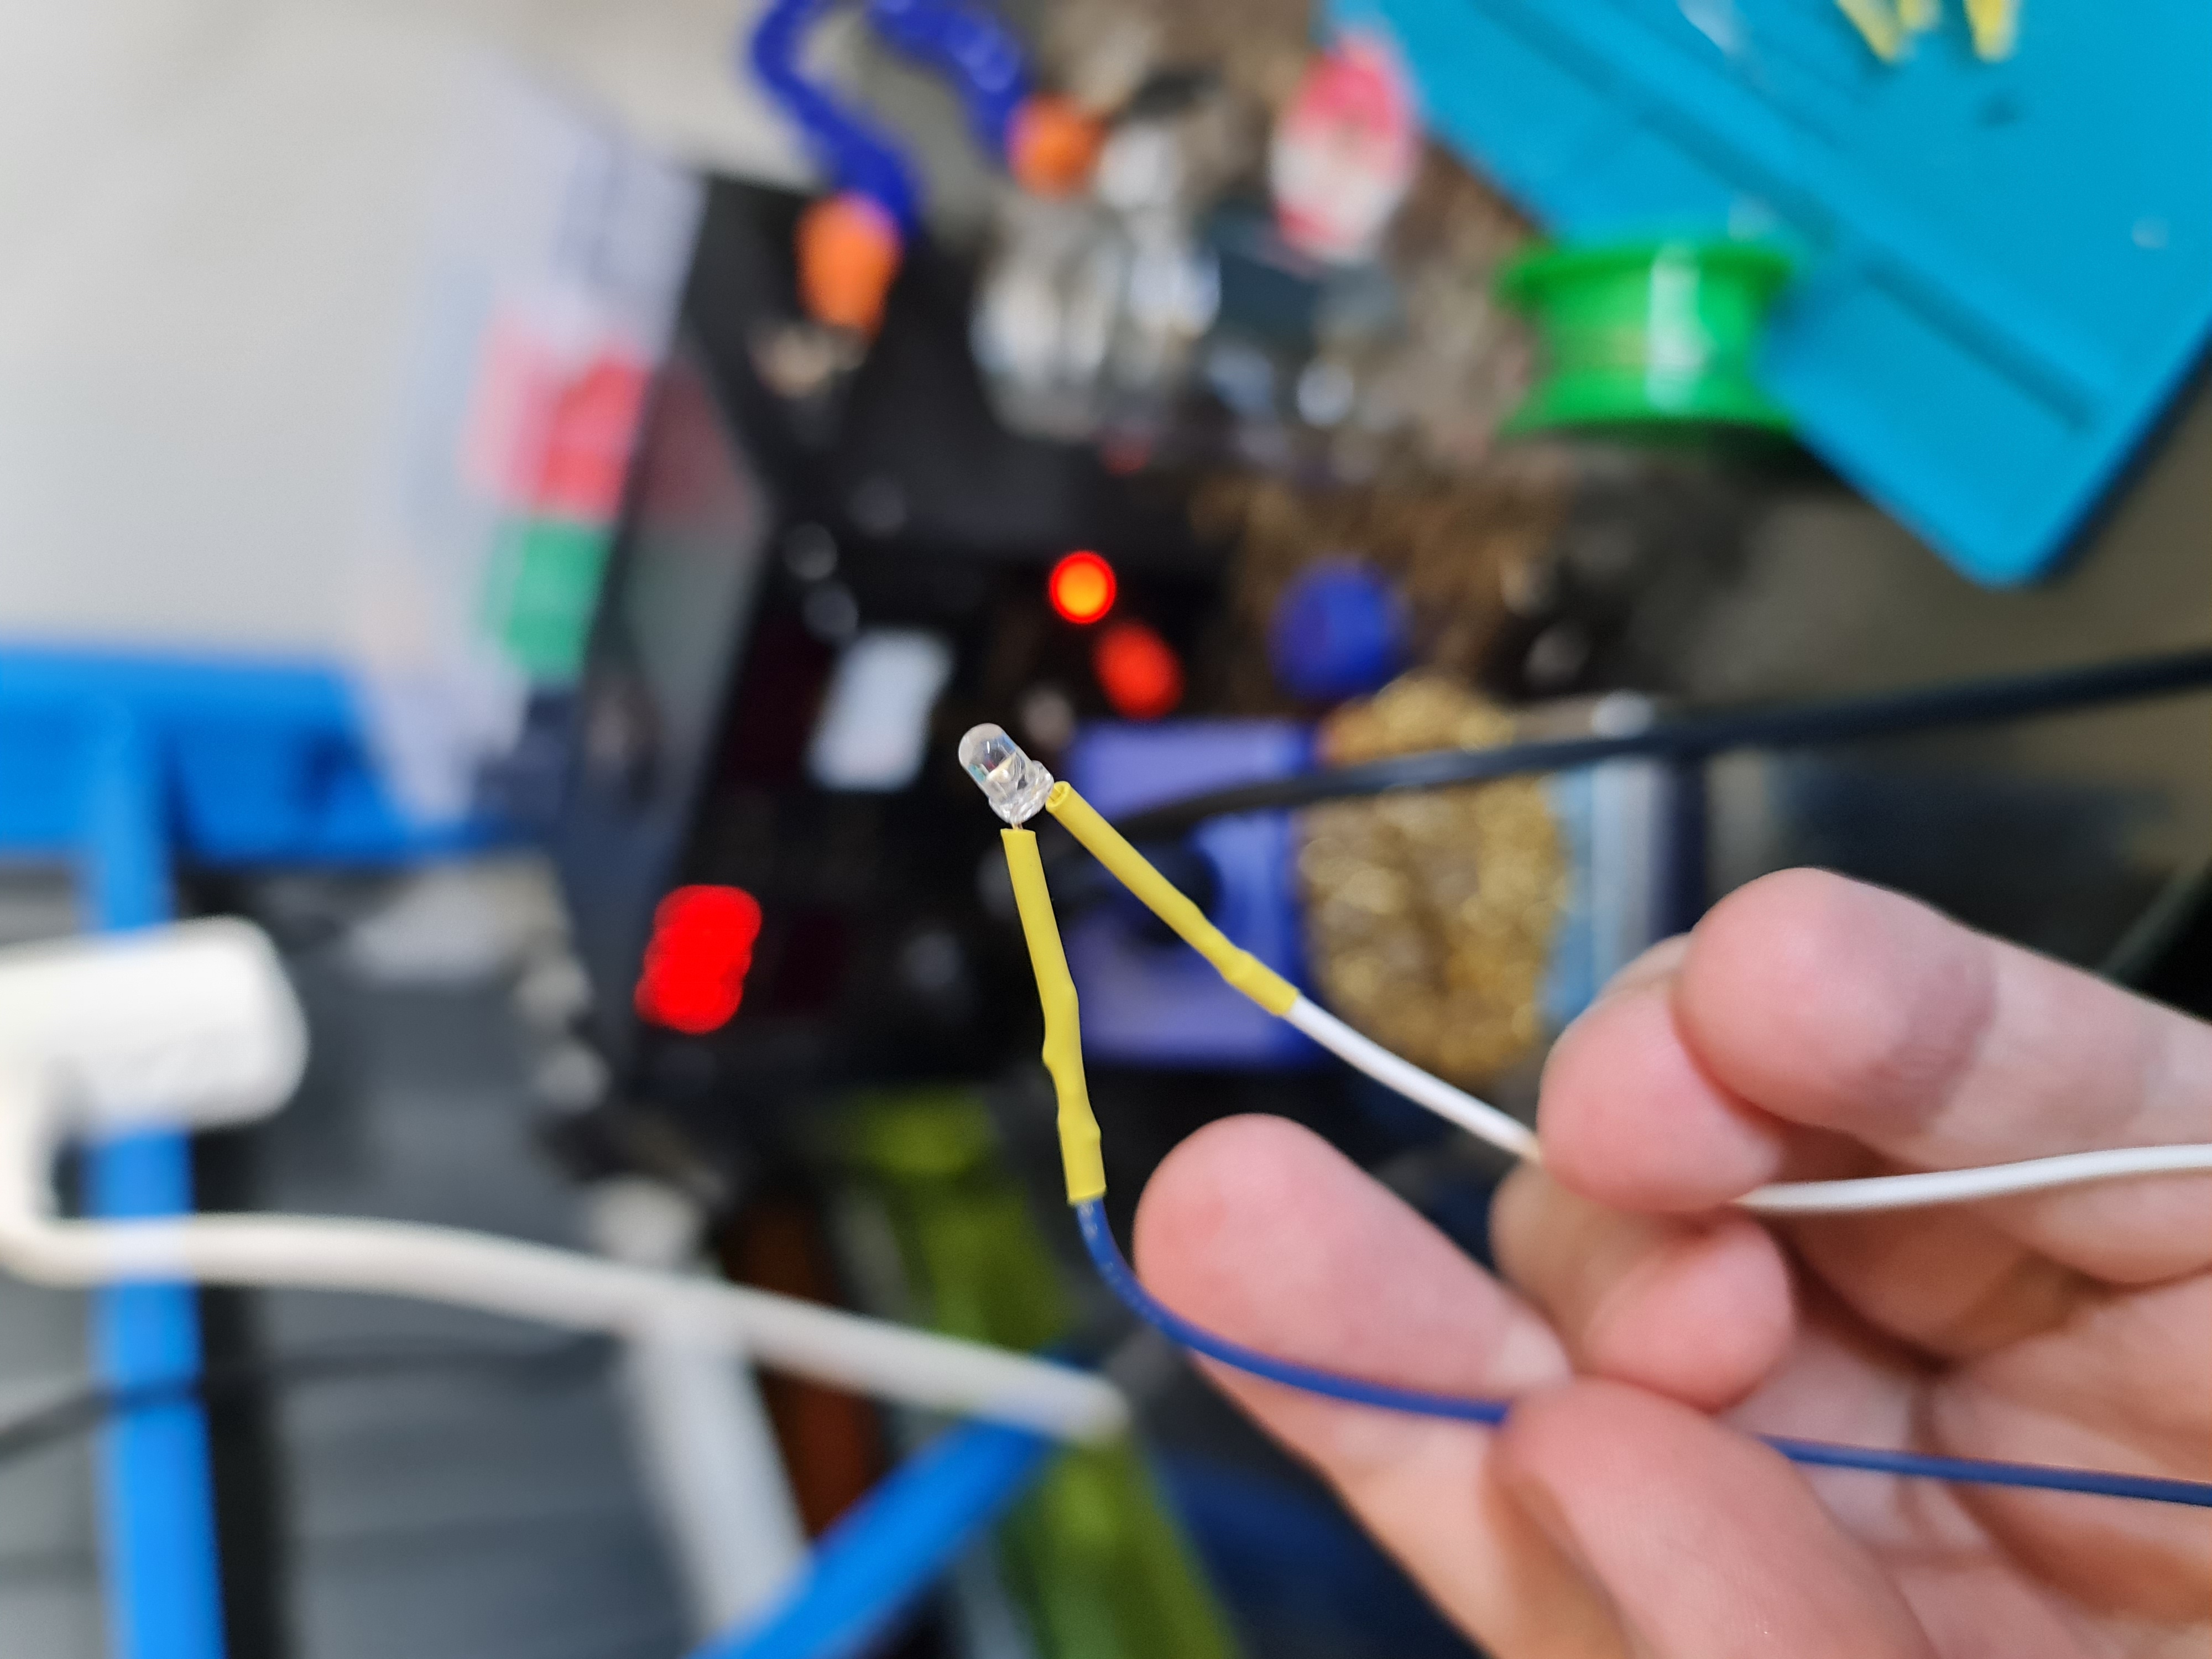
This... took quite a few goes (the diffuser, that is). Inside the chamber is a button and an insert. Green and White 3mm LEDs sit inside a small white diffuser thing, similar to the original Korry design. All that's left now is to solder up a bunch of LEDs, wires and buttons to fit inside of the FCU.
After getting the LEDs all installed and buttons all set up, it's time to put it in the main face plate and the result is pretty good. Still plenty of work to do and some transparent sheets to play with.