Links
Tags
Building a Synchronised Christmas Lights to Music Display - Part 2
Woah! Never expected that Christmas Lights would take up as much time as it has so far. I wasn't under any illusion that it wouldn't take time - but as I write this on 2nd October I'm reminded that I'm just over a month away from hanging stuff up on the house and running my first synchronised light show.
First - the props. In my last post, I left you with a picture of my 3D printed singing Christmas Tree and a view to make some new props. I started working on a similar layout to the singing Santa from Boscoyo albeit at a suitable size for the space it'll be mounted in. The process was similar to the Christmas tree - eyeball the layout from xLights, reduce the size to the space I wanted to occupy (around 60-70cm square) and draw in new 12mm holes for the bulbs to sit in.
The Singing Santa
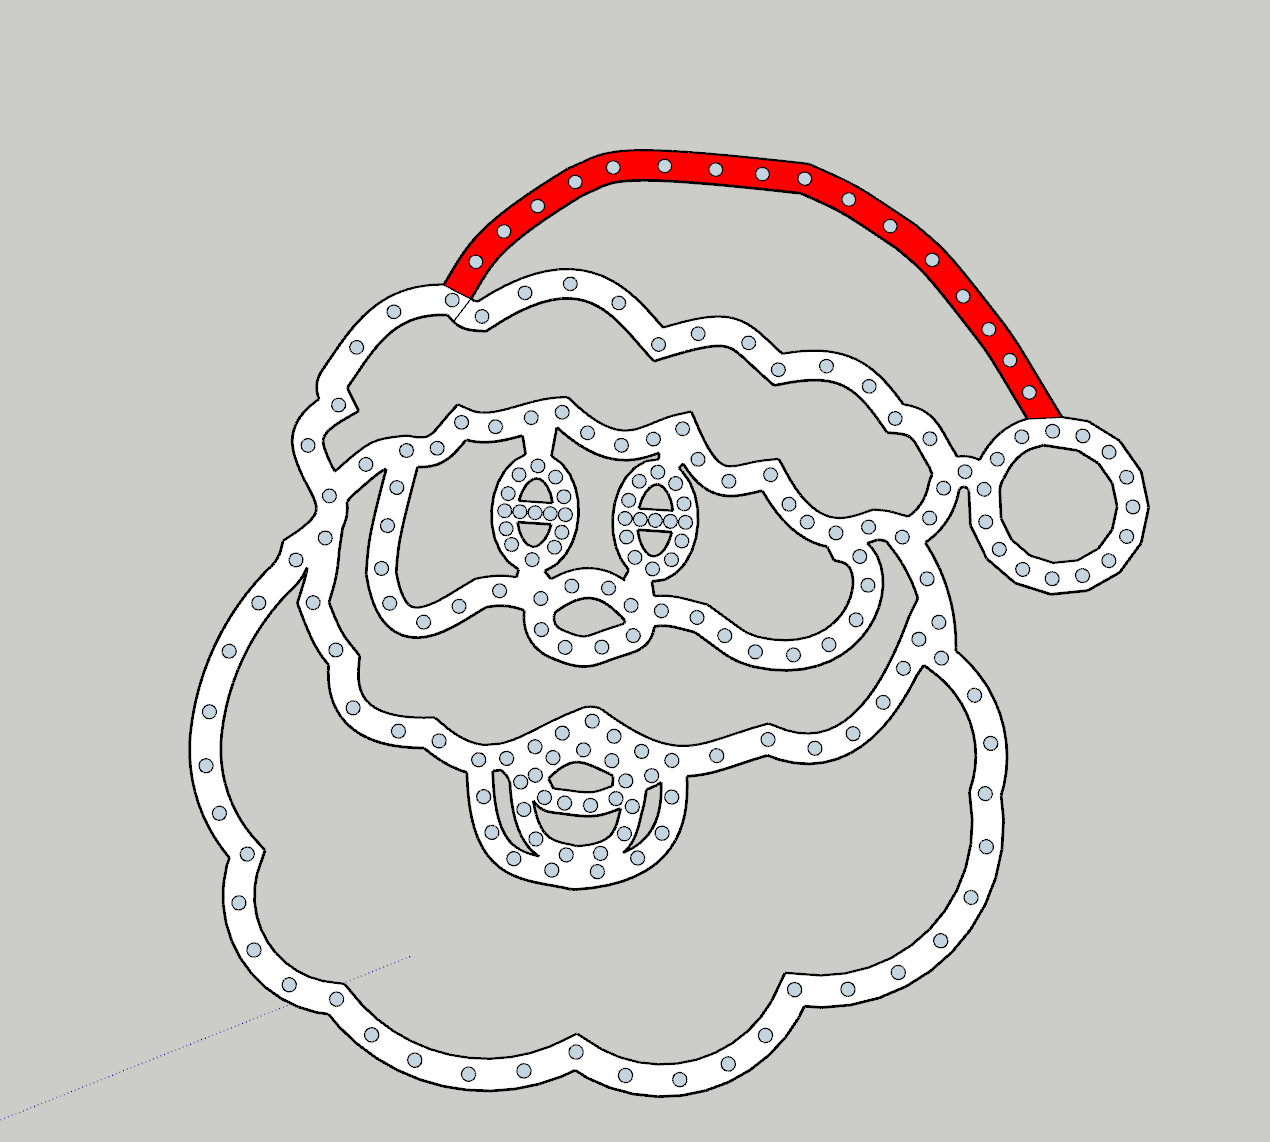
I must admit, he looked a little creepy in this one. Some things I learned from the previous print is to try and keep bulbs at notable points. While you won't see the plastic once printed and lights are up, not having the lights right in the corners and edges means the light up will look slightly off. Also - Santa needed a red hat and white outlines for this setup so while I didn't end up printing out the plastic in white or red, these would roughly serve which lights will light up those colours.
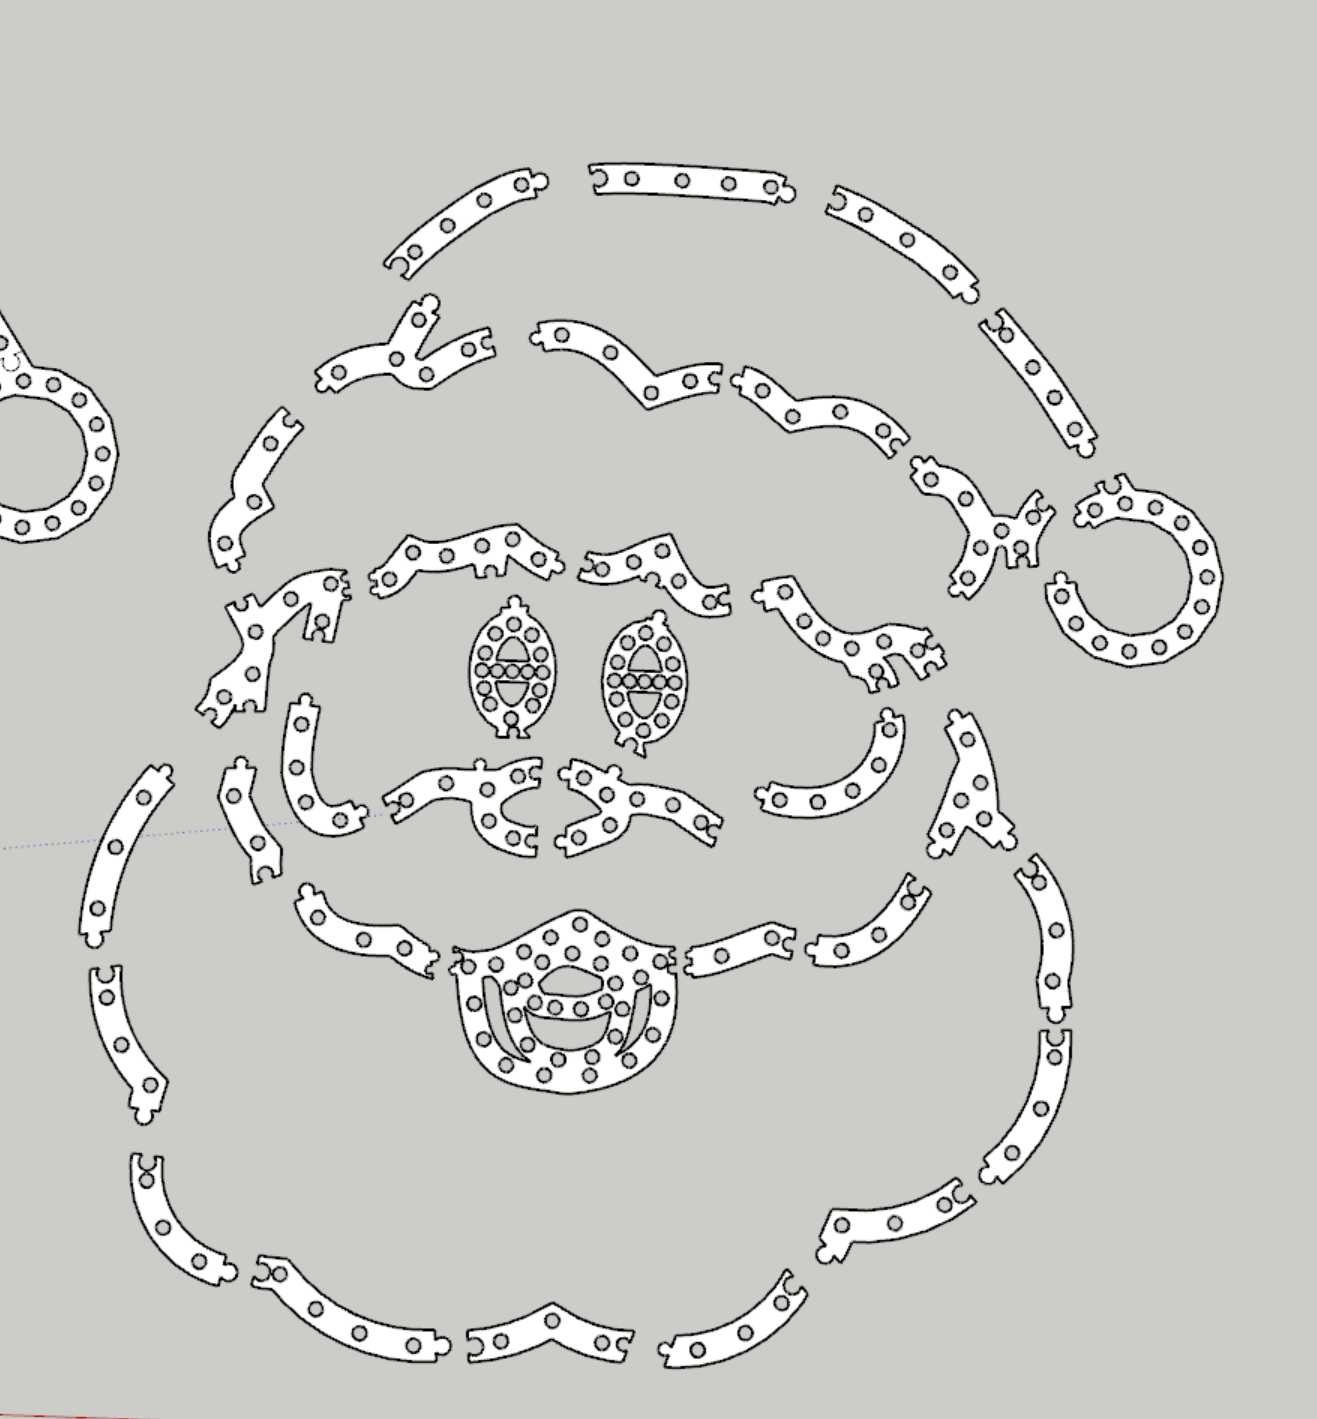
This one was a little more challenging, especially with the mouse piece just breaching 200mm (although using some angling, eventually got this to print. The downside of this was the lack of supports around the beard. There's a lot of weight in the top half reasonably well secured. I also noted that for at least one set of lights, I'll need to solder on a joining wire between parts to ensure we've got enough distance to wire him up.
These props will be mounted to a PVC pipe frame so I'm not ultra worried about it - but if I were to design this one again, there'd be two supporting brackets either side of the beard, up to the side of the mouth, and a couple of smaller chunks between the mouth and nose.
You'll note that the success of the 'train track' join style, I've used that again here as it's been a good way to join plastic together with a solid fit without removing much plastic.
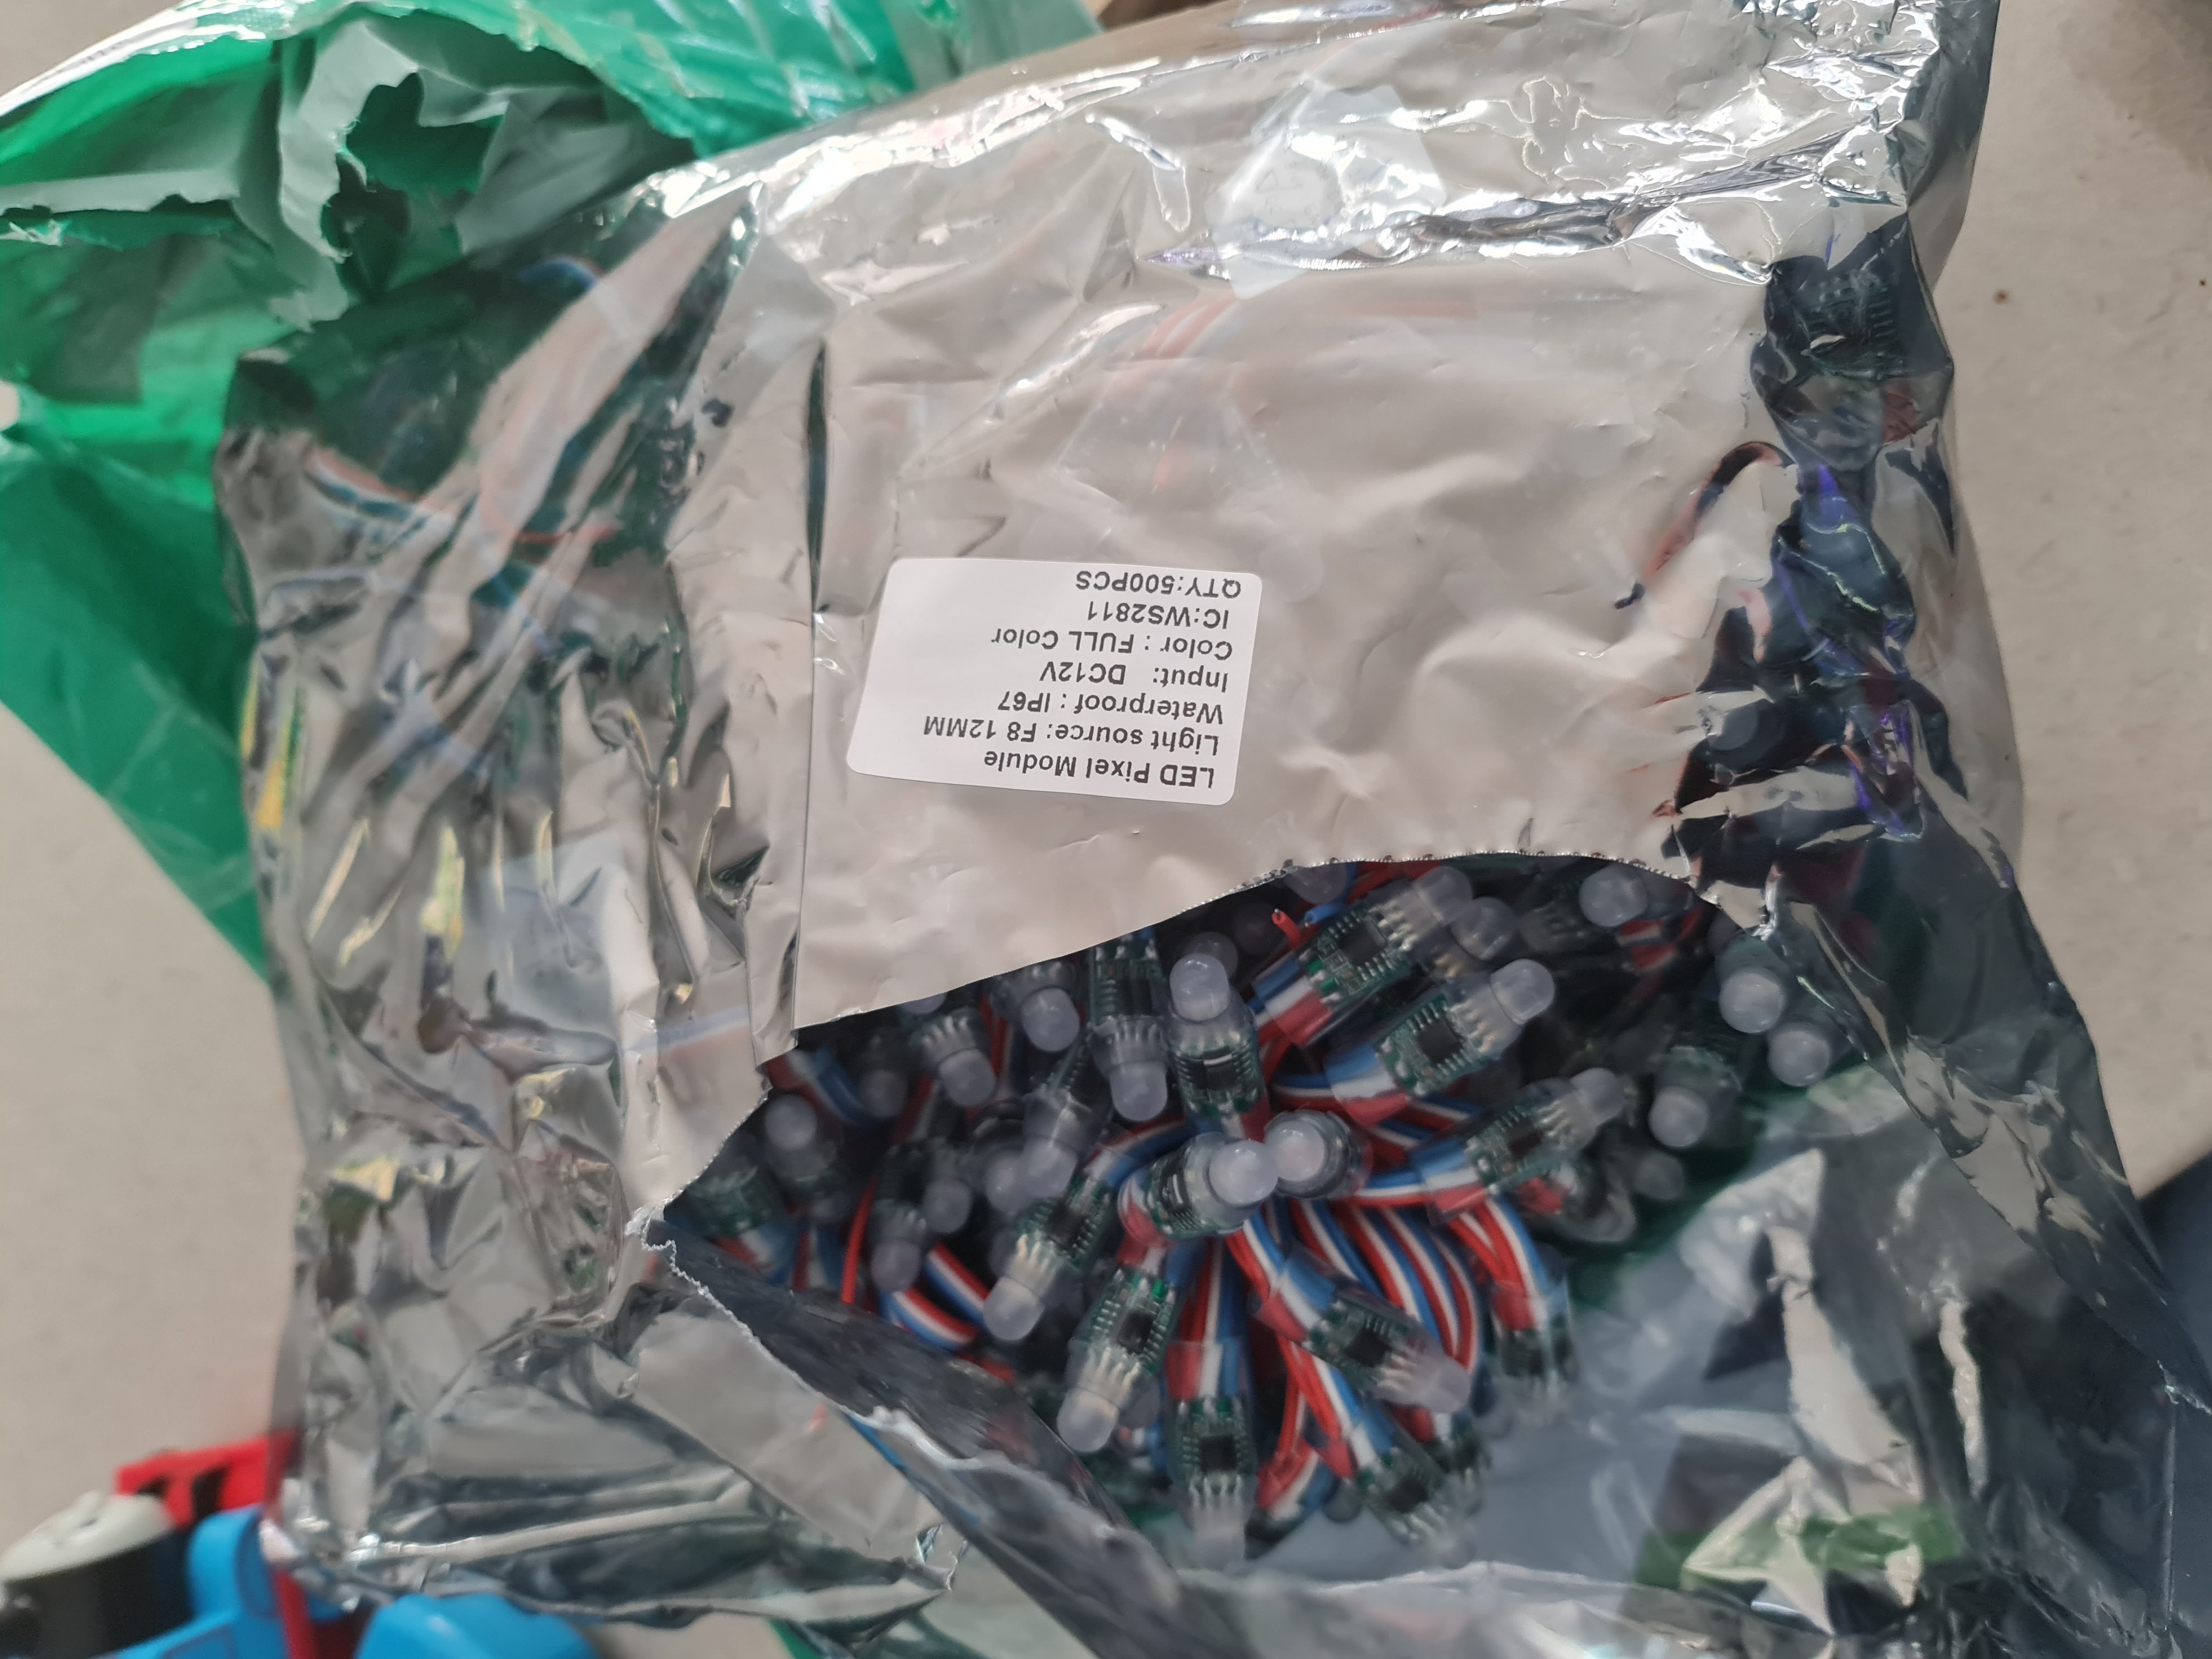
in the lead up to Santa finishing printing, my delivery from Amazon arrived - my 1,000 lights that I'd need to cut, splice and add pigtails to that I'd ordered from Light it Up LEDs. Now I must admit I wish I discovered Light it Up LEDs much earlier than the Amazon order - the bulbs were a little cheaper, and he had LEDs with the connectors already soldered on. This would have been a tremendous time save, but none-the-less I had these bulbs and I had to cut off odd numbers of bulbs. For this guy, he is 203 bulbs so ... 4 x 50 + 3 from another strand. Another learning here to try and get multiples of 50. For reference, the Christmas Trees are 156 bulbs. If I could reduce (or increase) the density, it would have made wiring easier.

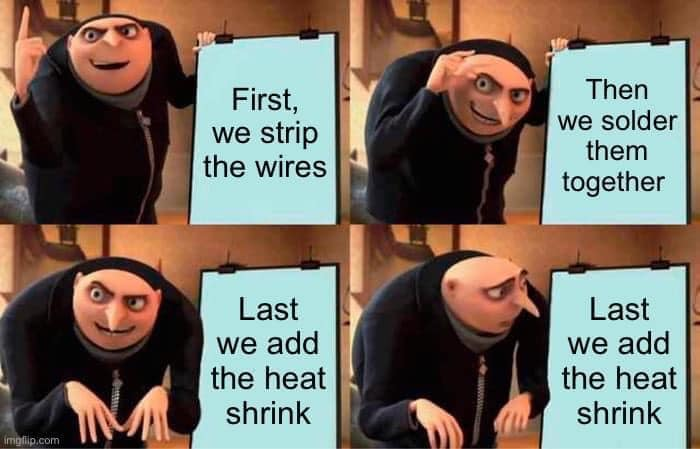
I don't have a lot of pictures of me soldering wires away, but it's fair to say I've soldered a good couple of hundred pieces of wire together. I've got pretty good at it too. But there's one thing I kept missing... the bloody heat shrink. I really need to print this out and frame it, frankly.
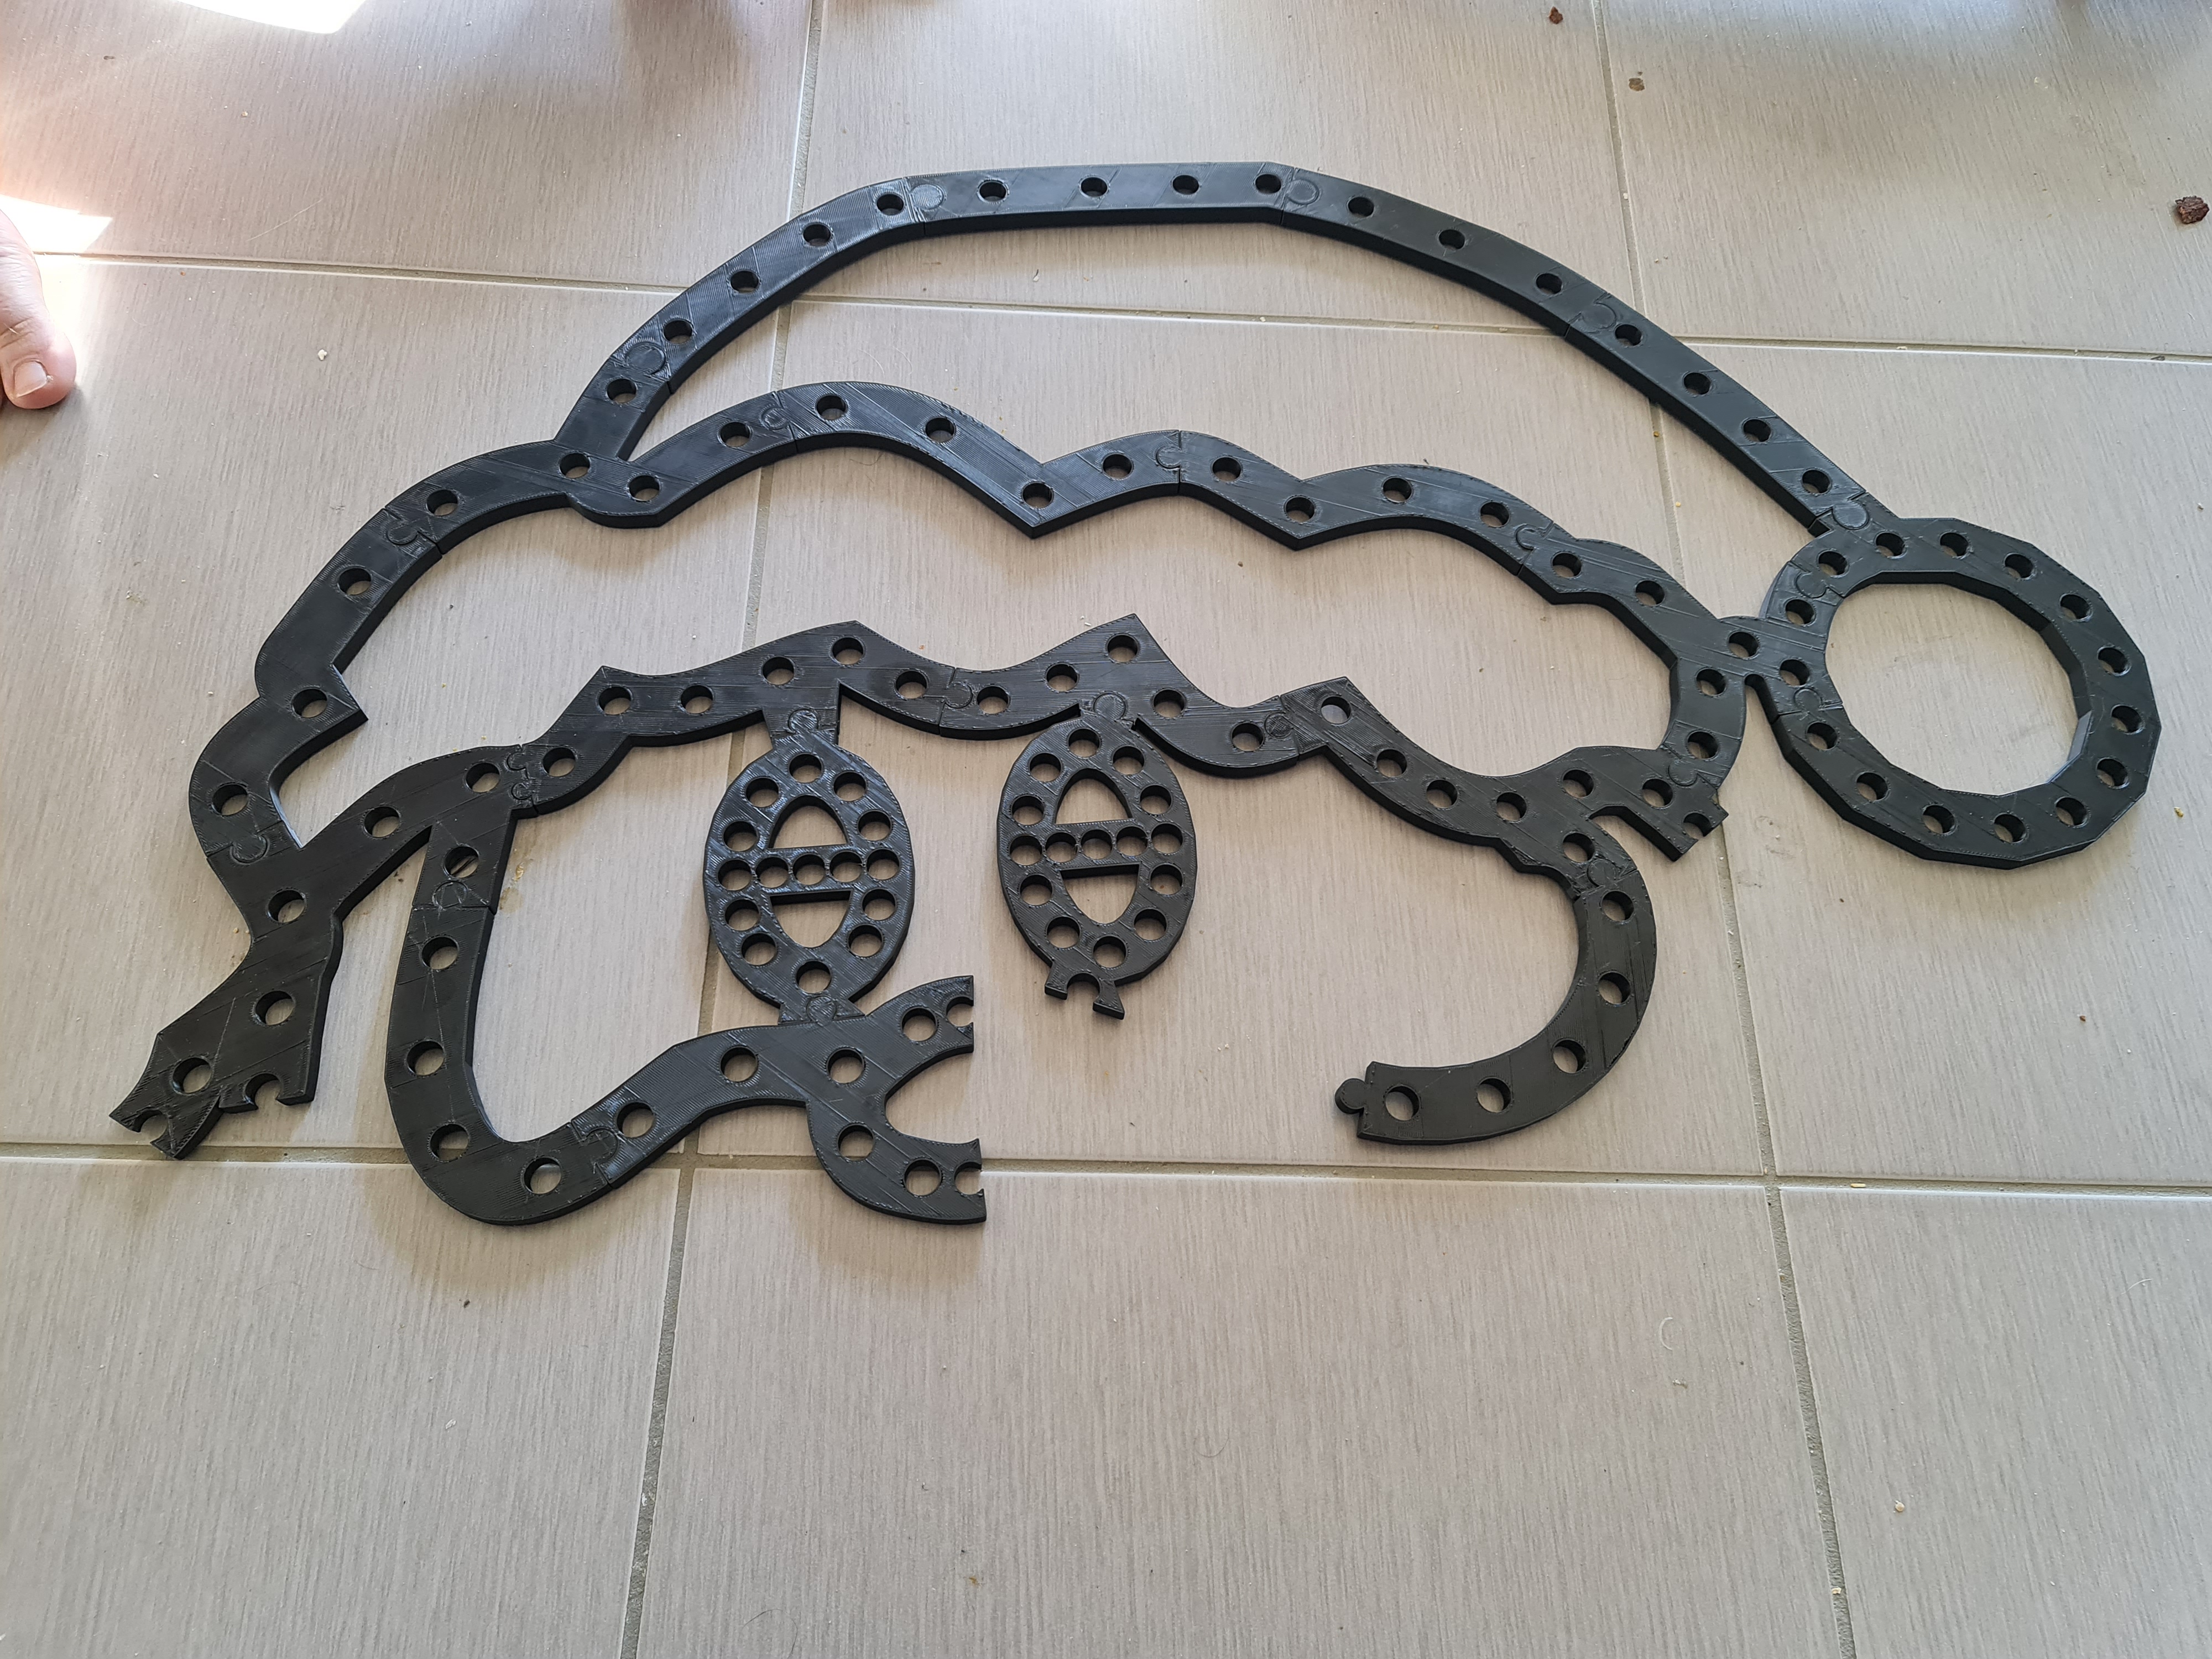
Anyway... with pigtails attached, wires spliced with extension wires and some waterproofing done (silicon around the exposed connectors), it was time to turn Santa on. And wow - it looks great.
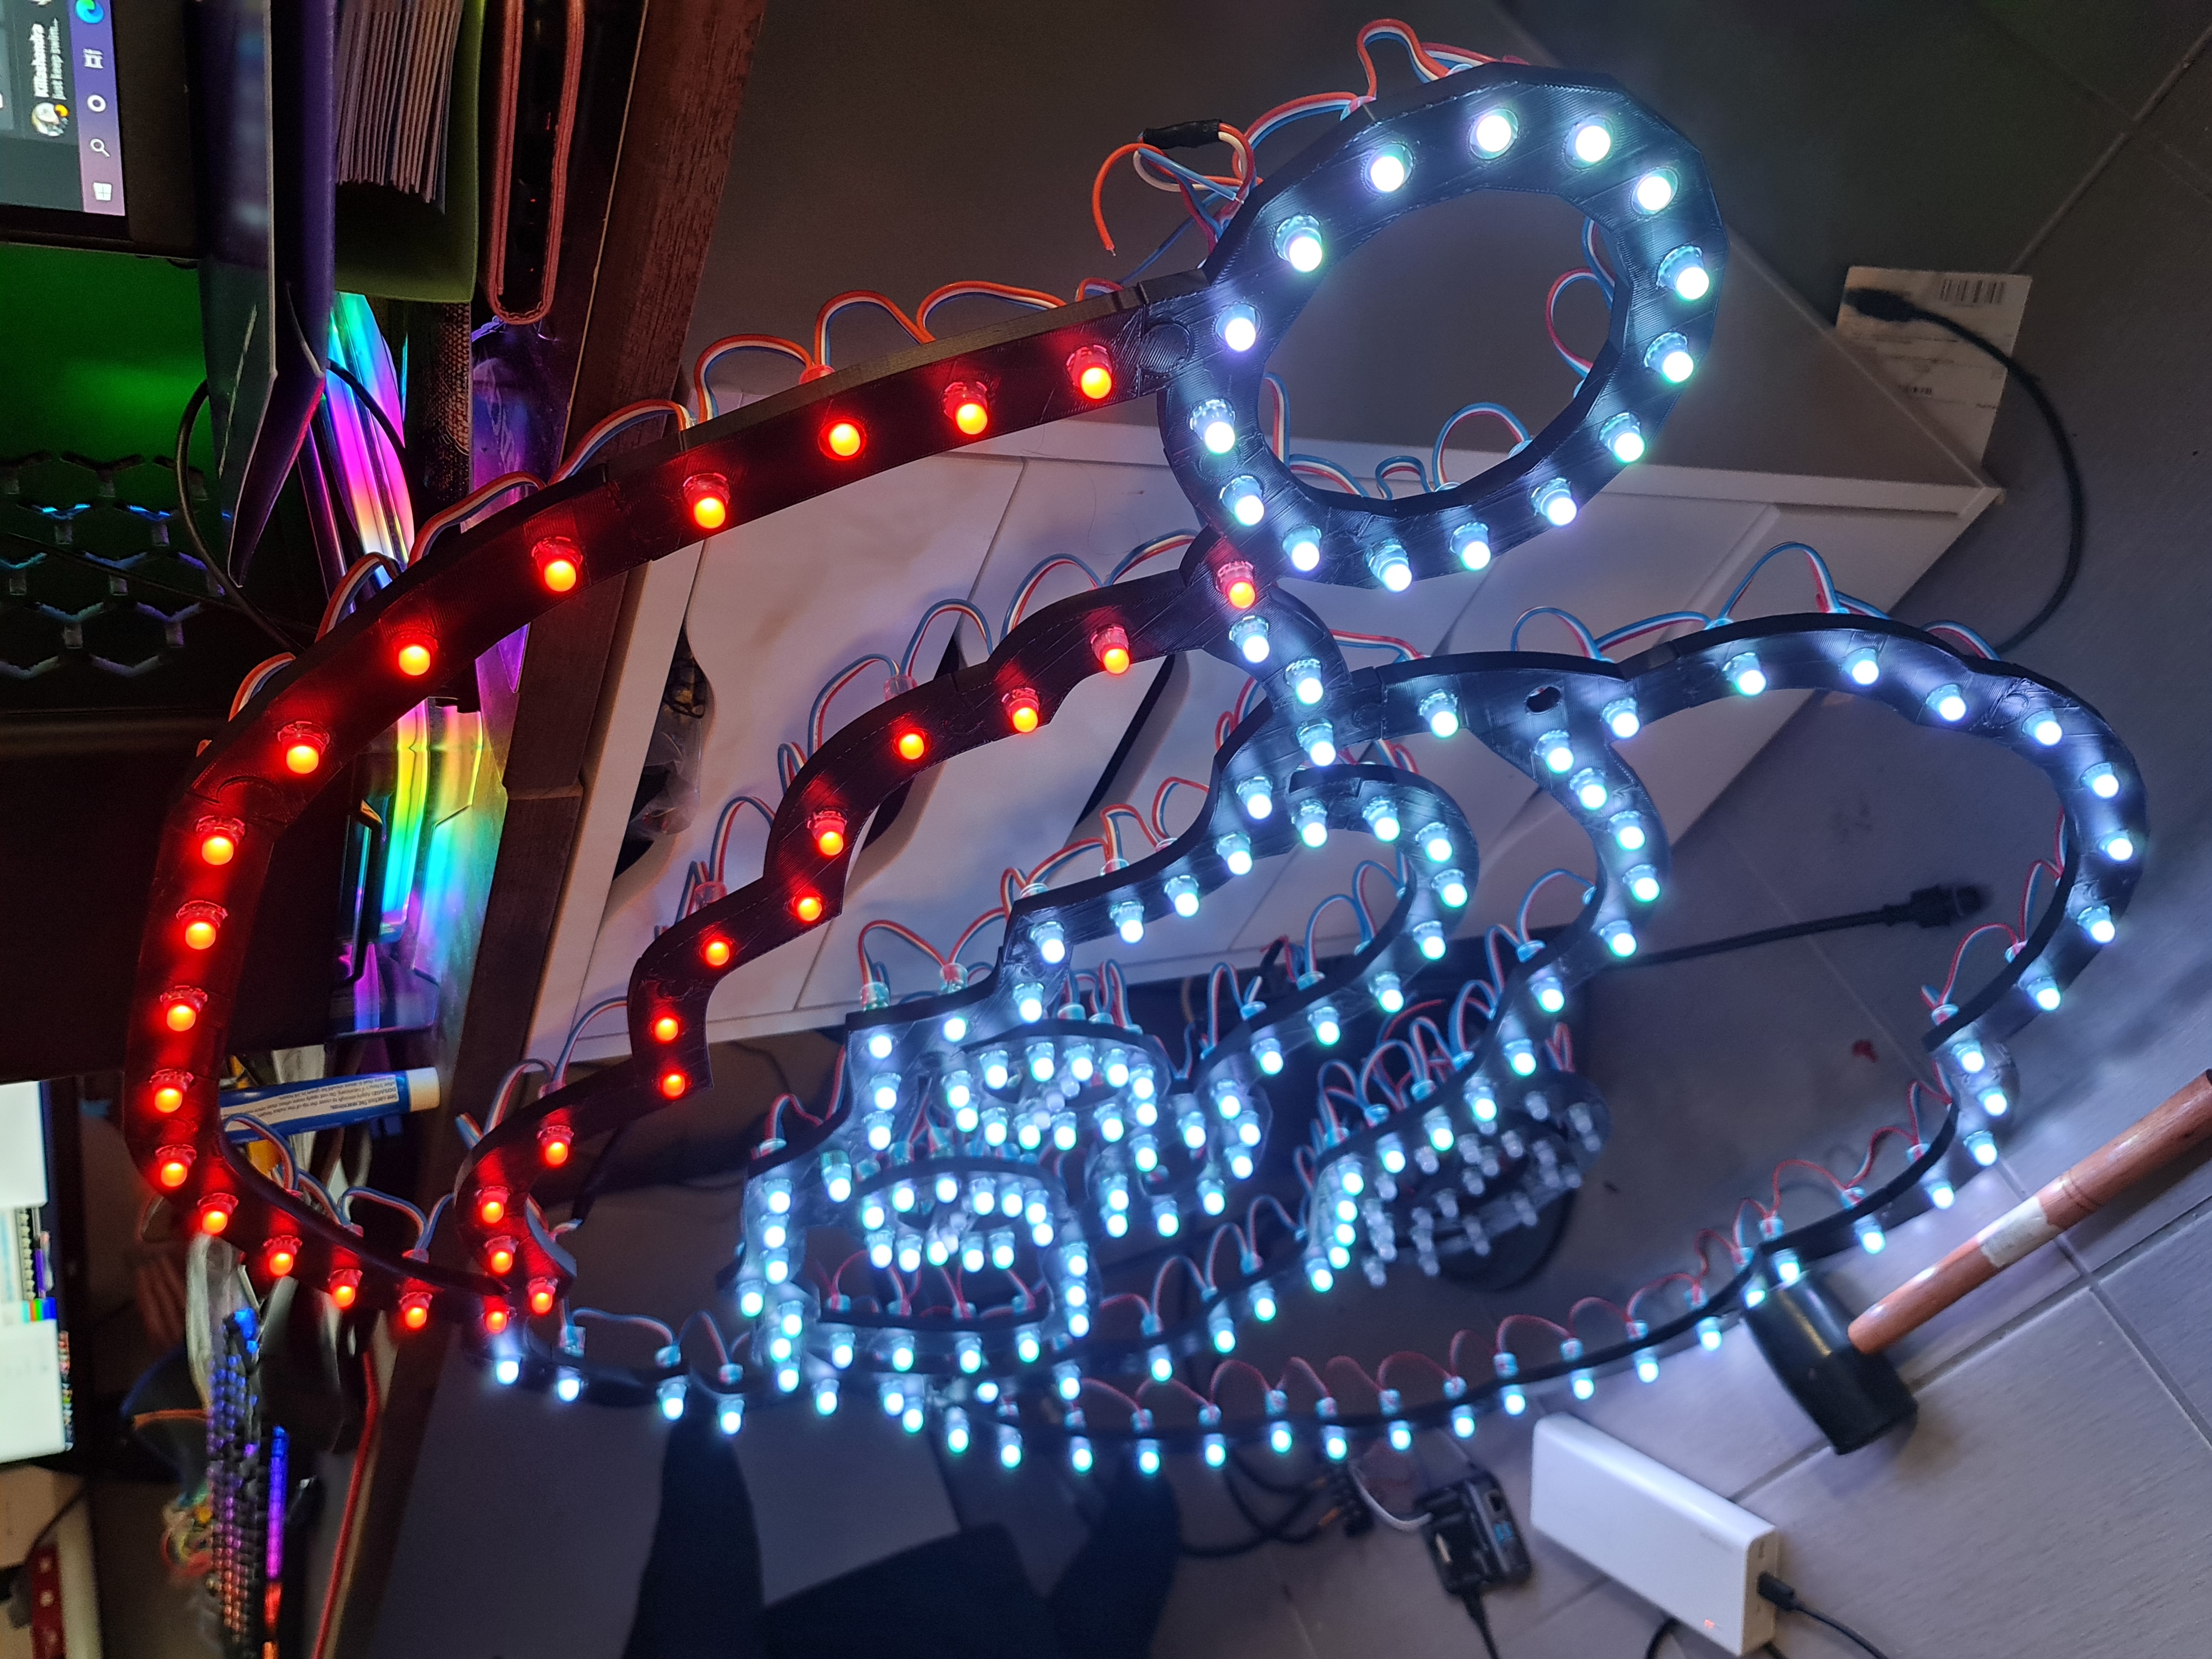

Now the eagle eyed of you may note there's a hole with a bulb missing! Yep - I missed one bulb. And yet... I didn't have any leftover bulbs. I'm not even sure how both errors lined up. In any case, always remember to count your bulbs. Sorry Santa, but you'll probably be replaced next year.
The Candy Cane
Ok class, time for a bit of Math. If I have 1,150 bulbs, Santa consumes 203 and each singing tree takes 156 bulbs, how many do I have left? Well, of course the answer is 635 left that I need to distribute between 5 mini trees + stars and 4 candy canes. Each mini tree would be around 90 bulbs (70 for spokes, 20 for the star) so that leaves around 185 bulbs left to use. That leaves around 40 bulbs per Candy Cane left, with some spares for repairs I might need to do along the way.
So I designed a 39 bulb Candy Cane. It'd have been nice I think to add another strip in the middle of them but ... these props will probably be replaced next year anyway. So out comes good ol' Sketchup and I start working on a design.
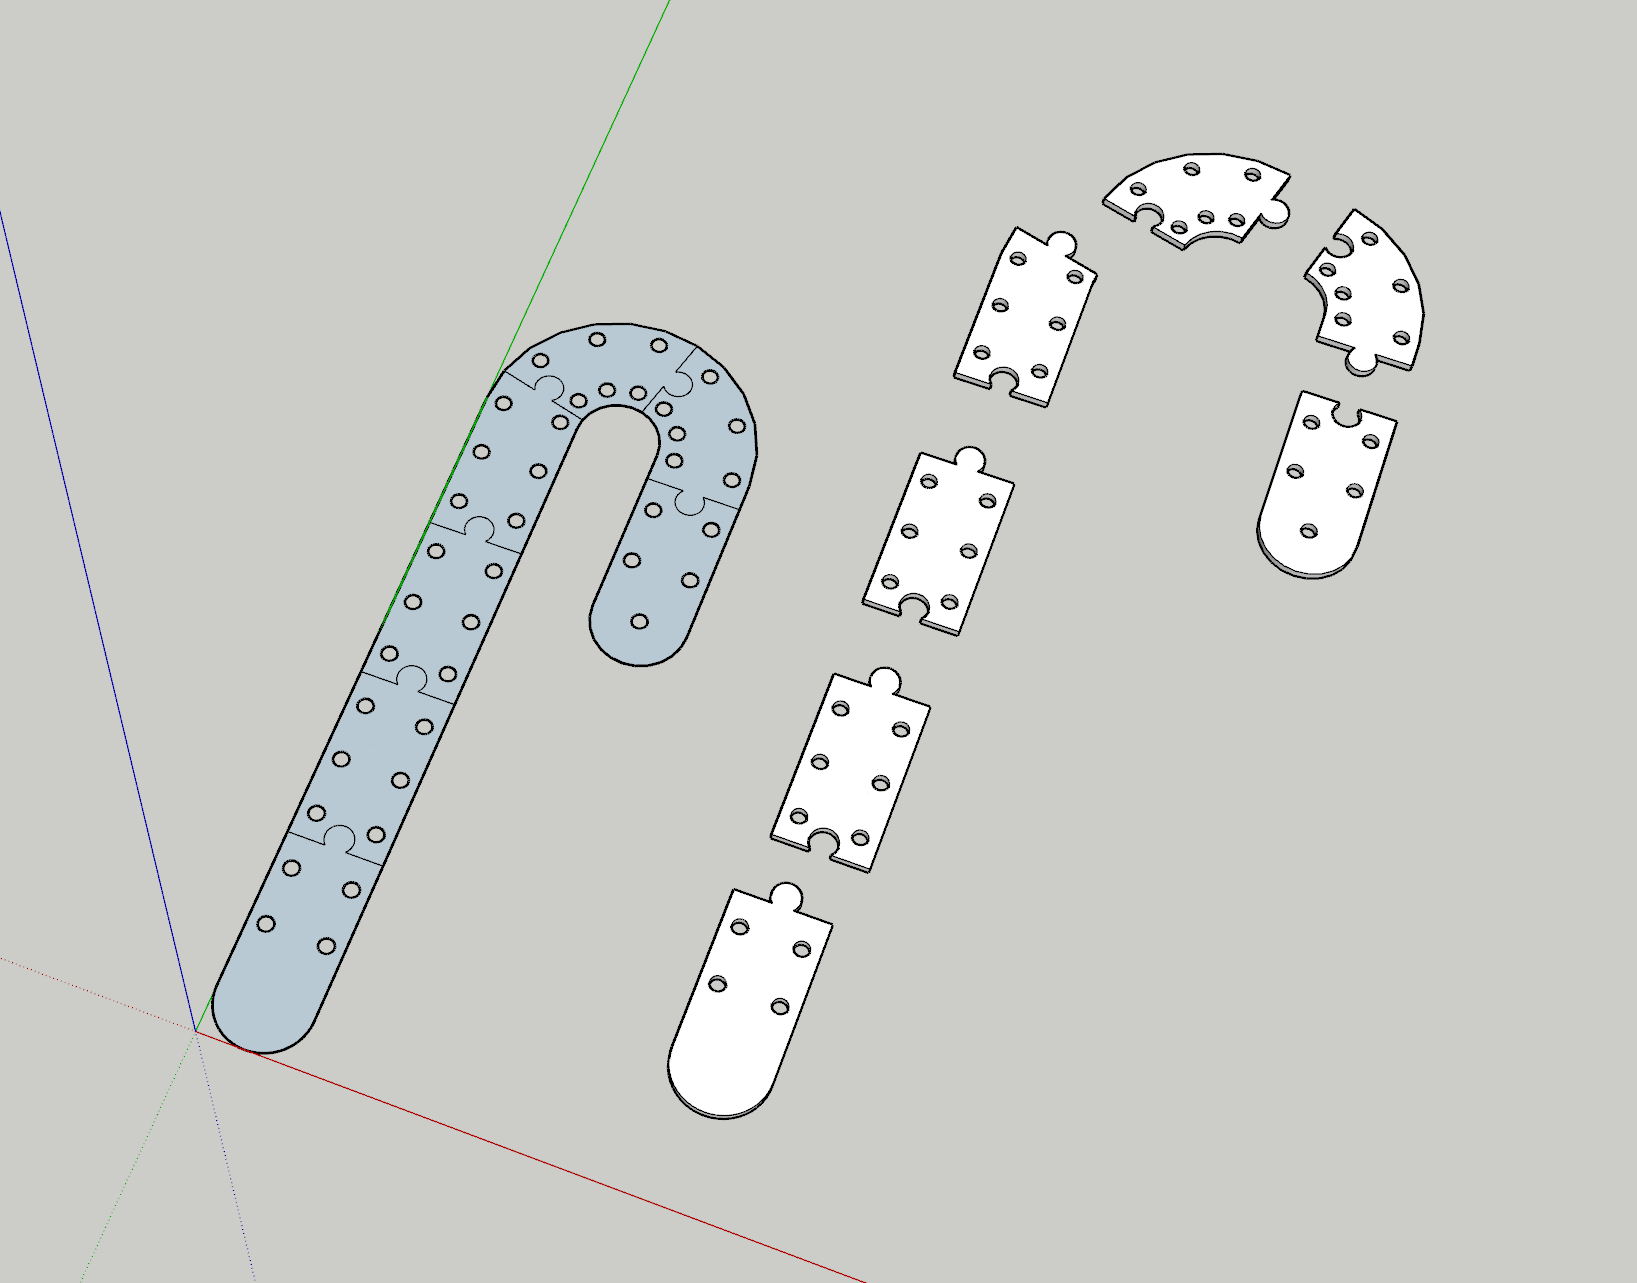
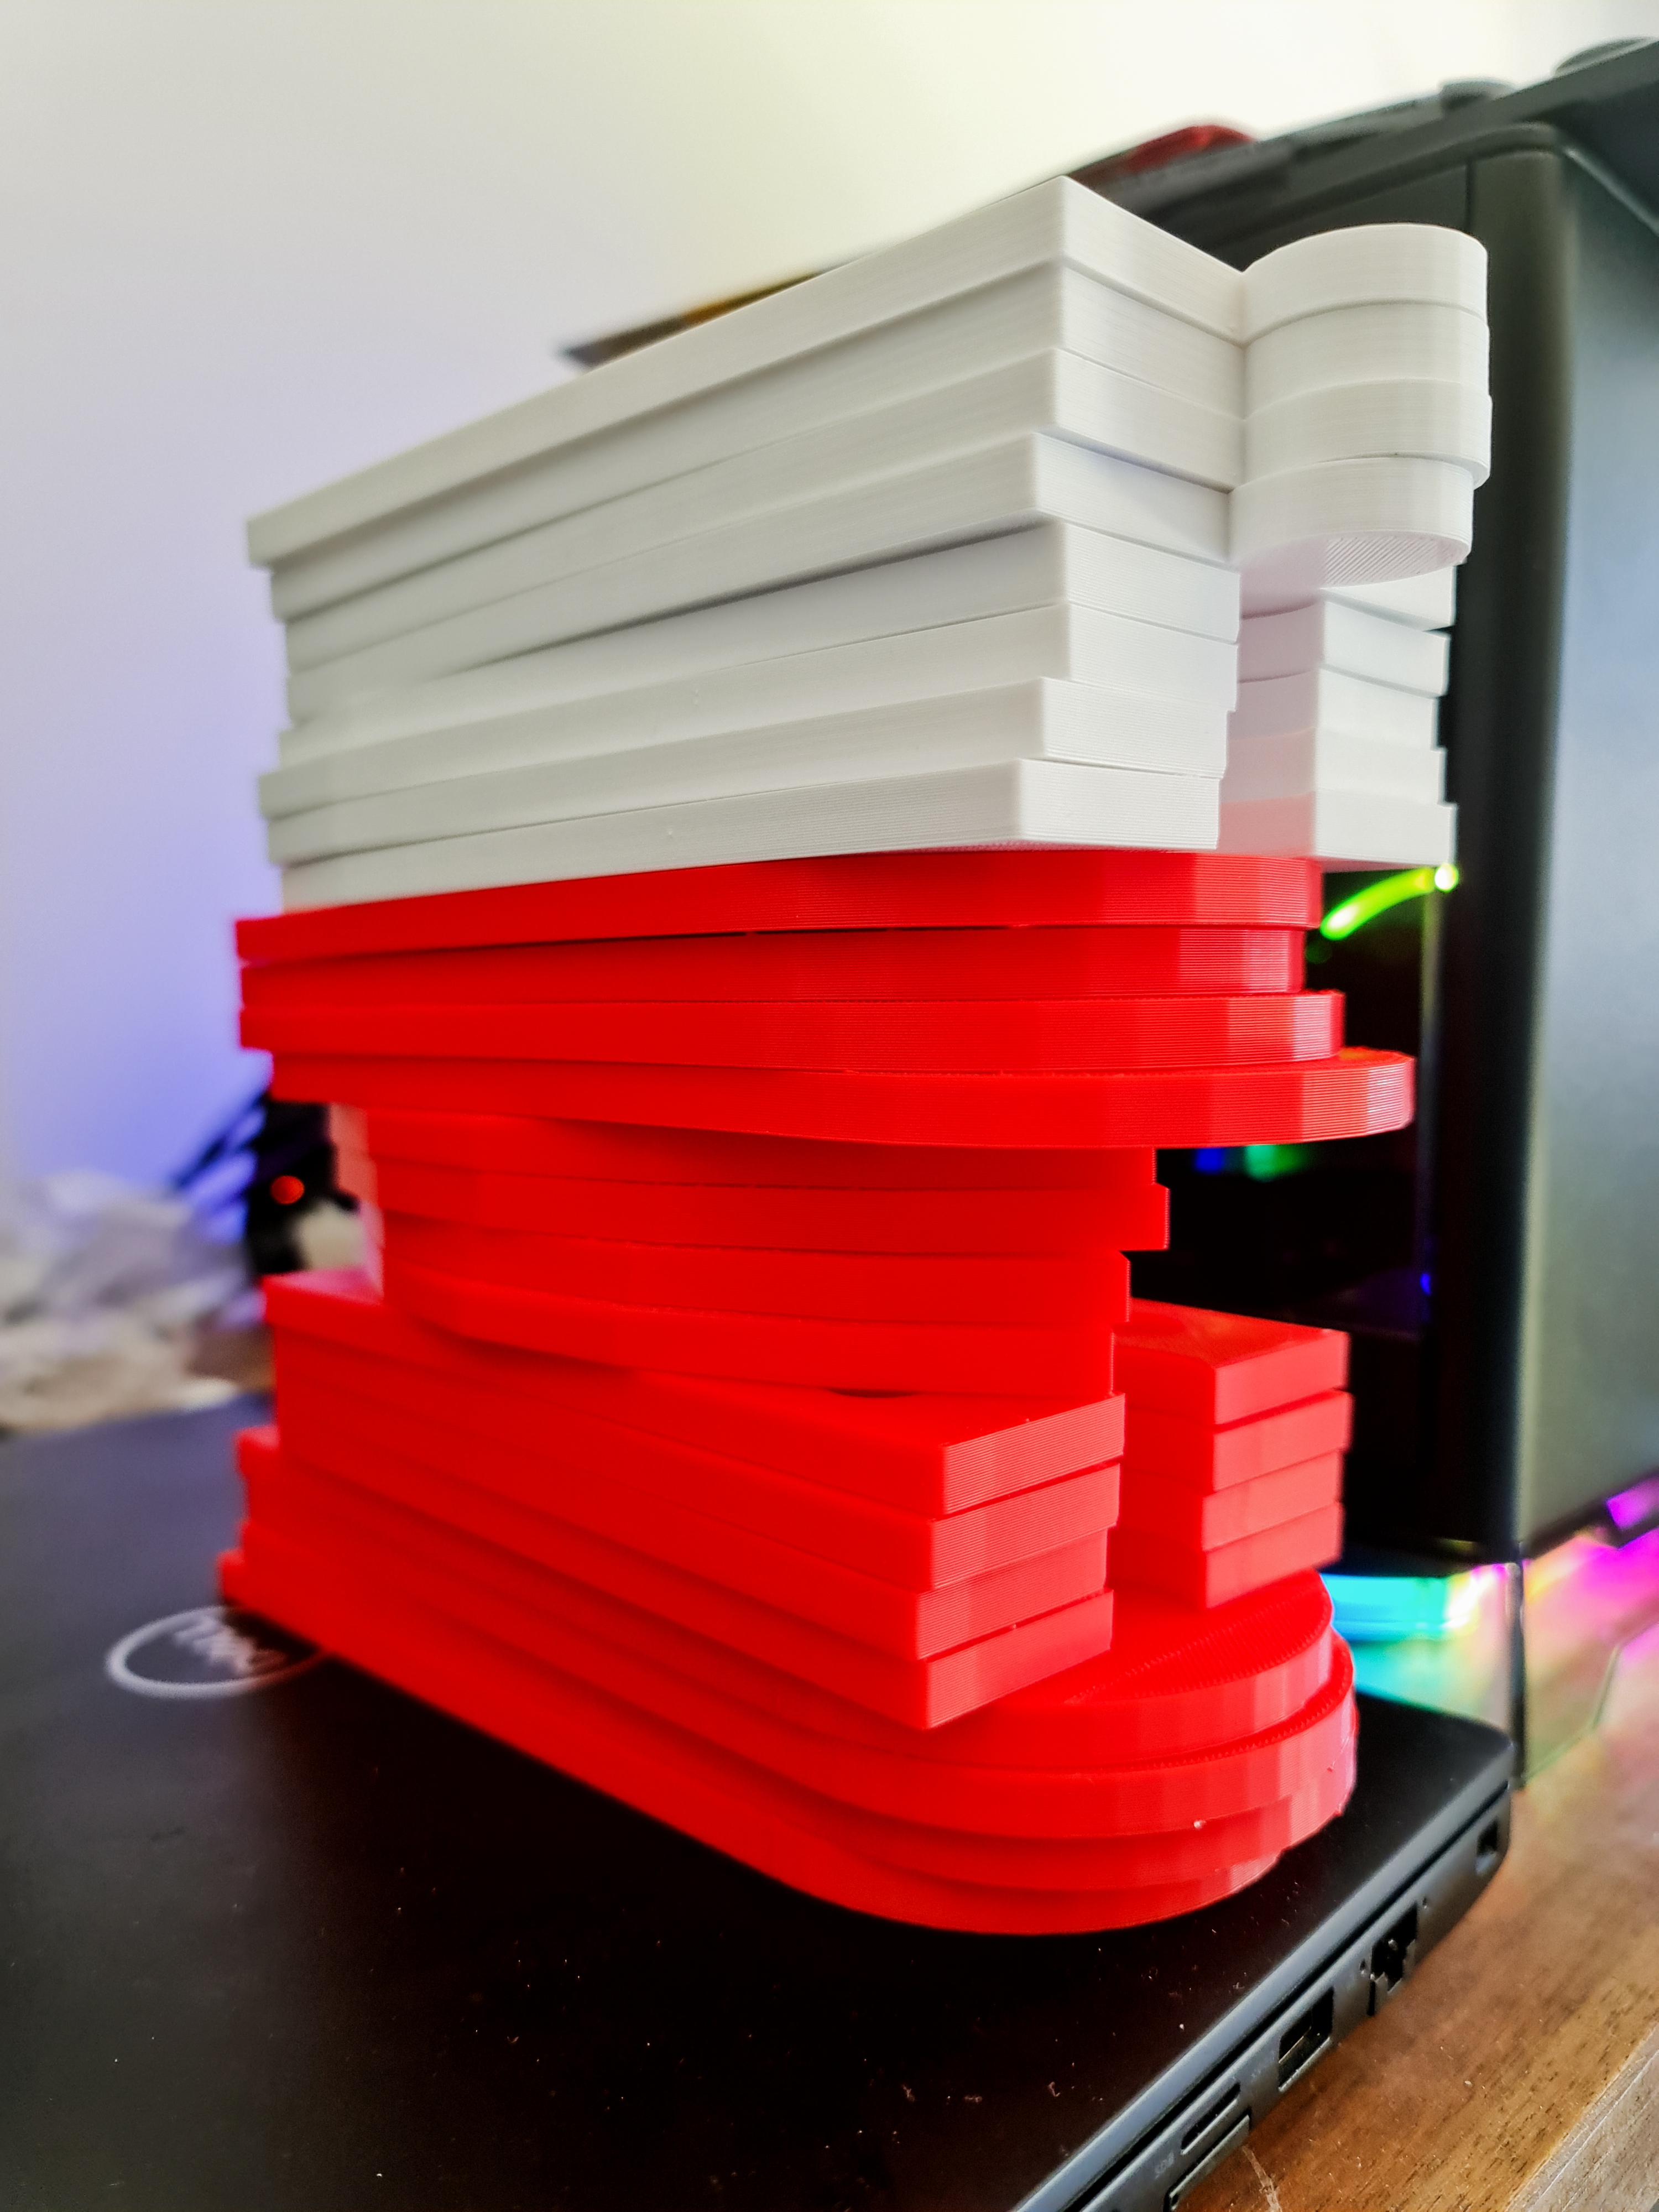
A pretty simple design that in future I'd probably have put some holes in to allow for cable ties to go in the middle rather than around the whole prop. But for this year it should be fine. To make them look a little decorative, I'd alternate white with red ABS. I certainly have plenty of filament so might as well make use of these colours.
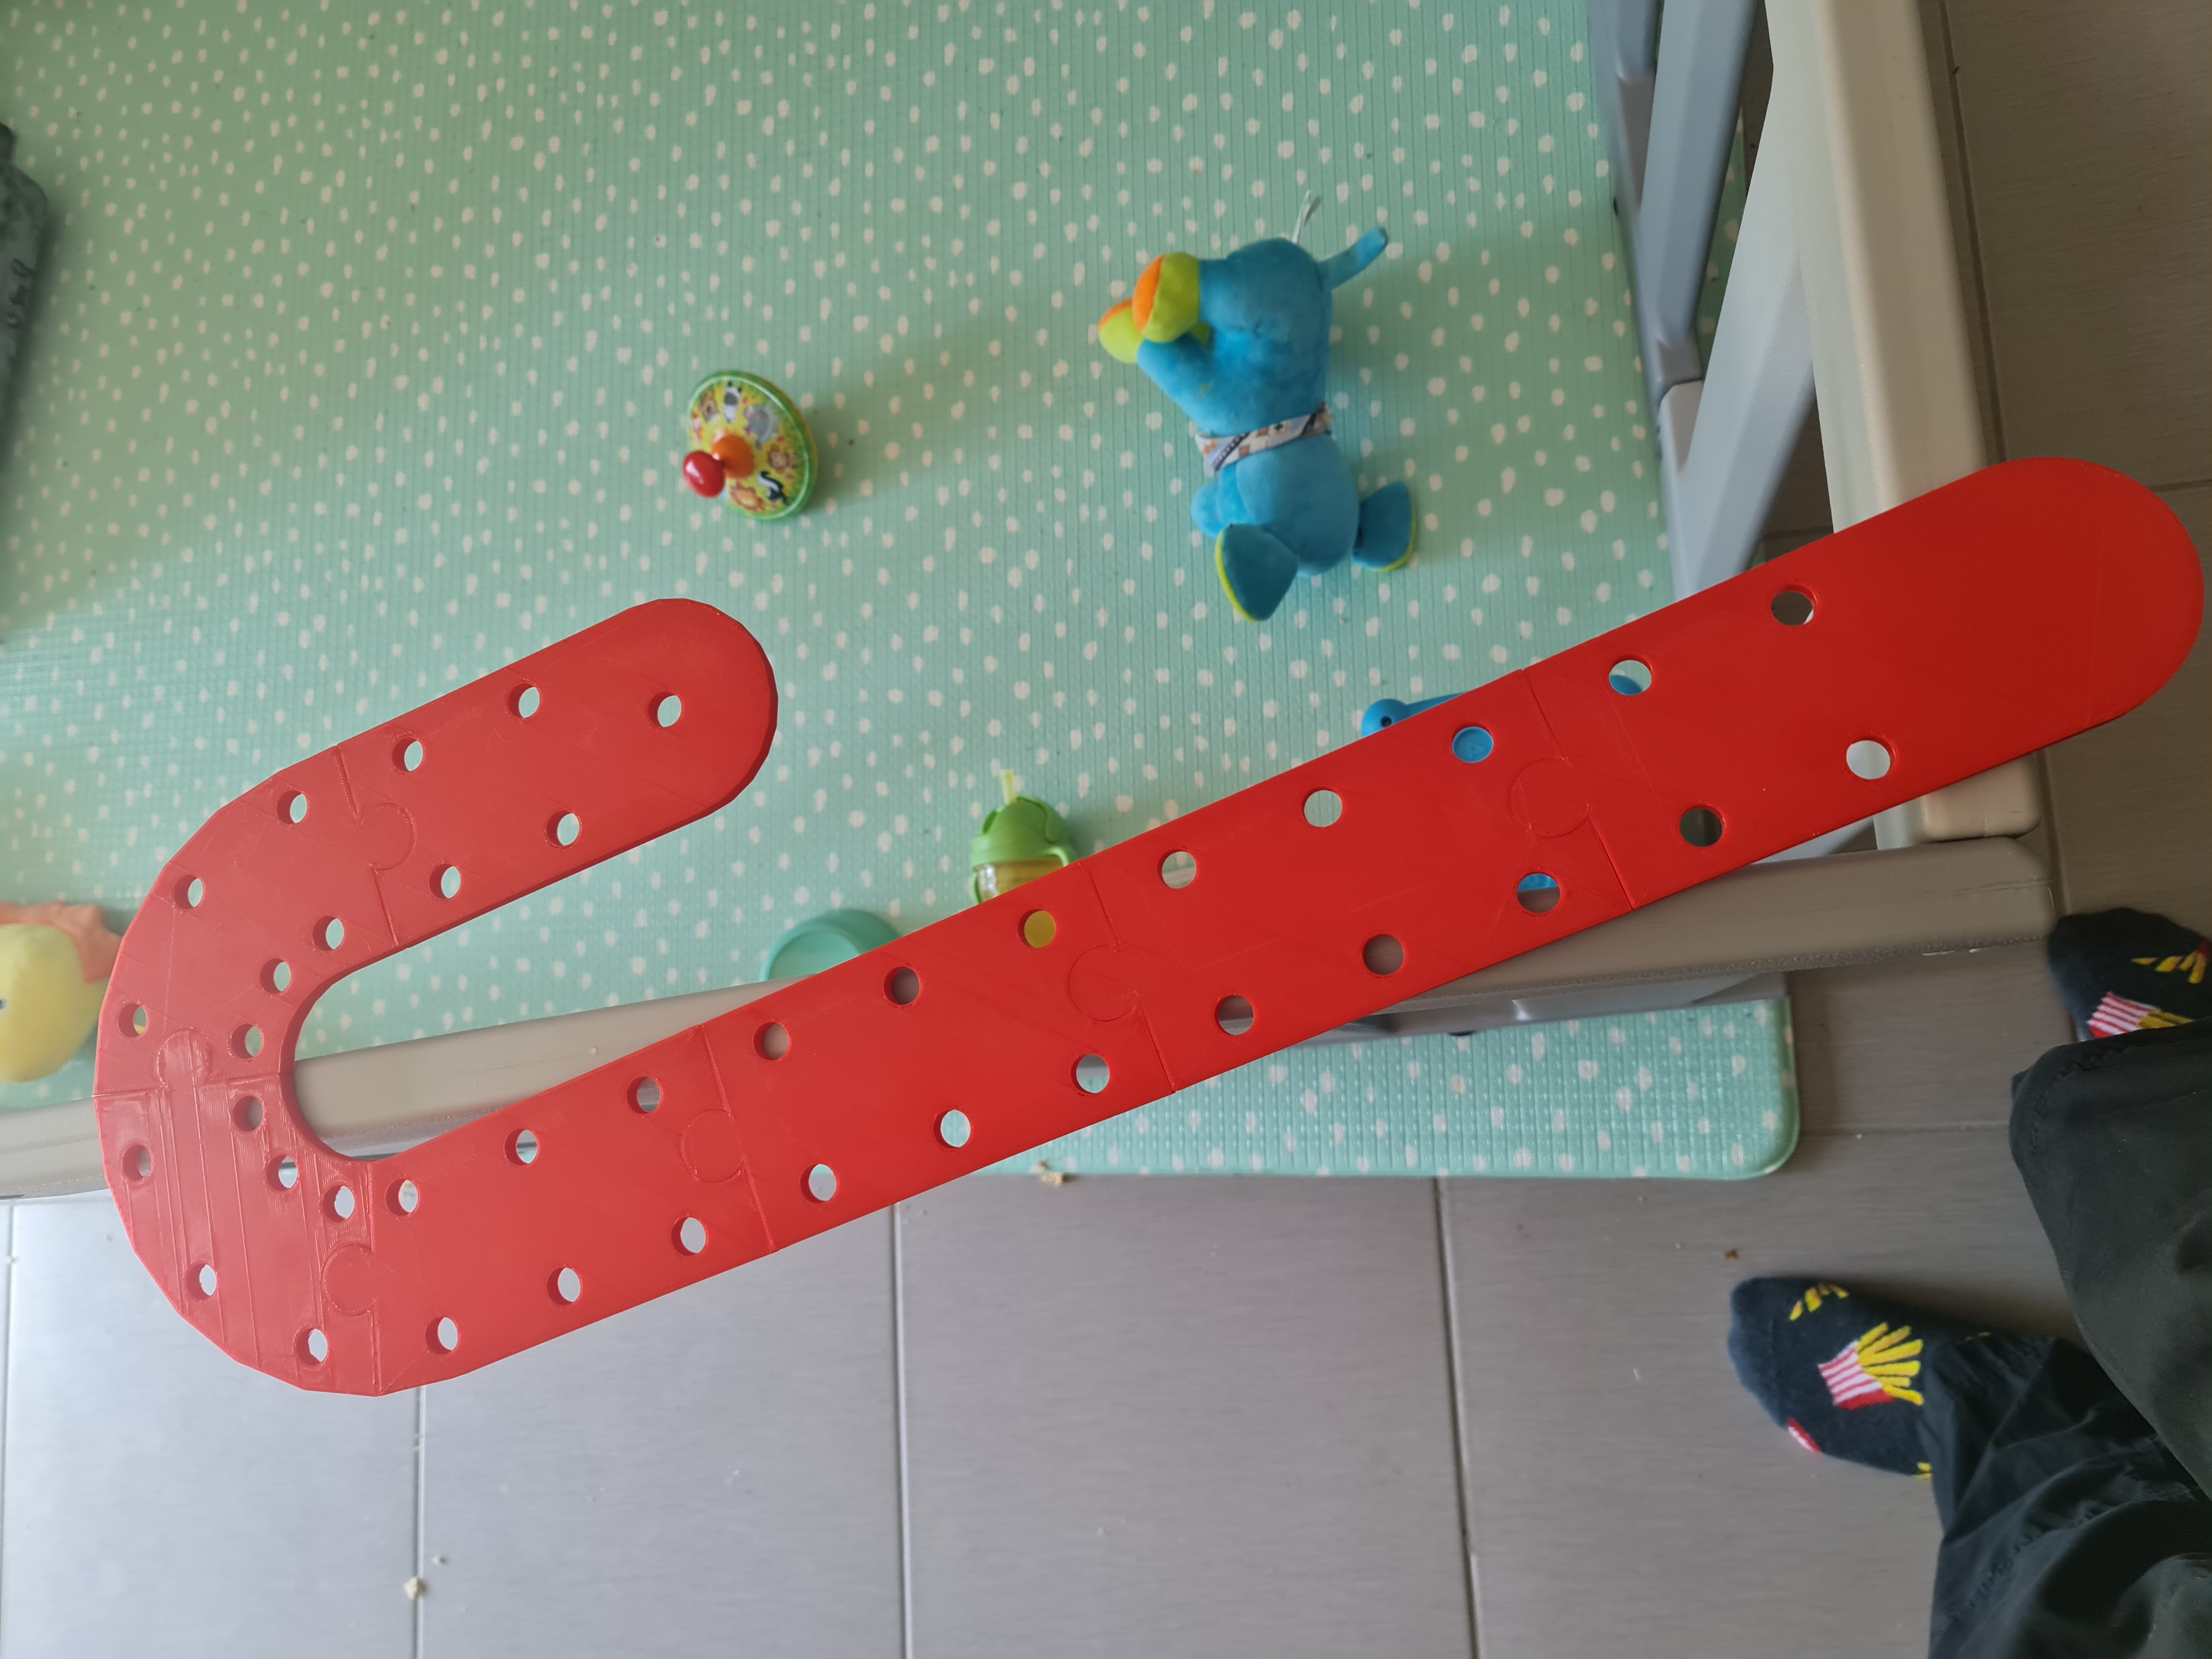
After a day of printing the parts out, I have a good idea on how this is going to look. After wiring a few bulbs in we have some success.
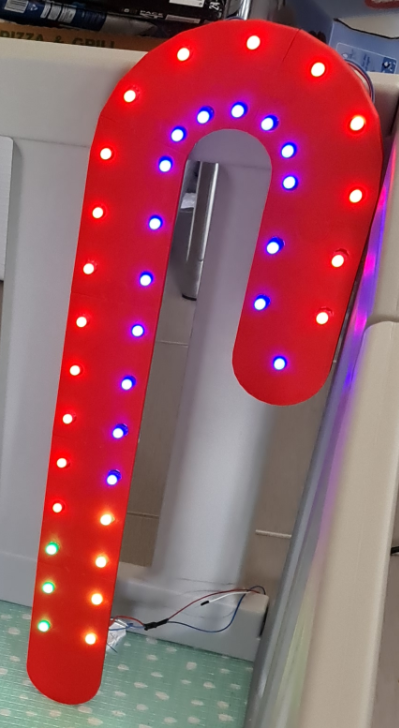
Honestly, having put the pixel tester in and saw it light up - I was a bit underwhelmed. Really needed that middle strip I think but we'll go with the two lines and see what happens. I'm sure I can make some decent effects on it and you'll be seeing it from the footpath anyway. So I digress...
With this one out of the way, it was time to set up a bulk print order...
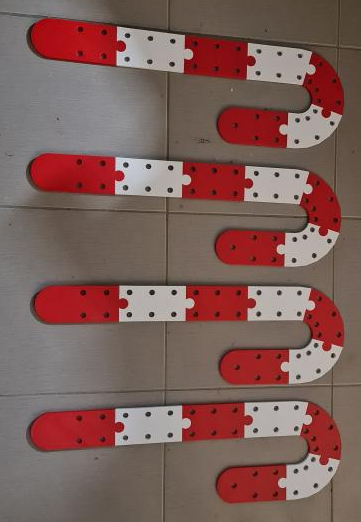
Seeing these fully assembled though - I'm pretty happy with how they look. And most importantly, my son loves them. There's something in the reflectiveness of the white that is intriguing to him.
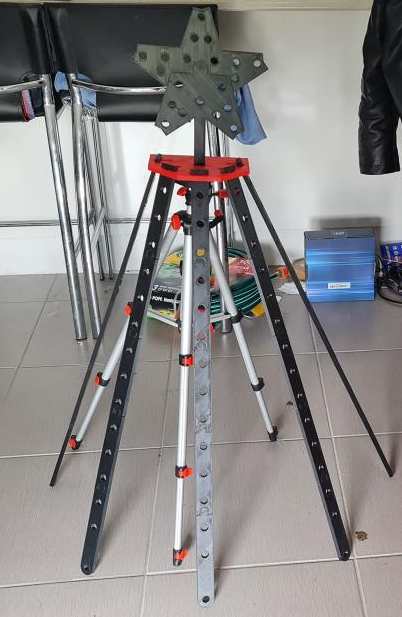
The Mini Tree (with Star)
So the star of the show (ha ha) would be some of the mini trees .They'll carry most of the beats and the more interesting displays but they'd also be the most difficult to print. This is perhaps where a local supplier of Coro material to do it would have been a little more effective but I figured I could print a base with the star to mount to, and have holes for 'spokes' to sit in. I'd use tent pegs to hold the legs in place which gives me a bit of an opportunity to perfect the placement of these bulbs at least for the first year. It's fair to say these'll probably be replaced as well in future.
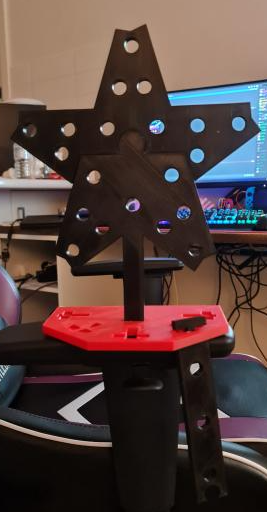
The base is fairly solid. I'd discovered that a 25% Gyroid Infill was a good balance between a rigid structure and weighty enough. But I probably should have printed some sort of base for a PVC Pipe to hold it up. But that's OK... nothing a bit of Loctite won't fix... after all if it's good enough for my brake calliper bolts, it's good enough for my PVC pipe. The plastic cement stuff anyway.
These definitely produce an interesting effect and the adjustable spokes will be good for putting a little bit of personality into the display. Something a bit missing when you carbon copy everything several times.

These will definitely look great out on the lawn come Christmas time! Obviously there's some waterproofing to do and more pigtails to solder *sigh* ... but we're good to go on these ones. So queue the bulk print job for another weeks worth of stuff.
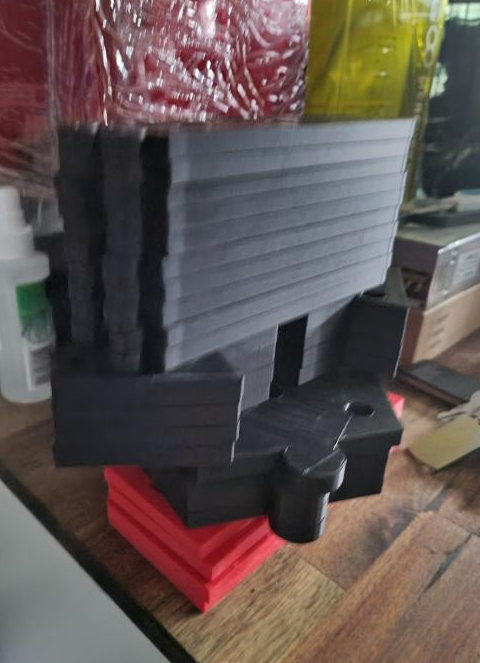
Now I've got to say, all this 3D printing is burning through Filament fast but how much you say? Each of the larger props (Christmas Trees and Santa) were less than a 1KG roll each. With each ABS roll costing around $25 AUD, it's not the most economical product but it is allowing me to print things to the dimensions I want. For a lot of the Candy Cane stuff, Christmas Trees etc... there's probably around a role for the lot - but they are thinner prints and less plastic. But it does take a lot of time to do. The Christmas Tree bases alone - 4 of these in addition to the test tree, was say around 1/4 a role and took over a day. Each spoke needs to be printed 5 times, for 4 trees. They take over a day each and probably consumed 1/2 a role. The stars were similar - a day to do those and took around 1/8 a role. So expect around a week of printing, at least on my printer that runs around 30mm per second. I'm sure that more modern printers are able to run much faster these days and with the right infill models in place you can probably reduce a lot of rework.
Where to from here?
Well, more progress has been made. I've built a sample matrix and even found a use for some cheaper Chinese bulbs that I thought I'd trial. These have been done in the last two weeks, but this post is already 18 images deep so I'll leave it for a couple of weeks and showcase those. I've also got myself heavy into the sequencing game so there's probably at least 3 more posts before the actual show.
I must admit - this has been one of the most enjoyable creativity projects I've worked on in years. Being able to build something with your own hands and see it go is great. Watching your son full of enjoyment when the lights come on takes that to a whole new level. Anyway I hope you've enjoyed seeing the pictures and if you're inspired to start working on things, once again I can recommend taking a bit of a look on AusChristmasLighting for some further inspiration. But be warned - it's not something that you're going to be doing if you've only got a budget for $500 or less.
But ... I am keen on working out what kind of show you could build for $500(ish) if that's something people are interested in next year. There are some good shortcuts and devices you can buy for some light sequencing paired up with some traditional AC-style lights that I recon could be a winner. Also - it looks like Bunnings are getting in on the action with a peculiar Christmas Tree that has individually addressable lights. You can be sure that people are hacking these already to work with the WS2811 protocol. Costco even has these 'Twinkly' branded trees at the time of writing for $199. In any case, it's not a cheap hobby and if you can do some of the tinkering yourself and you already have Ardunio's, Raspberry Pi's and are set up with enough to be dangerous, you can do most of it yourself and save on those dollars.
Anyway - until next time. Ciao!